Core Operations
VS Code Plugin Compatibility Notice
Kimi Code for VS Code is currently only open for new installations to legacy Python CLI users. Existing users who upgrade to the new CLI can continue using the plugin; new installations are not supported for TS version CLI users.
Opening the Panel
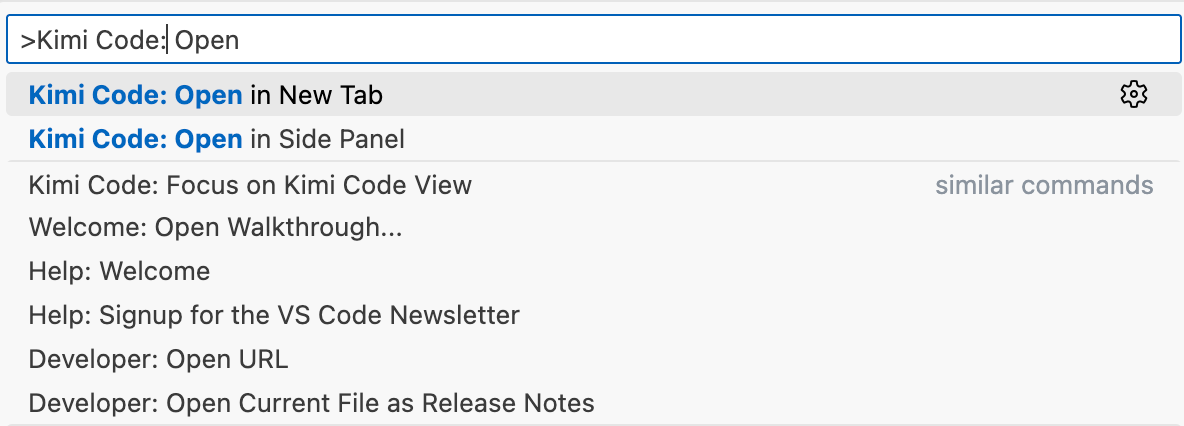
Click the Kimi icon in the activity bar, or execute the "Kimi Code" command via the command palette.
Input and Control
File References
Type @ and then select a file or folder name. For example: @src/handlers/ references a folder, @app.ts references a file, @src/app.ts:10-20 references a specific line range.
Press Alt+K to quickly insert the current file or selected code as a reference.
Slash Commands
Type / to open the command menu. Use /init to scan the project and generate documentation, or /compact to compress overly long context.
Input History
Press ↑ / ↓ in the input box to quickly browse recently sent message history, making it easy to repeat or modify questions.
Media File Input
Supports pasting, dragging and dropping, or selecting media files. Supported formats include: PNG, JPEG, GIF, WebP, HEIC and other image formats, as well as MP4, WebM, MOV and other video formats.
- Paste / Drag and drop: Single image original size must not exceed 5MB; the system will automatically compress (HEIC to JPEG, oversize scaling, quality compression to approx. 2MB).
- File picker: When selecting files via the "+" button in the input box or the
@menu, images must not exceed 10MB, videos must not exceed 20MB. - General limit: Each message can attach at most 9 files, totaling no more than 80MB. When media files are attached, models that do not support multimodality will be automatically filtered out.
Message Queue
While Kimi is responding, you can continue typing and sending in the input box. These messages are not lost, but instead enter the message queue. The bottom toolbar displays the queue count; click to expand the queue panel:
- View the list of pending messages
- Edit or delete messages in the queue
- Adjust message order
- During Kimi's response process, click the ⚡ icon on a queue item to immediately insert that message as a Steer, guiding Kimi to adjust the current response direction
Model Switching
Switch models via the dropdown menu in the input bar.
Using HighSpeed: HighSpeed (kimi-for-coding-highspeed) delivers roughly 5–6× the output speed of Standard at about 3× the quota usage, and requires an Allegretto plan or above. If HighSpeed doesn't appear in the model dropdown yet, restart VS Code or reinstall the extension; then pick kimi-for-coding-highspeed from the dropdown to use it.
Deep Thinking Mode
Some models support extended reasoning capabilities. Thinking mode toggle has two states: hidden when the model doesn't support thinking mode, or manually enable/disable by the user.
Note: The latest K2.7 Code model requires Thinking mode to be enabled; otherwise requests are routed to an older model.
After enabling, thinking steps are collapsed by default in the response; you can expand to view the reasoning process. Enable kimi.alwaysExpandThinking in settings to expand thinking by default.
Working Modes
Operation Confirmation and Tool Execution
When Kimi proposes running a tool or writing to a file, a confirmation dialog is displayed with three options:
- Yes: Approve only the current operation
- Yes, for this session: Approve similar operations within the current session until a new session is started
- No: Reject the operation
Enable kimi.yoloMode in settings to automatically approve all tool calls. Suitable for scenarios where you trust the workflow and pursue efficiency.
Question Dialog
During execution, Kimi may ask you questions (for example, asking you to choose an implementation plan). At this point a Q&A card pops up at the bottom; you can directly click preset options, or select "Custom response..." to enter a custom reply. After answering, Kimi will continue execution.
Plan Mode
Click the 📋 icon to the left of the input box to enter plan mode. After enabling, Kimi will first output an expandable plan card before formal execution, listing the steps it intends to take. You can review the plan before letting it continue.
- The plan mode button retains the previous setting for each new session.
- If Kimi is already in a streaming response, exiting plan mode requires secondary confirmation to avoid interrupting the current task.
File Change Tracking
After Kimi modifies files, all changes are tracked and displayed in the "File Changes" panel. You can view the list of modified files and their status (added, modified, or deleted), as well as line addition/deletion statistics.
For each file, you can view changes in VS Code's native diff view, restore to the original state, or keep changes to clear the tracking record. Bulk operations are supported, allowing you to keep or undo all changes at once. The baseline state is captured at the first modification in the session; rollback will restore to this baseline version.
Context Management
Historical Sessions
Click the history dropdown menu at the top of the panel to browse past sessions. Session data is stored locally and supports keyword search. You can delete old sessions or load a session to continue a previous conversation.
The status bar displays context usage percentage and input/output token counts. When context usage is high, use the /compact command to compress.
Working Directory Switching
Click the gear icon (Action Menu) to the right of the input box → Working Directory to switch working directories among different subdirectories in the current Workspace. After switching, a new session is automatically started so that Kimi can work based on the new directory context. Supports directly selecting already-registered subdirectories, or browsing arbitrary subfolders via "Browse...".
Action Menu
Action Menu
The gear icon to the right of the input box is the action menu entry, containing the following functions:
- Working Directory: Switch the current working directory (see "Working Directory Switching" above)
- MCP Servers: Open the MCP server configuration panel
- General Config: Open the Kimi configuration page in VS Code settings
- Show Logs: Open the Kimi Code output log panel for troubleshooting
- Reset Kimi: Reset the Kimi Webview, suitable for cases where the interface is frozen or unresponsive
- Sign out / Sign in: Log out or log back in to your Kimi account
Additionally, you can execute "Kimi Code: Run CLI" in the VS Code command palette to directly launch Kimi Code CLI in the integrated terminal.