Using Skills in Kimi Code
Kimi Code is an AI coding assistant built for developers. It runs directly in your terminal or editor to help you write code, fix bugs, and generate documentation. Kimi Code supports knowledge-based guidance through SKILL.md; after reading it, the AI follows the standards defined inside. This is ideal for defining code style, workflows, and best practices.
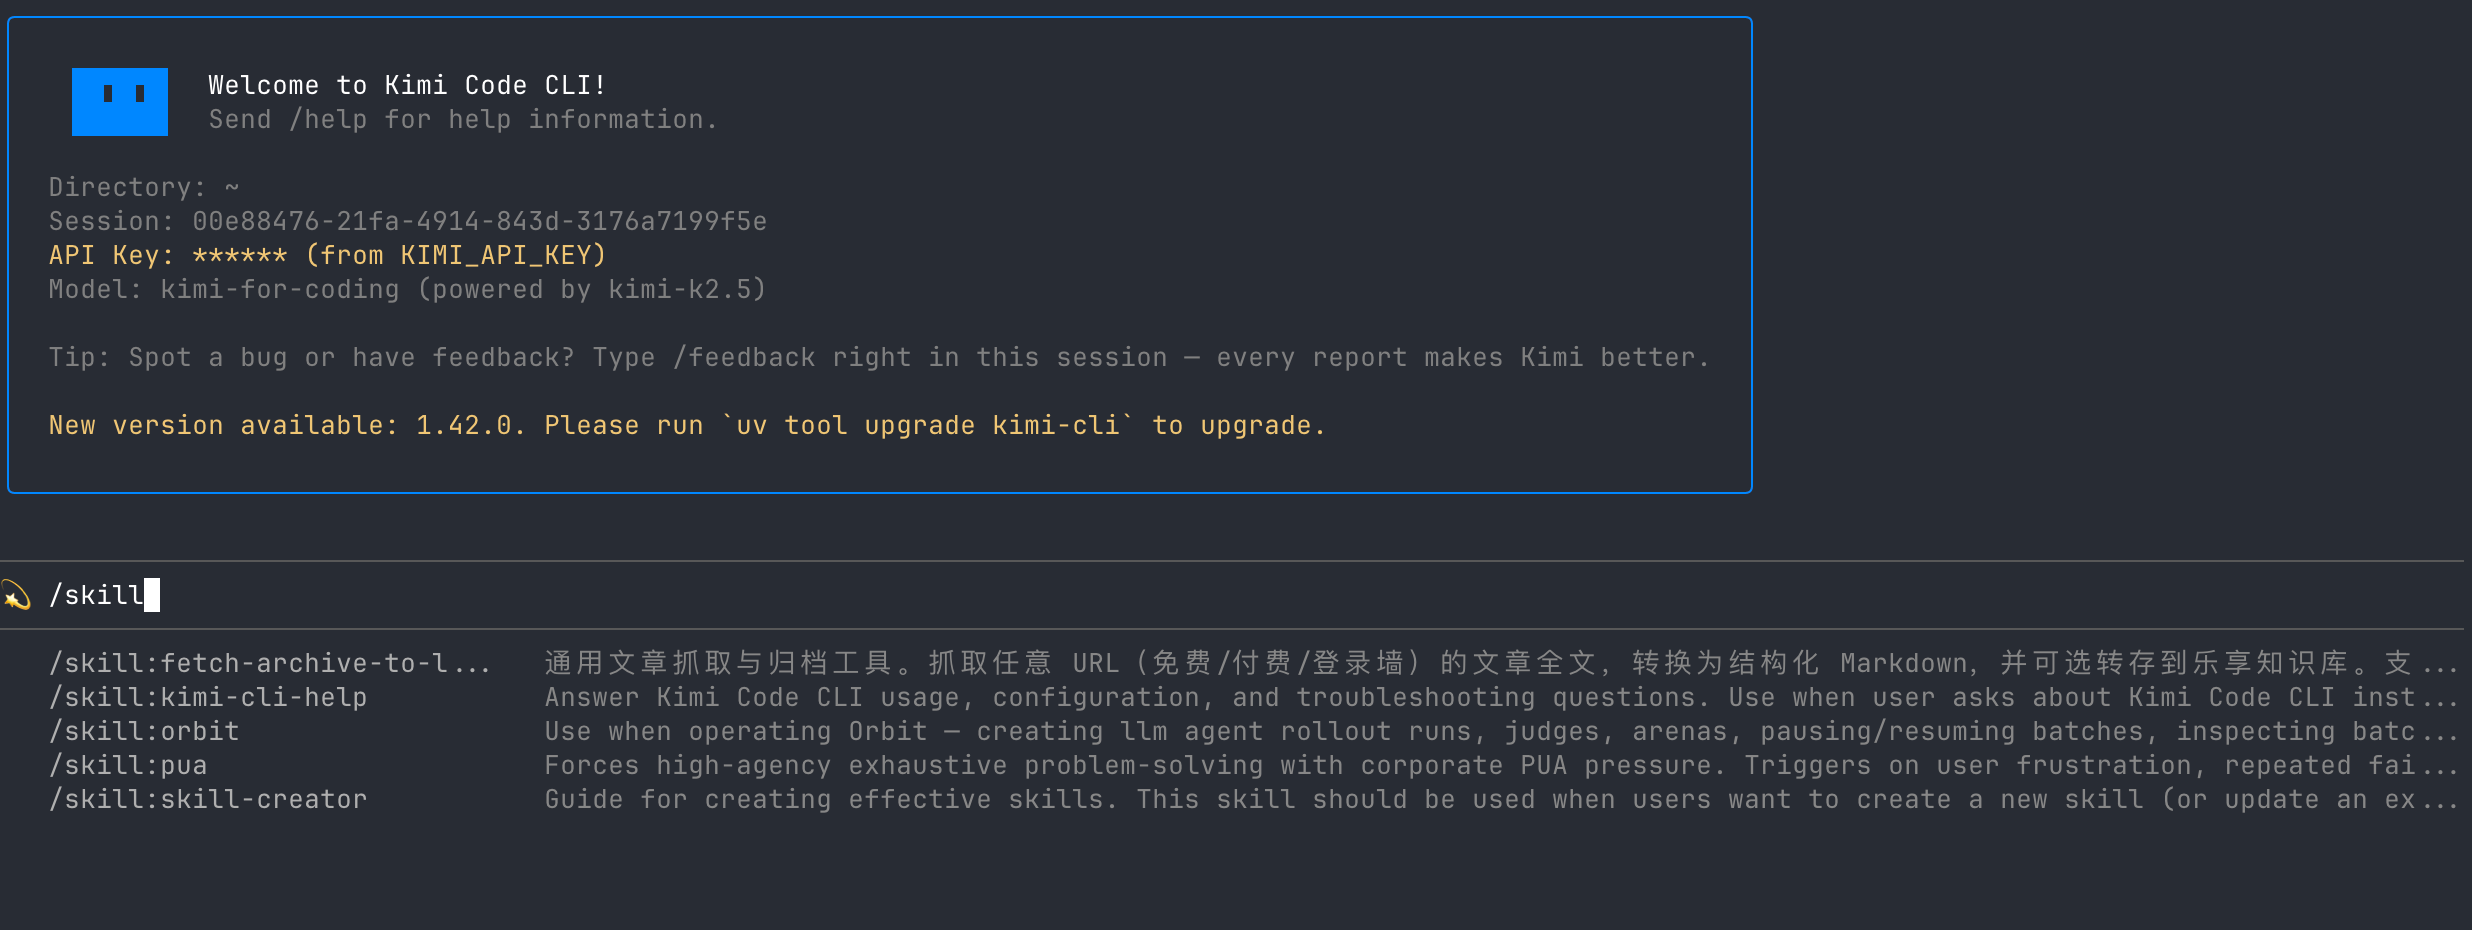
Invoking Skills
Kimi Code CLI invokes Skills with slash commands:
For example, if you enter /skill:git-commits, Kimi Code reads the corresponding SKILL.md and sends its contents to the Agent as instructions.
You can also add extra context after the slash command. This content is appended after the Skills instructions:
For normal conversations, you do not need to invoke Skills manually—the Agent will decide from context whether it should read the Skills content.
Create your first Skills
Creating Skills takes just two steps: create a subdirectory under the Skills directory, then create a SKILL.md file inside it.
Recommended location, applied to all projects:
SKILL.md uses YAML Frontmatter for metadata, followed by the standards written in Markdown:
Both name and description in Frontmatter are optional. If omitted, the directory name is used by default.
Example: use Skills to standardize Git commit messages
Suppose your team requires commit messages to follow the Conventional Commits format, but repeating the requirements every time is tedious. Put the rules into Skills, and you can invoke them with a single command.
Step 1: Create the Skill file
Step 2: After completing your code changes, invoke Skills
Kimi Code reads your guidelines, combines them with the task description, and outputs a properly formatted commit message—no need to repeat any formatting requirements.
Flow Skills: define multi-step workflows
Regular Skills provide static guidelines. Flow Skills define an auto-executed, multi-step process.
Set type: flow in Frontmatter and embed a flowchart in Mermaid or D2 format in the content to create Flow Skills.
Run it with /flow:<name>. The Agent starts from the BEGIN node and automatically completes each step in the flowchart until it reaches END.
How Skills are loaded
Kimi Code CLI looks up and loads Skills in the following order. If multiple Skills share the same name, the one loaded first takes precedence:
- Built-in Skills: installed with the package and provide basic capabilities
- User-level Skills: stored in the home directory and available to all projects
- Project-level Skills: stored in the project directory and available only within that project
You can also manually specify additional Skills directories with the --skills-dir parameter:
Kimi Code CLI includes two useful Skills: kimi-cli-help for answering CLI usage questions, and skill-creator for guiding you through creating a new Skill. Enter /skill:skill-creator to get started.
For the full list of configuration options and parameters, see the Kimi Code CLI Skills documentation.