Quick Start
Kimi Code Desktop is the desktop client for Kimi Code. Open a local project in a graphical interface, ask the Agent to read and modify code through conversation, and check the results with the Changes view, File Preview, and the terminal.
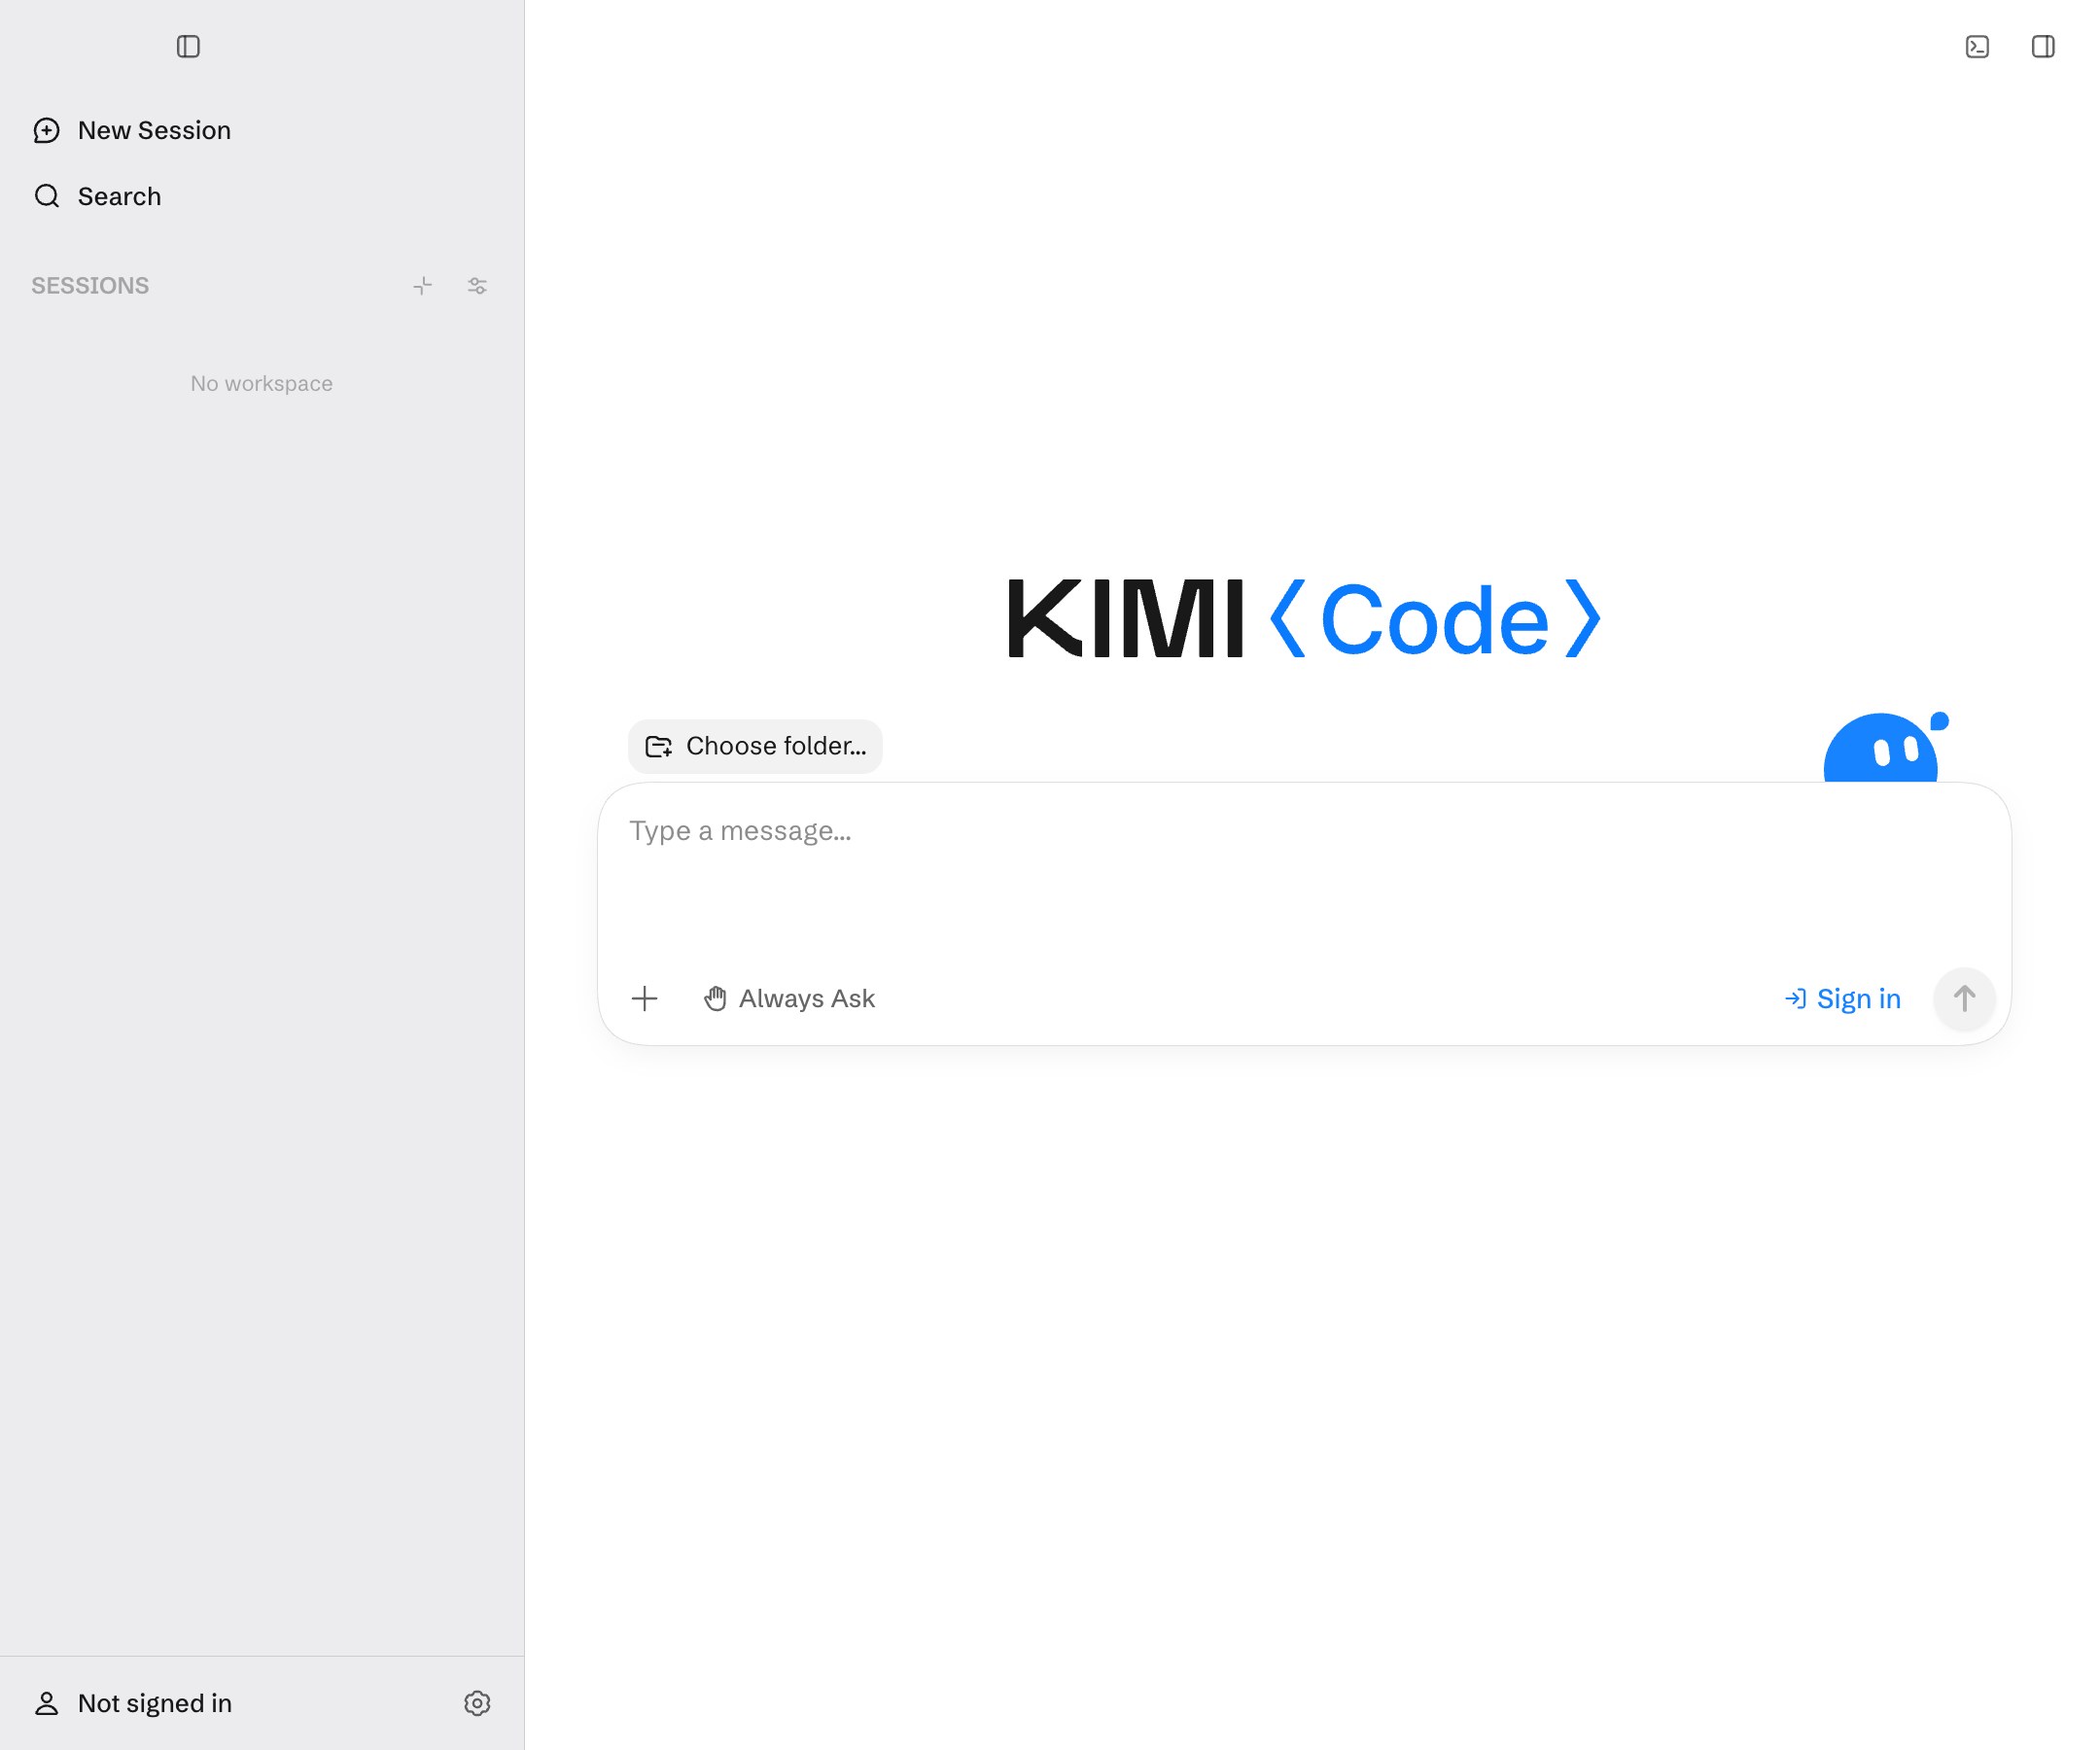
The Kimi Code Desktop home: type a message to start a conversation.
What you can build
The desktop app fits work like this:
- Validate an idea quickly: describe the idea to the Agent, let it propose a reviewable execution plan you can give feedback on, and get a prototype built fast once confirmed.
- Build a personal app from scratch: set an ongoing objective and let the Agent work in multiple turns, delivering step by step until the app runs.
- Push complex tasks in a large codebase: analyze the impact and confirm the approach in Plan mode first, then make complex changes step by step with changes review and terminal verification.
Install and launch
Download the installer for your system and follow the prompts to install. If you are unsure which build to pick, see Which installer should I download?.
Sign in and connect a model
On first launch, follow the Kimi OAuth authorization flow, or skip it for now. When you need to sign in later, click the account area in the lower-left corner of the app to complete authorization. The sign-in site depends on your region: kimi.com for mainland China and kimi.ai for other regions. Once signed in, you can check your plan usage anytime in the account area of Settings.
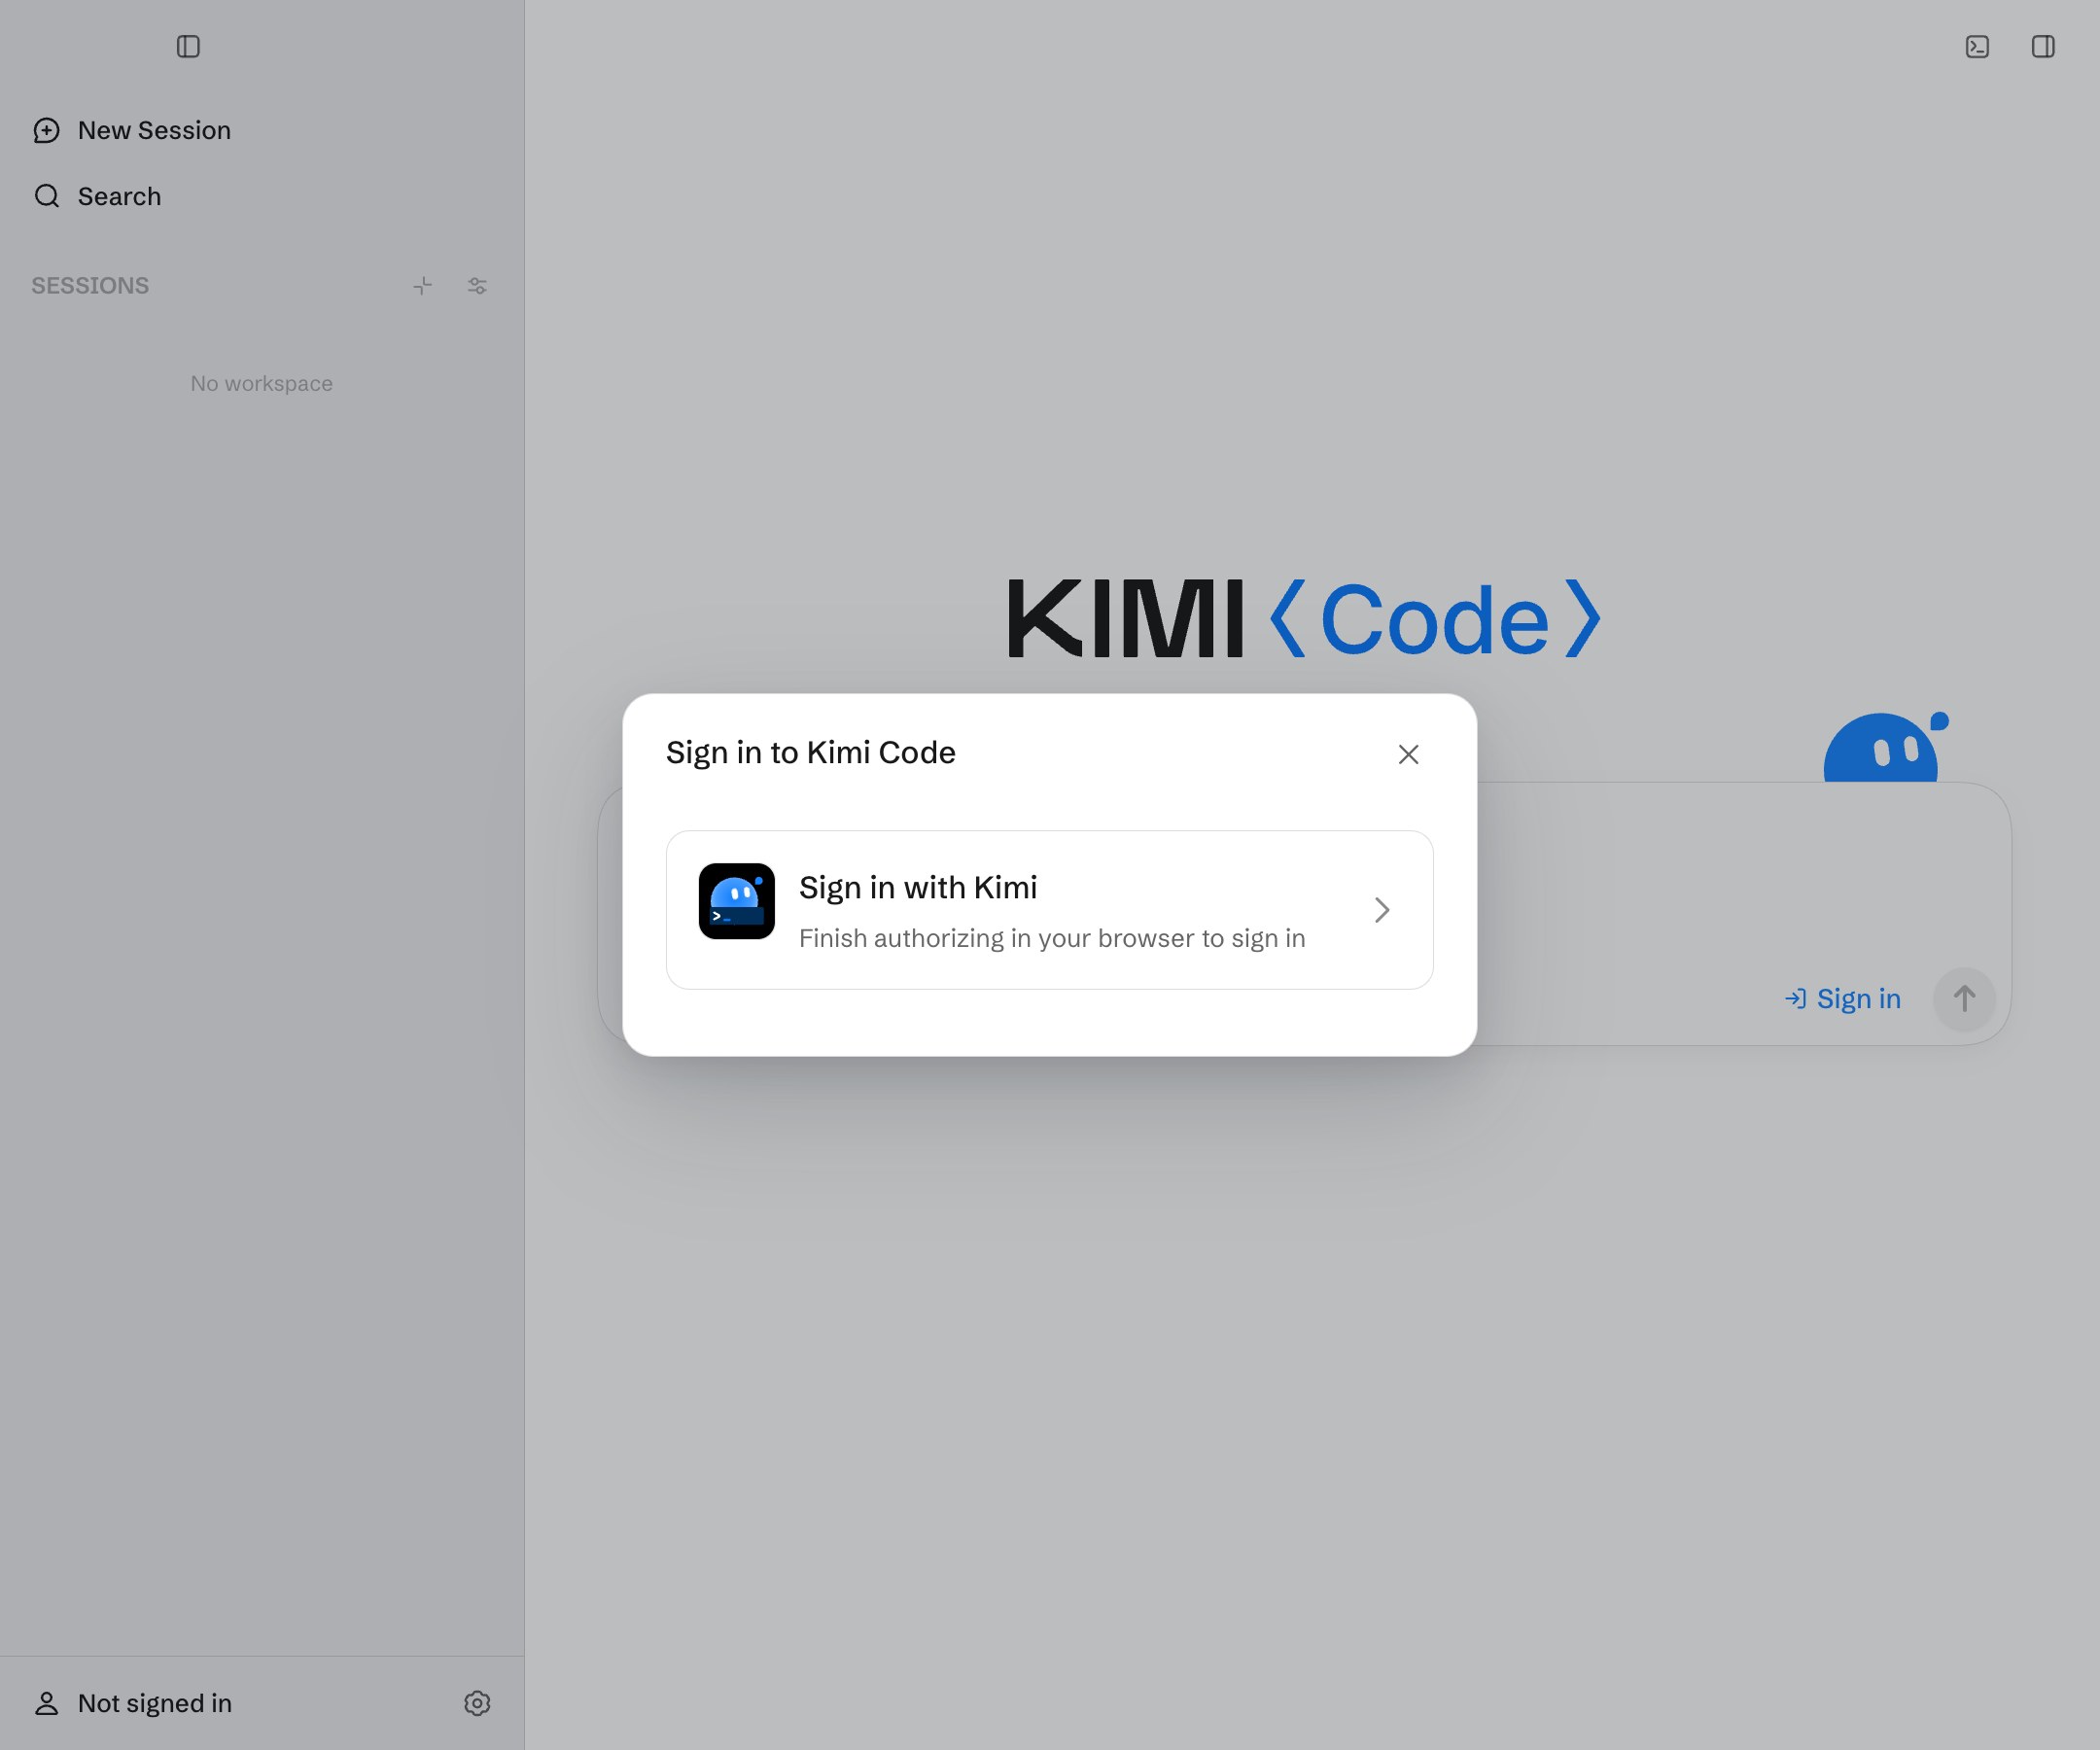
Sign in to Kimi Code: pick your account type, then complete OAuth authorization as prompted.
Use official Kimi models
After signing in with your Kimi account, Desktop uses the official models available to your account. You can confirm the current model in the model picker inside the Composer, or view available models and model permissions in Settings.
Accounts without a Kimi membership cannot use the official models directly, and available models vary by membership plan. Open the membership entry from the account area to review and choose a plan. You can check your plan's usage in the account area at the lower-left of the app or in Settings. See Membership Benefits and Model Configuration for details.
Connect a third-party model provider
To use another model provider:
- Open Settings and go to the Model Providers area.
- Add a provider and enter its API key, base URL, and model information.
- Save the configuration, return to the session, and switch to the model in the Composer.
- Send a read-only task to confirm that the model works.
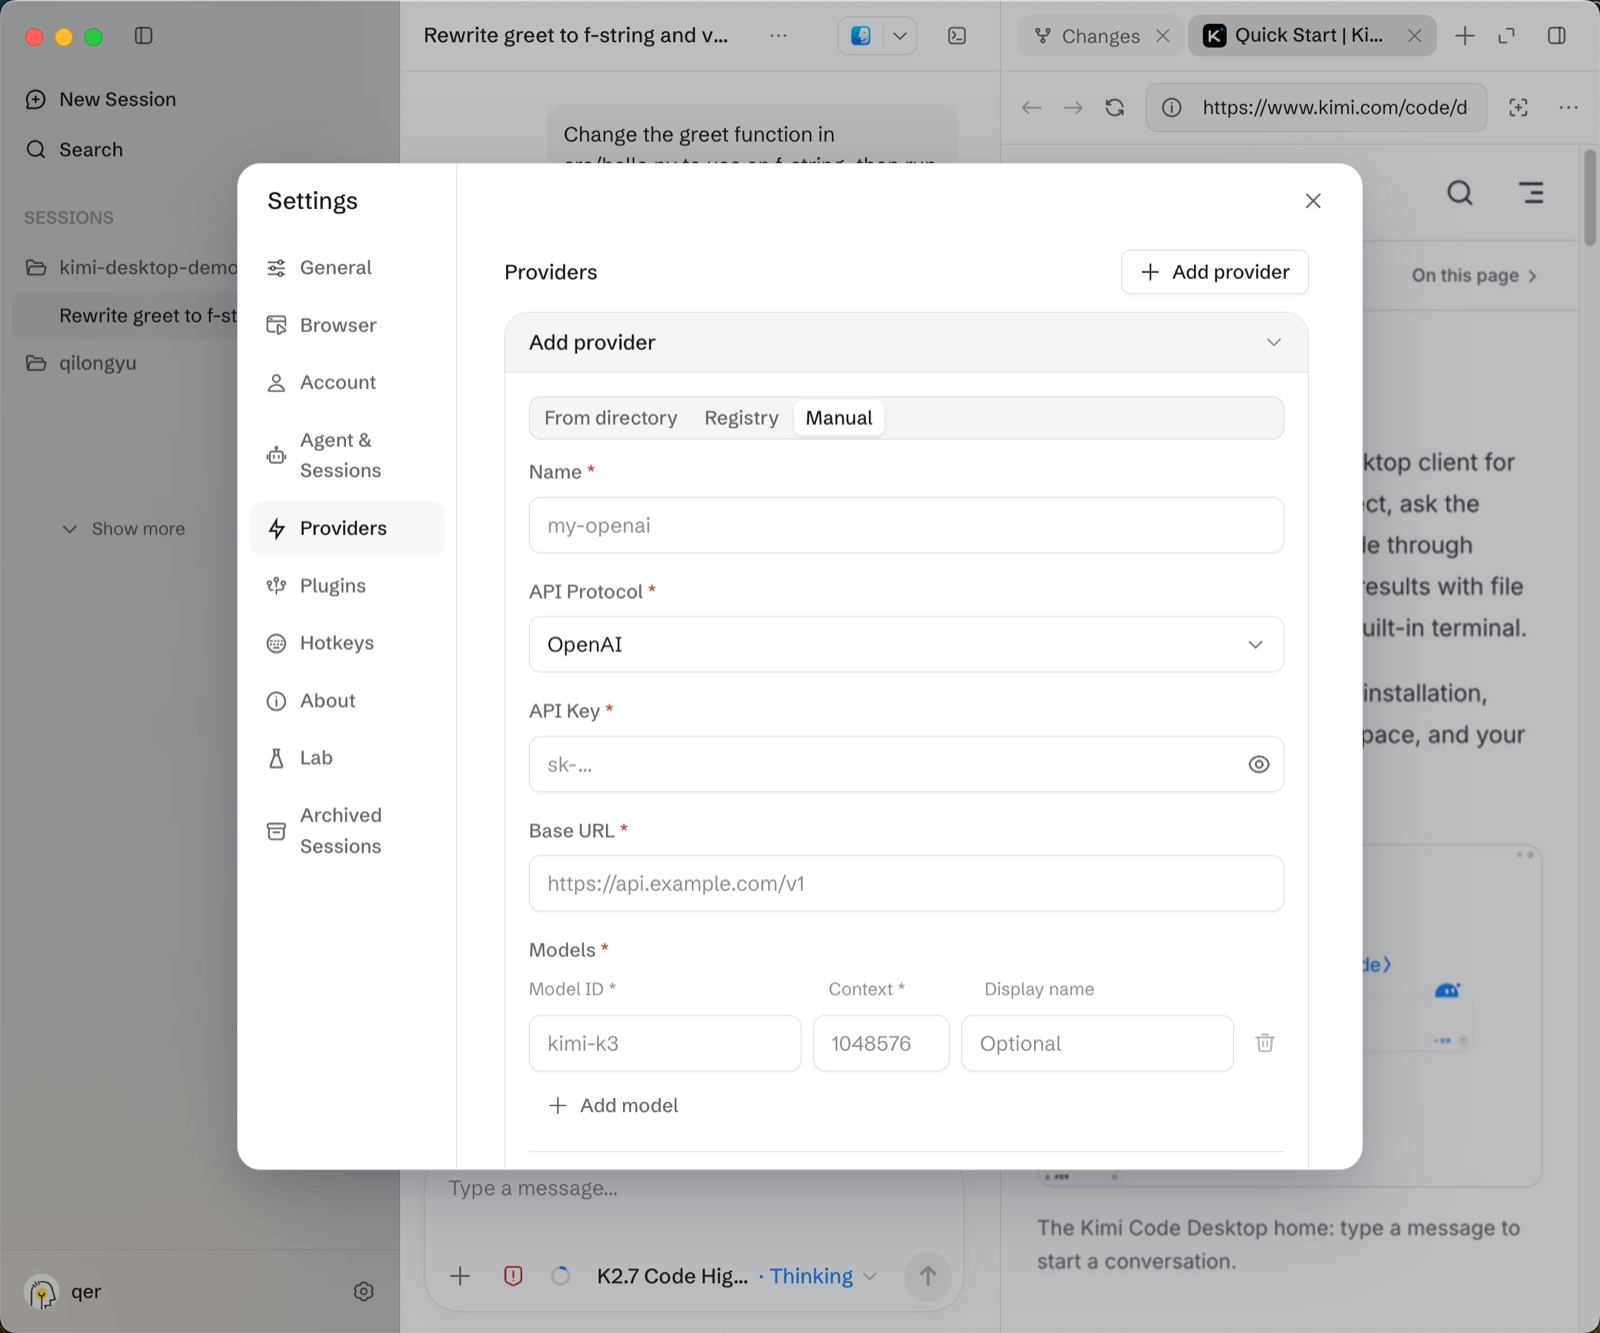
Manual setup asks for a name, API protocol, API key, base URL, and model information.
For complete model and provider details, see Model Configuration.
Choose a workspace
Desktop organizes sessions by workspace. After creating a session, choose the local project folder above the Composer:
- Click New session on the left.
- Click the folder name above the Composer to open the workspace picker.
- Choose a recent project folder, or click Choose folder… to add another local folder.
- Confirm that the target workspace appears above the Composer, then enter and send your task.
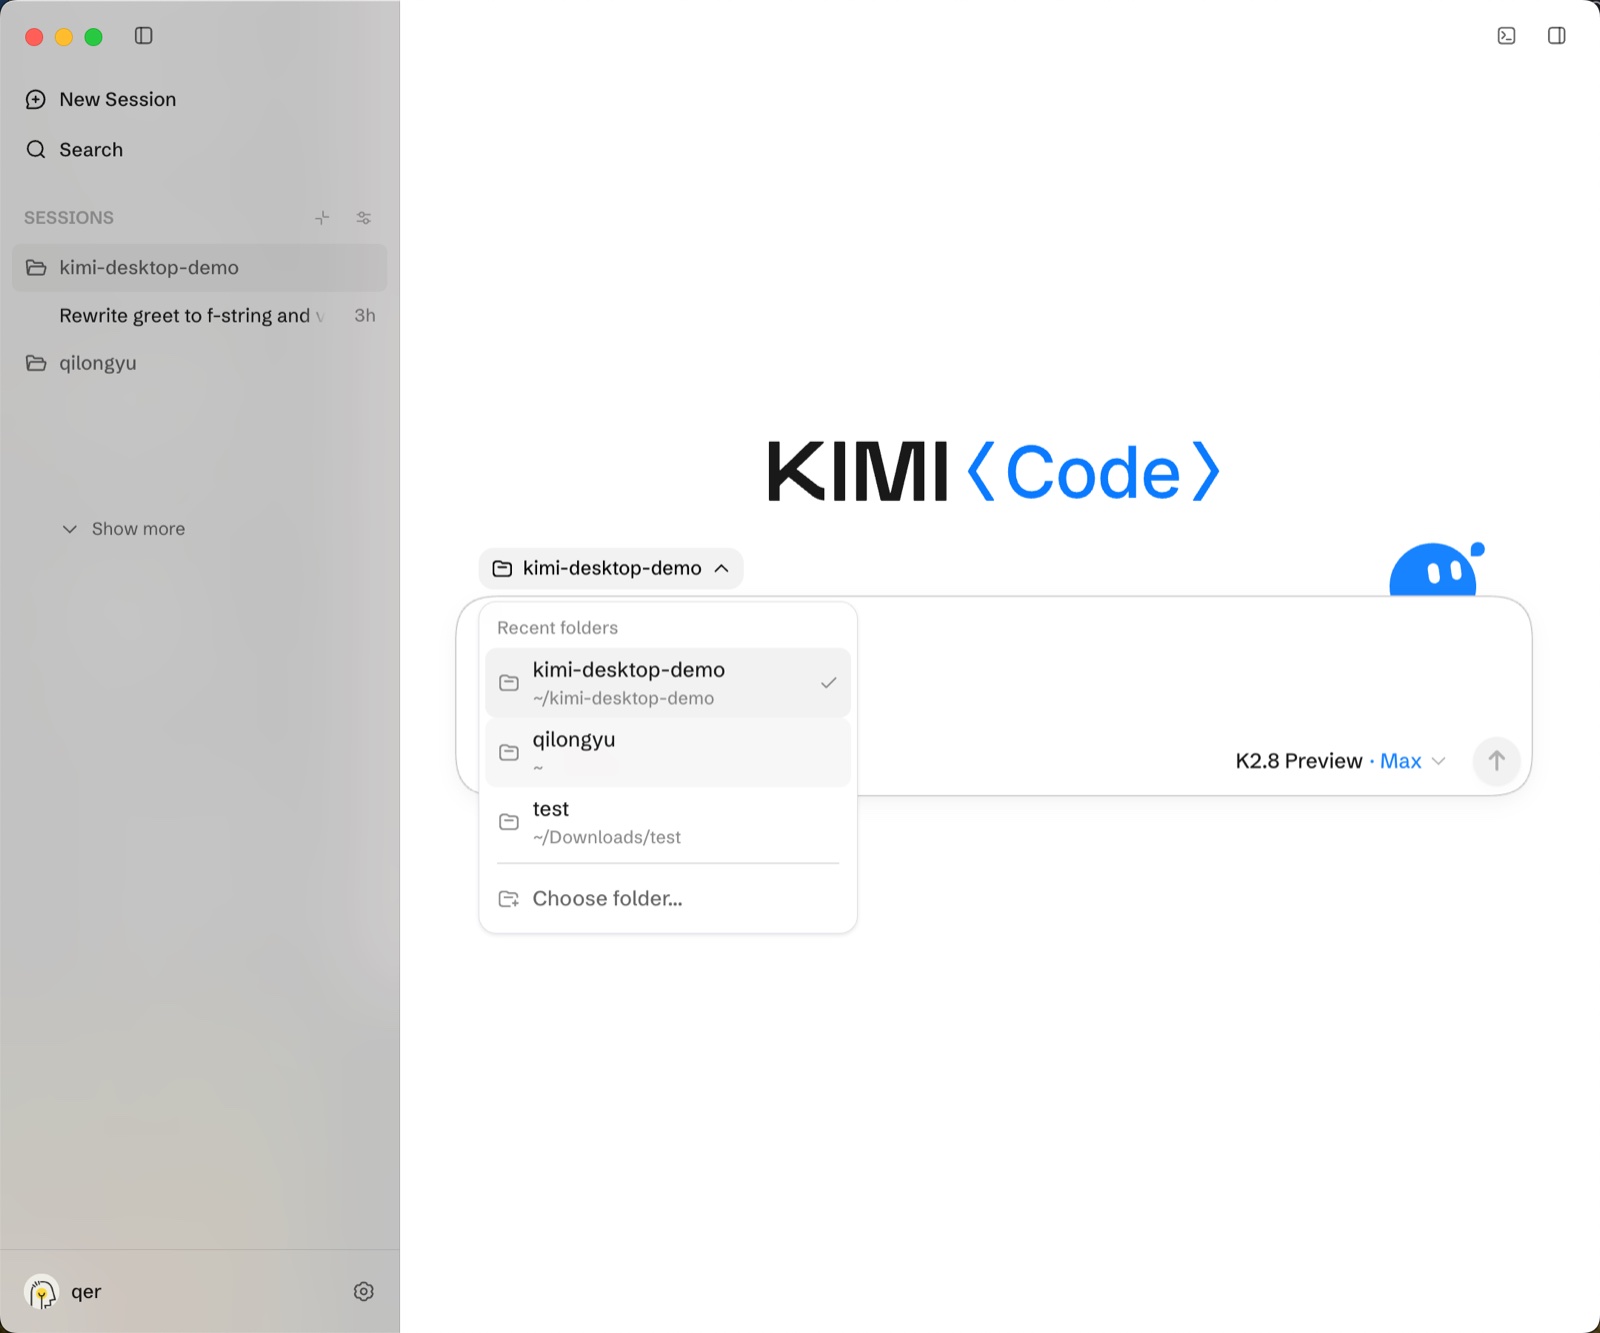
After creating a session, click the folder name above the Composer to choose a recent folder or add a new workspace.
For other workspace operations such as entering an absolute path or dragging to add a folder, see Workspace management.
Your first task
Type a task into the Composer and send it, or use @ to reference files and directories. For a first try, start with a small read-only question, for example:
The Agent reads your project files and replies with a summary without changing anything. After that, hand it a small change to make, for example:
For change-making tasks, Desktop may show approval cards. Review the command to run or the files to change before approving or rejecting; for a first session, start with Always Ask. See Approvals and Permissions for details.
The + button in the lower-left corner of the Composer lets you choose a task mode—see Task modes. Type / to invoke built-in commands; see Input and Context for the full command table.
Verify the result
The answer to a read-only question appears in the conversation. When a change-making task finishes, you can ask the Agent to run python3 hello.py to verify the result. The command and its output appear in the conversation. Check the following:
- The new file
hello.pyand its content in the Changes panel on the right; if the panel is not open, click + in the top bar and choose "Changes" from the new-tab menu; Hello, Kimi!as the command output in the conversation.
You can also run the command manually in the bottom terminal panel to verify it again. If the terminal is not open, press Ctrl + ` or click the "Open Terminal" button in the upper-right corner of the session.
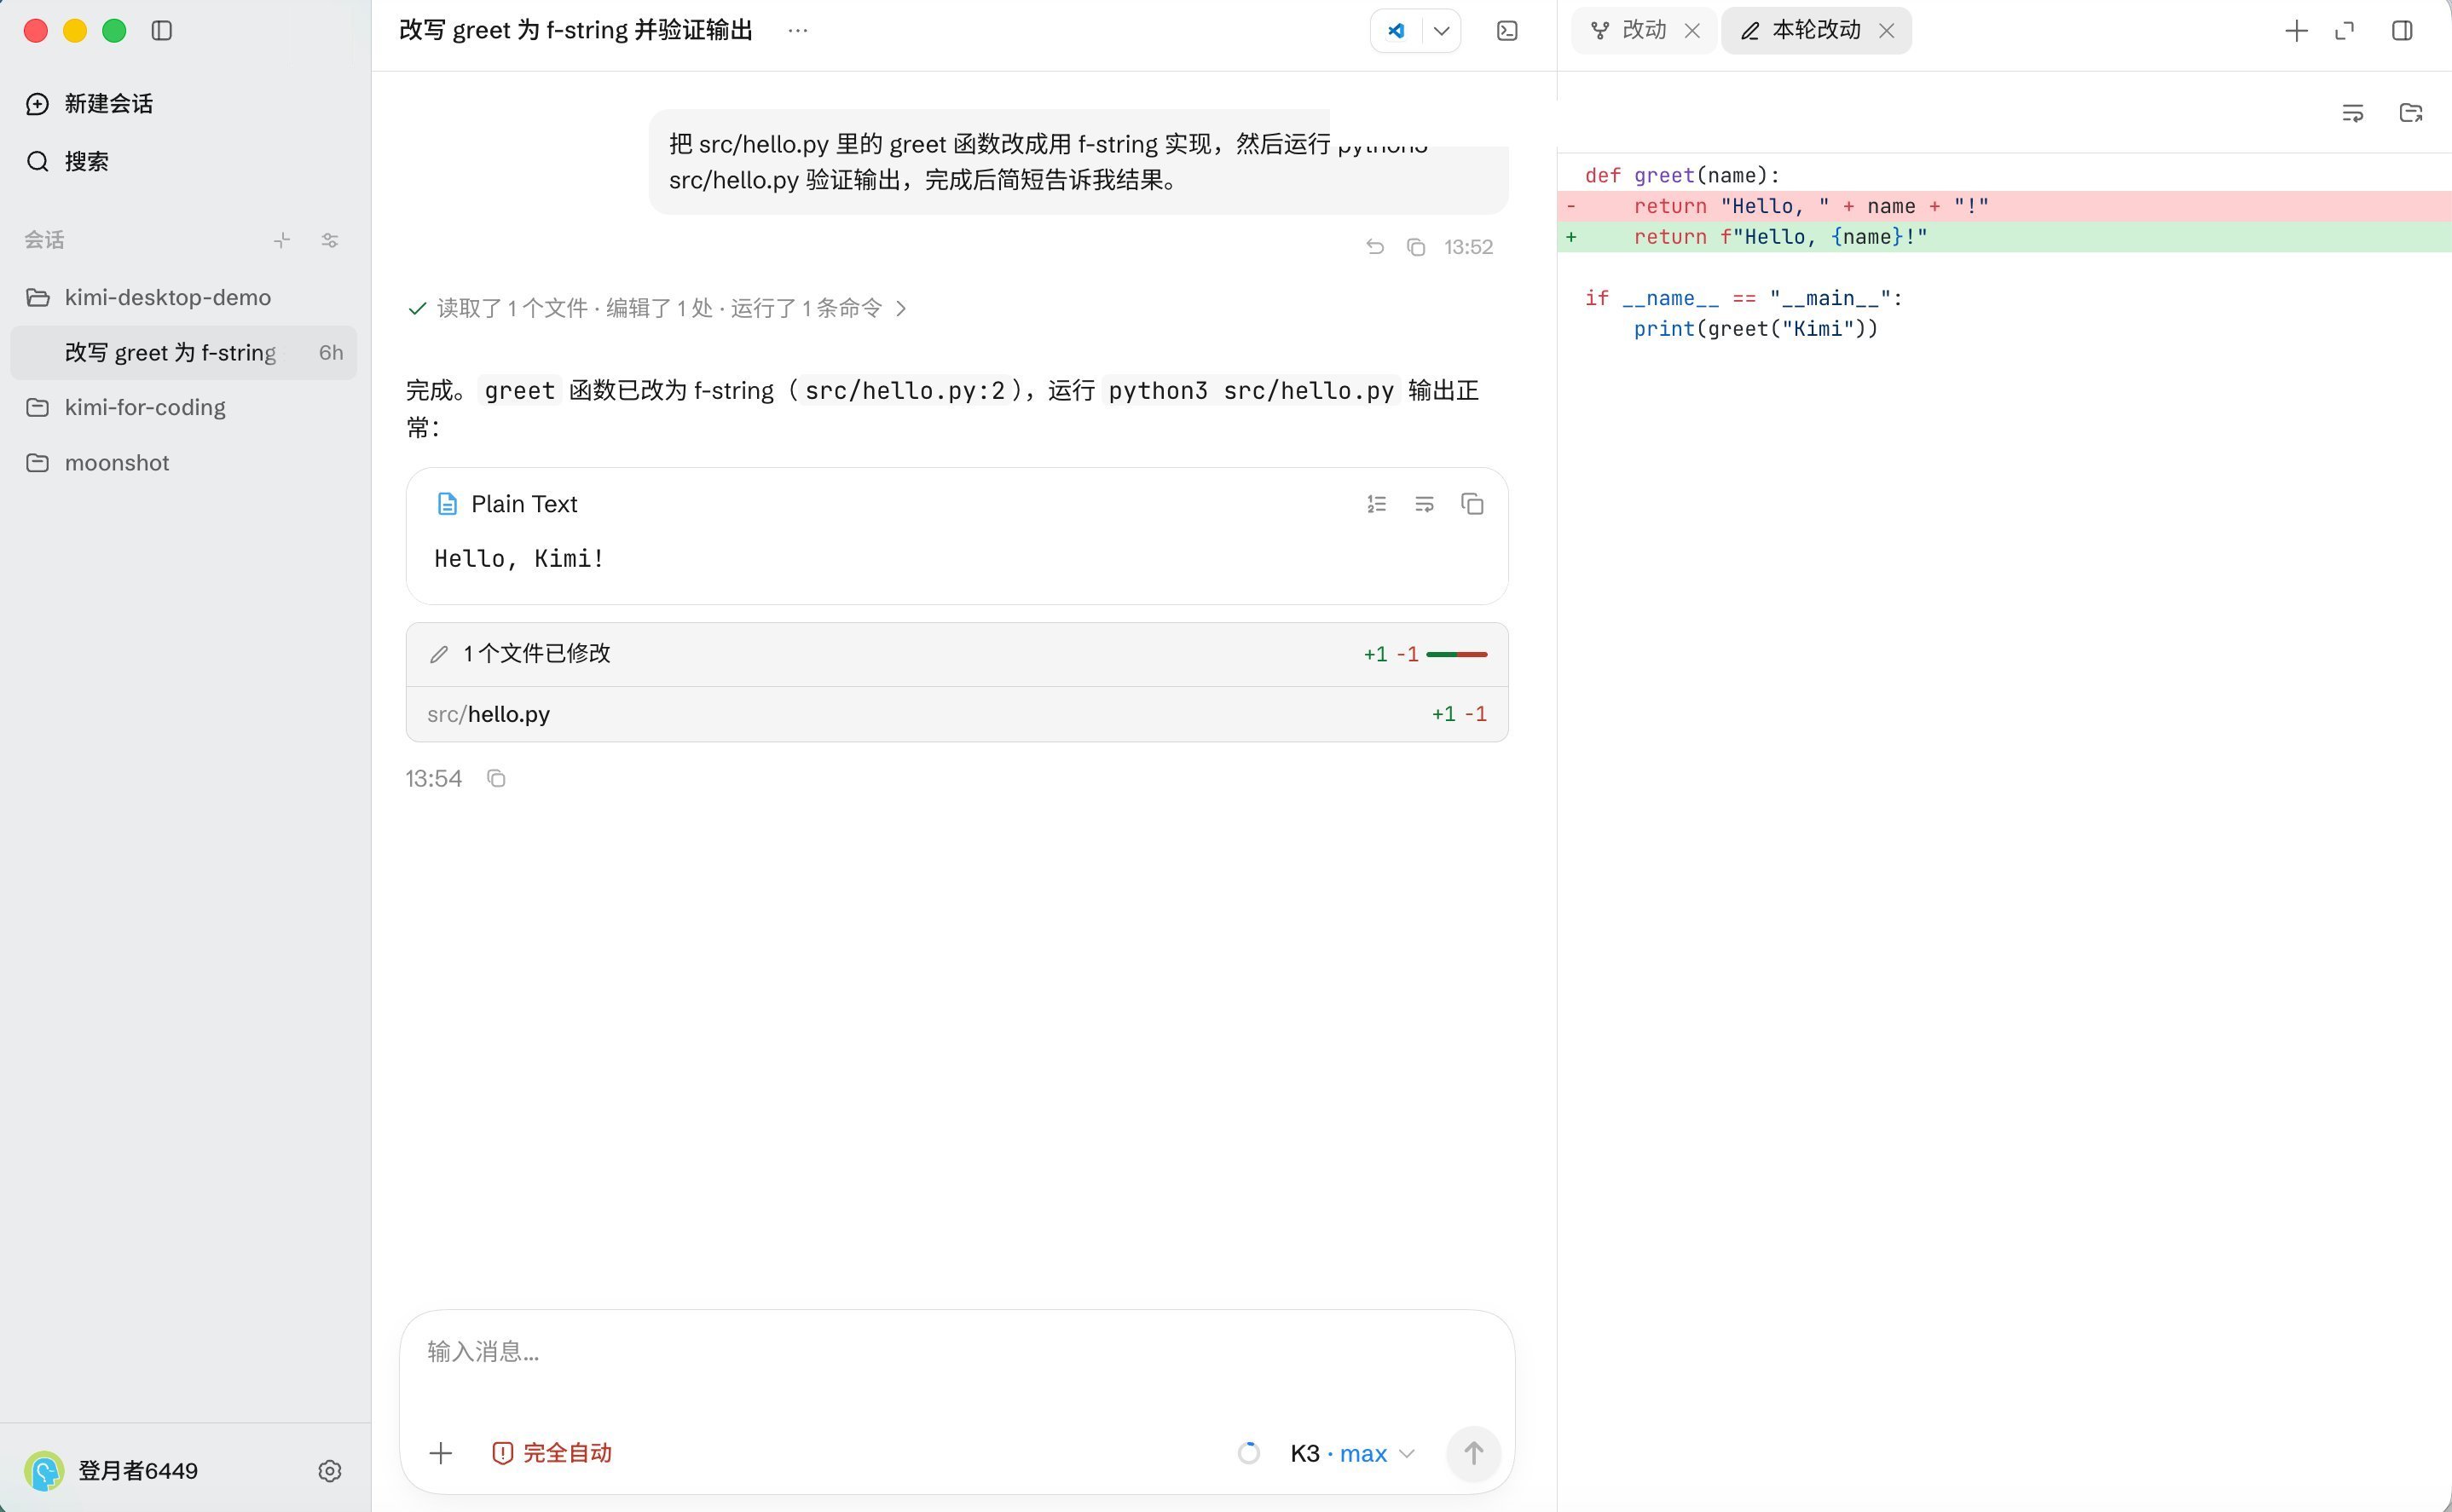
The Changes panel on the right shows the exact diff for each change.
For web projects, you can also open the built-in browser in the right panel to check pages directly—see Built-in Browser for more. If the result is not what you expected, go back to the session and explain the problem. For the complete workflow of running checks, verifying in the browser, and re-verifying after feedback, see Task Execution and Review.
Desktop or the CLI?
- Desktop: for managing projects, sessions, and changes in a graphical interface. Everything stays visible—you can watch the Agent's tool calls, execution progress, and code changes at any time; file paths mentioned in the chat open directly for preview; and the built-in terminal and browser let you run and verify the project without switching windows.
- CLI: for terminal-first and scripted workflows, such as automation scripts, remote servers, and CI environments.
The two can be installed on the same machine and share some local configuration, so you can switch between them per task. For the shared scope, see Settings and Extensions; for complete CLI usage, see Getting started with Kimi Code CLI.
Was this article helpful?