Getting Started with Kimi Code CLI
Kimi Code CLI is an AI Agent that runs in your terminal. It helps with software development tasks and terminal operations: reading and editing code, running Shell commands, searching and fetching web pages, and planning and adjusting its approach as it works.
Best suited for
- Writing and modifying code: implement features, fix bugs, and refactor code
- Understanding projects: explore unfamiliar codebases and answer questions about architecture and implementation
- Automating tasks: process files in batches, run builds and tests, and chain multiple scripts together
The entire CLI is written in TypeScript, distributed through npm, and runs on Node.js.
Before you start
- Operating system: macOS, Linux, or Windows (via PowerShell)
- Kimi account: a Kimi membership subscription or an API key you can call
Installation
Two installation methods are available: the official install script (recommended; no need to install Node.js first) and global installation with npm.
Install with the script (recommended)
macOS / Linux:
Windows (PowerShell):
The script automatically downloads the latest version, verifies the checksum, and adds the kimi executable to your PATH.
Windows users also need to install Git for Windows before first launch. Kimi Code CLI uses the included Git Bash as its Shell environment. If Git Bash is installed in a non-standard path, set KIMI_SHELL_PATH to the absolute path of bash.exe.
Install with npm
If you already have Node.js 22.19.0 or later installed, you can install directly with npm:
Or with pnpm:
Verify the installation
After installation, check that the executable is ready:
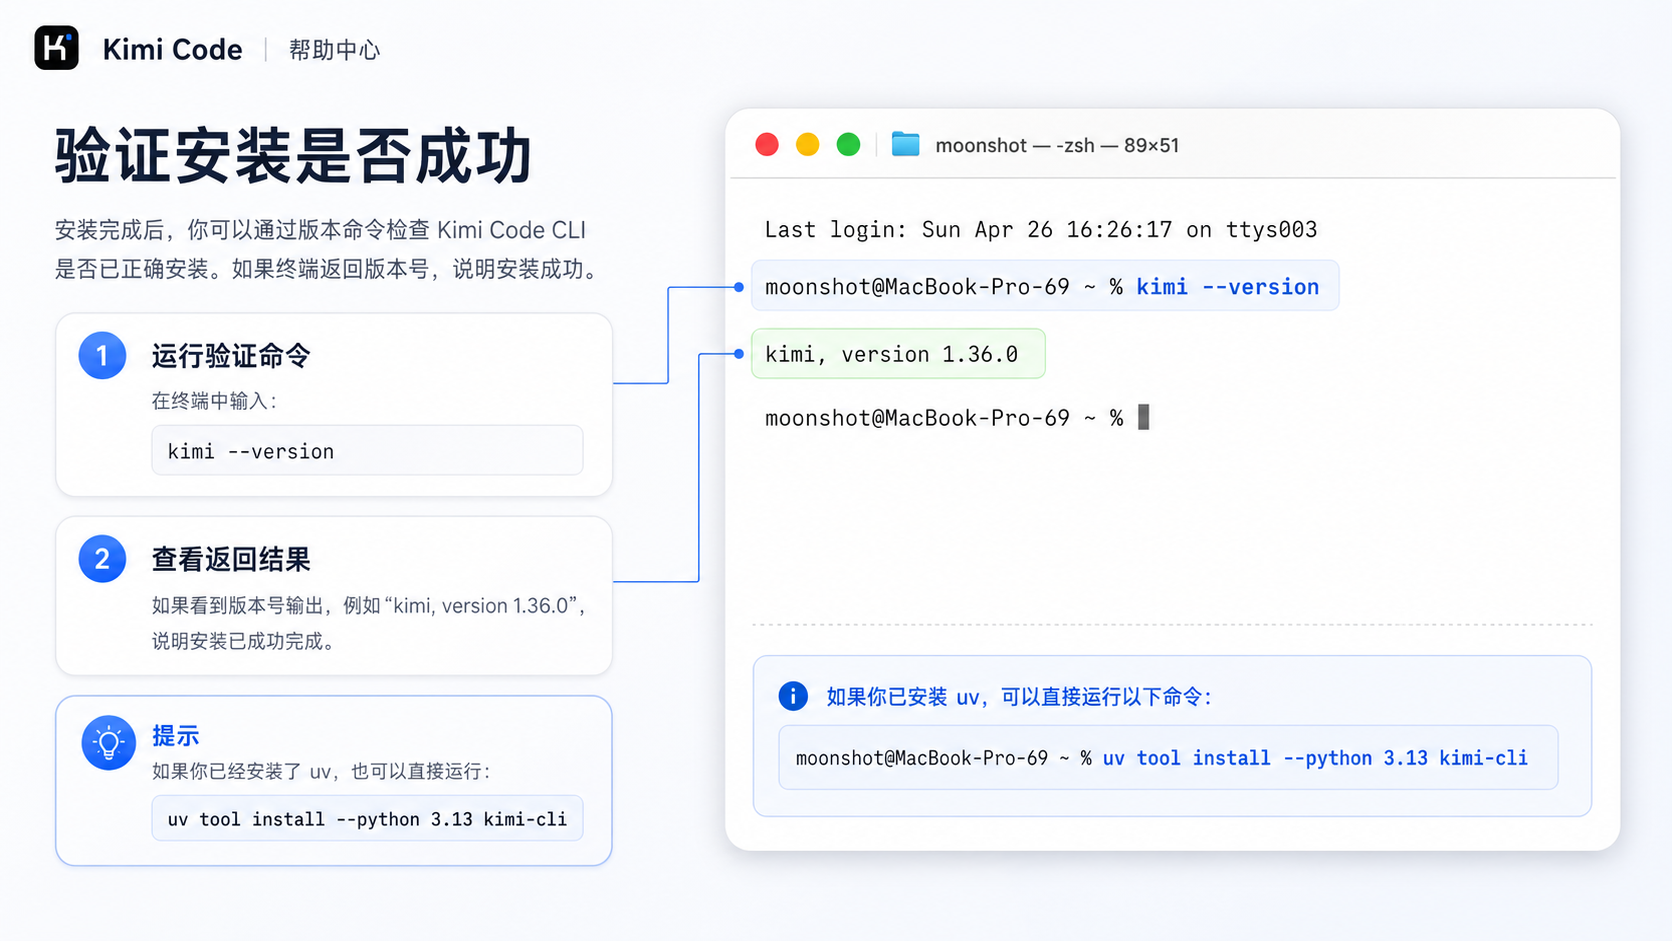
Because of macOS security checks (Gatekeeper), the first run of the kimi command may take a while. You can add your terminal app under “System Settings → Privacy & Security → Developer Tools” to speed up future launches.
If the kimi command is not found, try reopening your terminal or running source ~/.bashrc (or ~/.zshrc).
Upgrade and uninstall
Upgrade: run kimi upgrade. The CLI checks for the latest version and shows update options. After you choose Install update now, it upgrades based on how you originally installed it. You can also use your package manager directly:
Uninstall: if you installed with the script, delete the kimi executable. If you installed with npm, run:
First launch
Start the interactive interface
Go to your project directory and run kimi to start the interactive interface:
Run a single instruction
To run one instruction without entering the interactive interface, use -p:
Continue a session
Add -C to continue the previous session:
Sign in for the first time
On first launch, you need to configure the API source. In the interactive interface, enter /login to start the sign-in flow:
/login opens a platform selector with two supported options:
- Kimi Code (OAuth) — a verification-code flow. Open the link on any device, sign in, and enter the verification code to authorize access
- Kimi Platform API key — enter an API key from
platform.kimi.comorplatform.kimi.ai
To sign out, enter /logout to clear the current credentials.
If you want to connect to other providers such as Anthropic, OpenAI, or Google, edit ~/.kimi-code/config.toml directly to configure the API key. For the full list of configuration items, see the documentation on environment variables and configuration overrides.
Generate AGENTS.md
Run /init in your project directory. Kimi Code CLI scans the project structure automatically and generates an AGENTS.md file:
AGENTS.md provides the AI with project background, build steps, coding conventions, and other context so it can understand your project more accurately.
Your first conversation
After signing in, describe your task in natural language. Start by asking it to get familiar with the current project:
Kimi Code CLI automatically uses tools such as file reading and search to inspect relevant content before answering. Read-only operations run automatically by default without confirmation. Operations that modify files or run Shell commands will, by default, ask for confirmation before execution.
You can also describe a more specific task directly:
Kimi Code CLI plans the steps, modifies the code, runs tests, and tells you what it did at each step.
Not sure what it can do? Enter /help to open the built-in commands and shortcuts panel. Press ↑/↓ to scroll and Esc to close it. To exit, enter /exit, press Ctrl-C twice, or press Ctrl-D when the input box is empty.
Common commands and shortcuts
Session commands
| Command | Description |
|---|---|
/new | Start a new session and clear the current context |
/sessions | Browse past sessions and choose one to resume |
/model | Switch the current model |
/compact | Manually compact the context and free up token |
/fork | Fork the current session and continue independently with the history preserved |
Most-used shortcuts
| Shortcut | Description |
|---|---|
Esc | Interrupt streaming output / close a popup |
Ctrl-C | Interrupt output; press twice when idle to exit |
Shift-Tab | Switch Plan mode |
Ctrl-S | Insert a message while output is in progress, without waiting for it to finish |
Ctrl-O | Collapse / expand tool output |
For the complete list, enter /help or visit Work modes and Interaction and input.
Where data is stored
By default, Kimi Code CLI stores local data under ~/.kimi-code/, including configuration files, session records, logs, and update caches. To move it elsewhere, set a new path with the KIMI_CODE_HOME environment variable. For details, see the environment variables documentation.
FAQ
Why does authentication fail after I enter an API Key?
First check whether the Key and Base URL belong to the same platform. api.kimi.com and api.moonshot.cn are two completely separate account systems, and their API Keys are not interchangeable:
| Platform | Base URL | Billing | Key creation entry |
|---|---|---|---|
| Kimi Code | OpenAI-compatible: https://api.kimi.com/coding/v1Anthropic-compatible: https://api.kimi.com/coding/ | Kimi membership subscription (includes credit) | Kimi Code Console |
| Kimi Open Platform | https://api.moonshot.cn/v1 | Pay as you go | Kimi Open Platform website |
The kimi command cannot be found after installation
The install script adds kimi to PATH, but you need to restart your terminal or run source ~/.bashrc (or source ~/.zshrc) for it to take effect. If it still cannot be found, check whether ~/.local/bin is in your PATH.
The browser does not open after /login
If you are on a remote server or in an environment without a graphical interface, /login displays a URL. Copy it into a browser manually to complete authorization.
For more questions, see FAQ.
Next steps
- Interaction and input — input box operations, approval flow, Plan mode, and YOLO mode explained
- Sessions and context — resume sessions, compact context, and export sessions
- Common use cases — prompt examples for typical tasks
Was this article helpful?