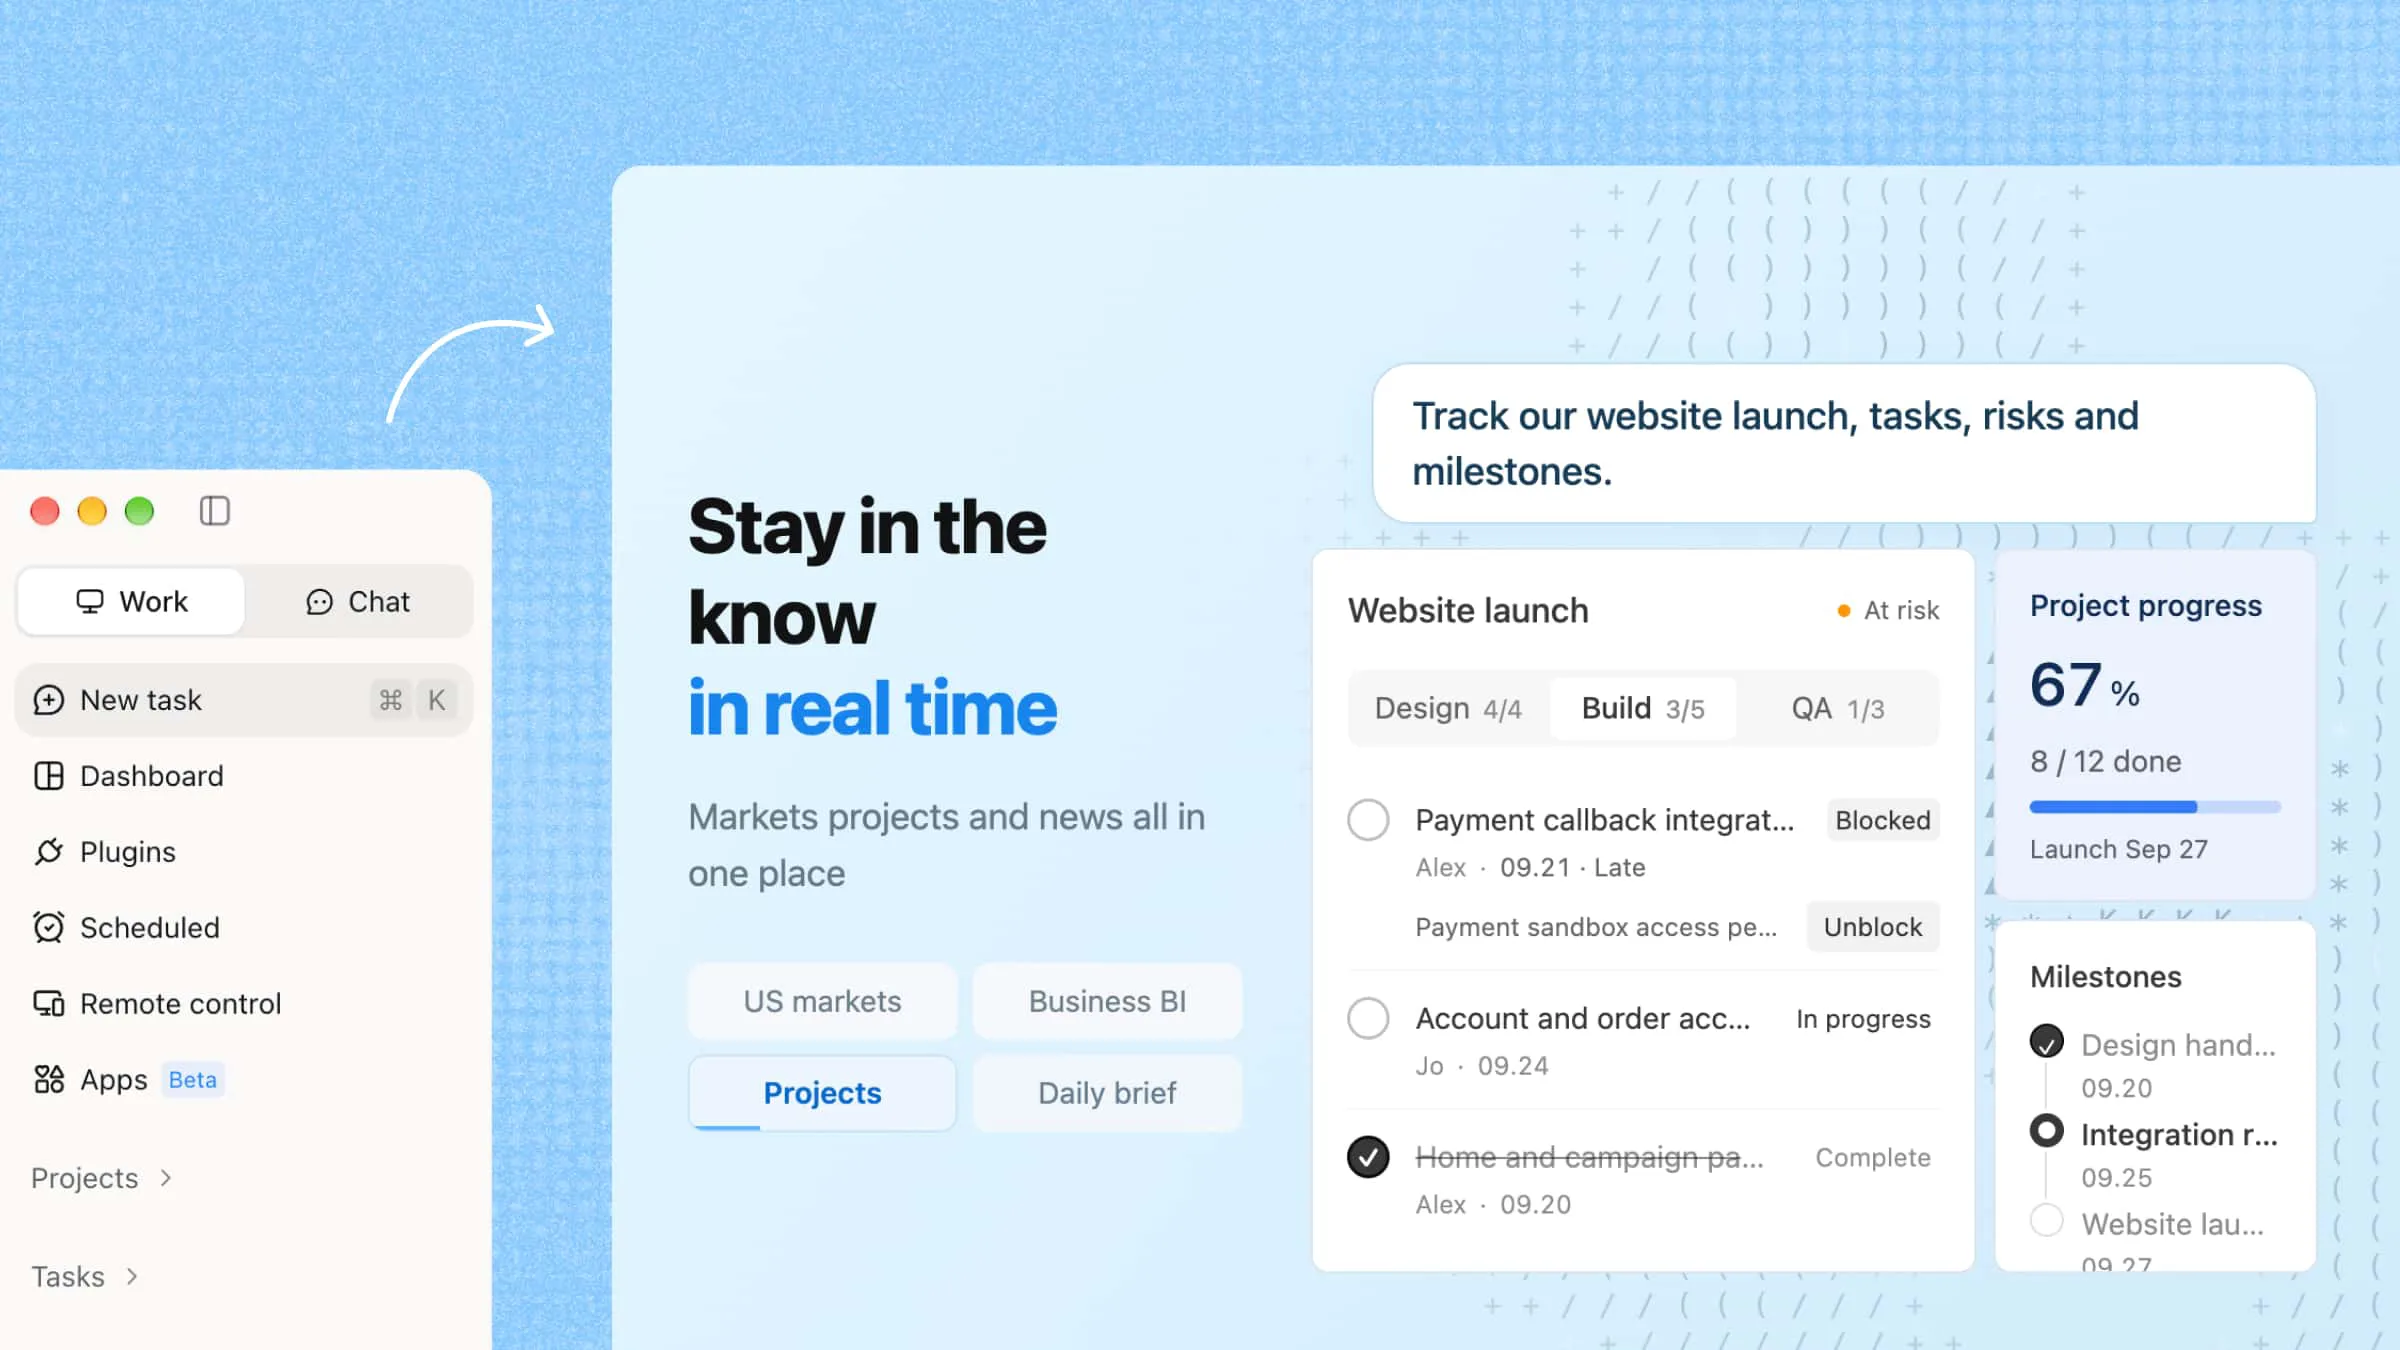
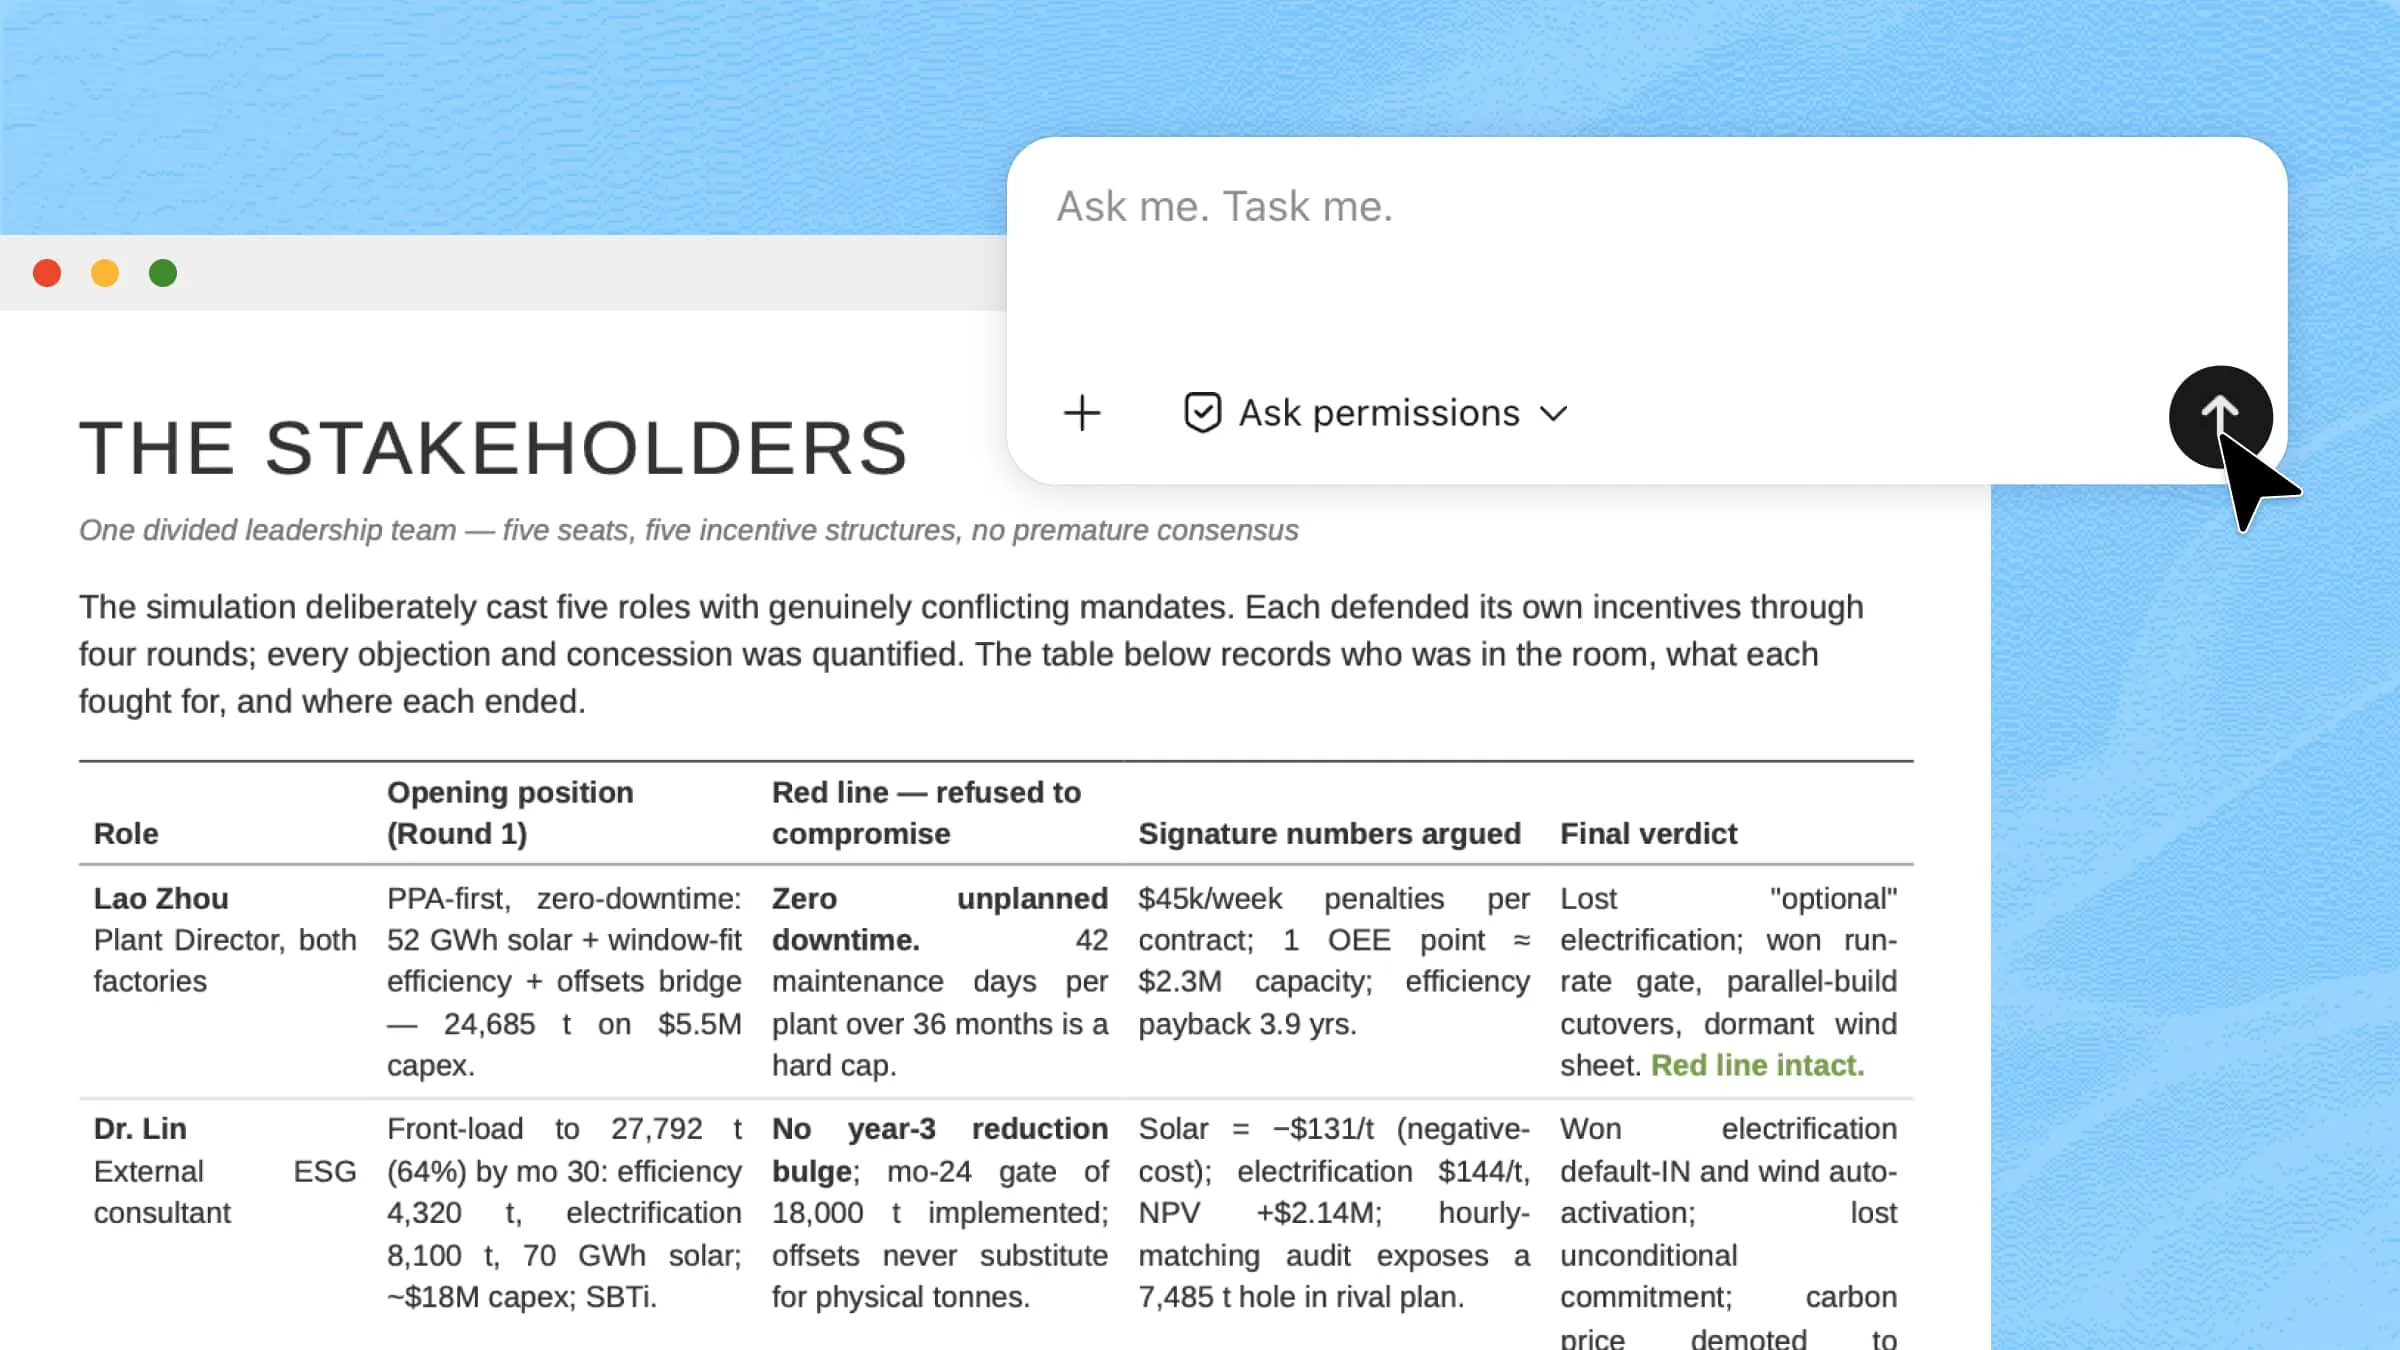
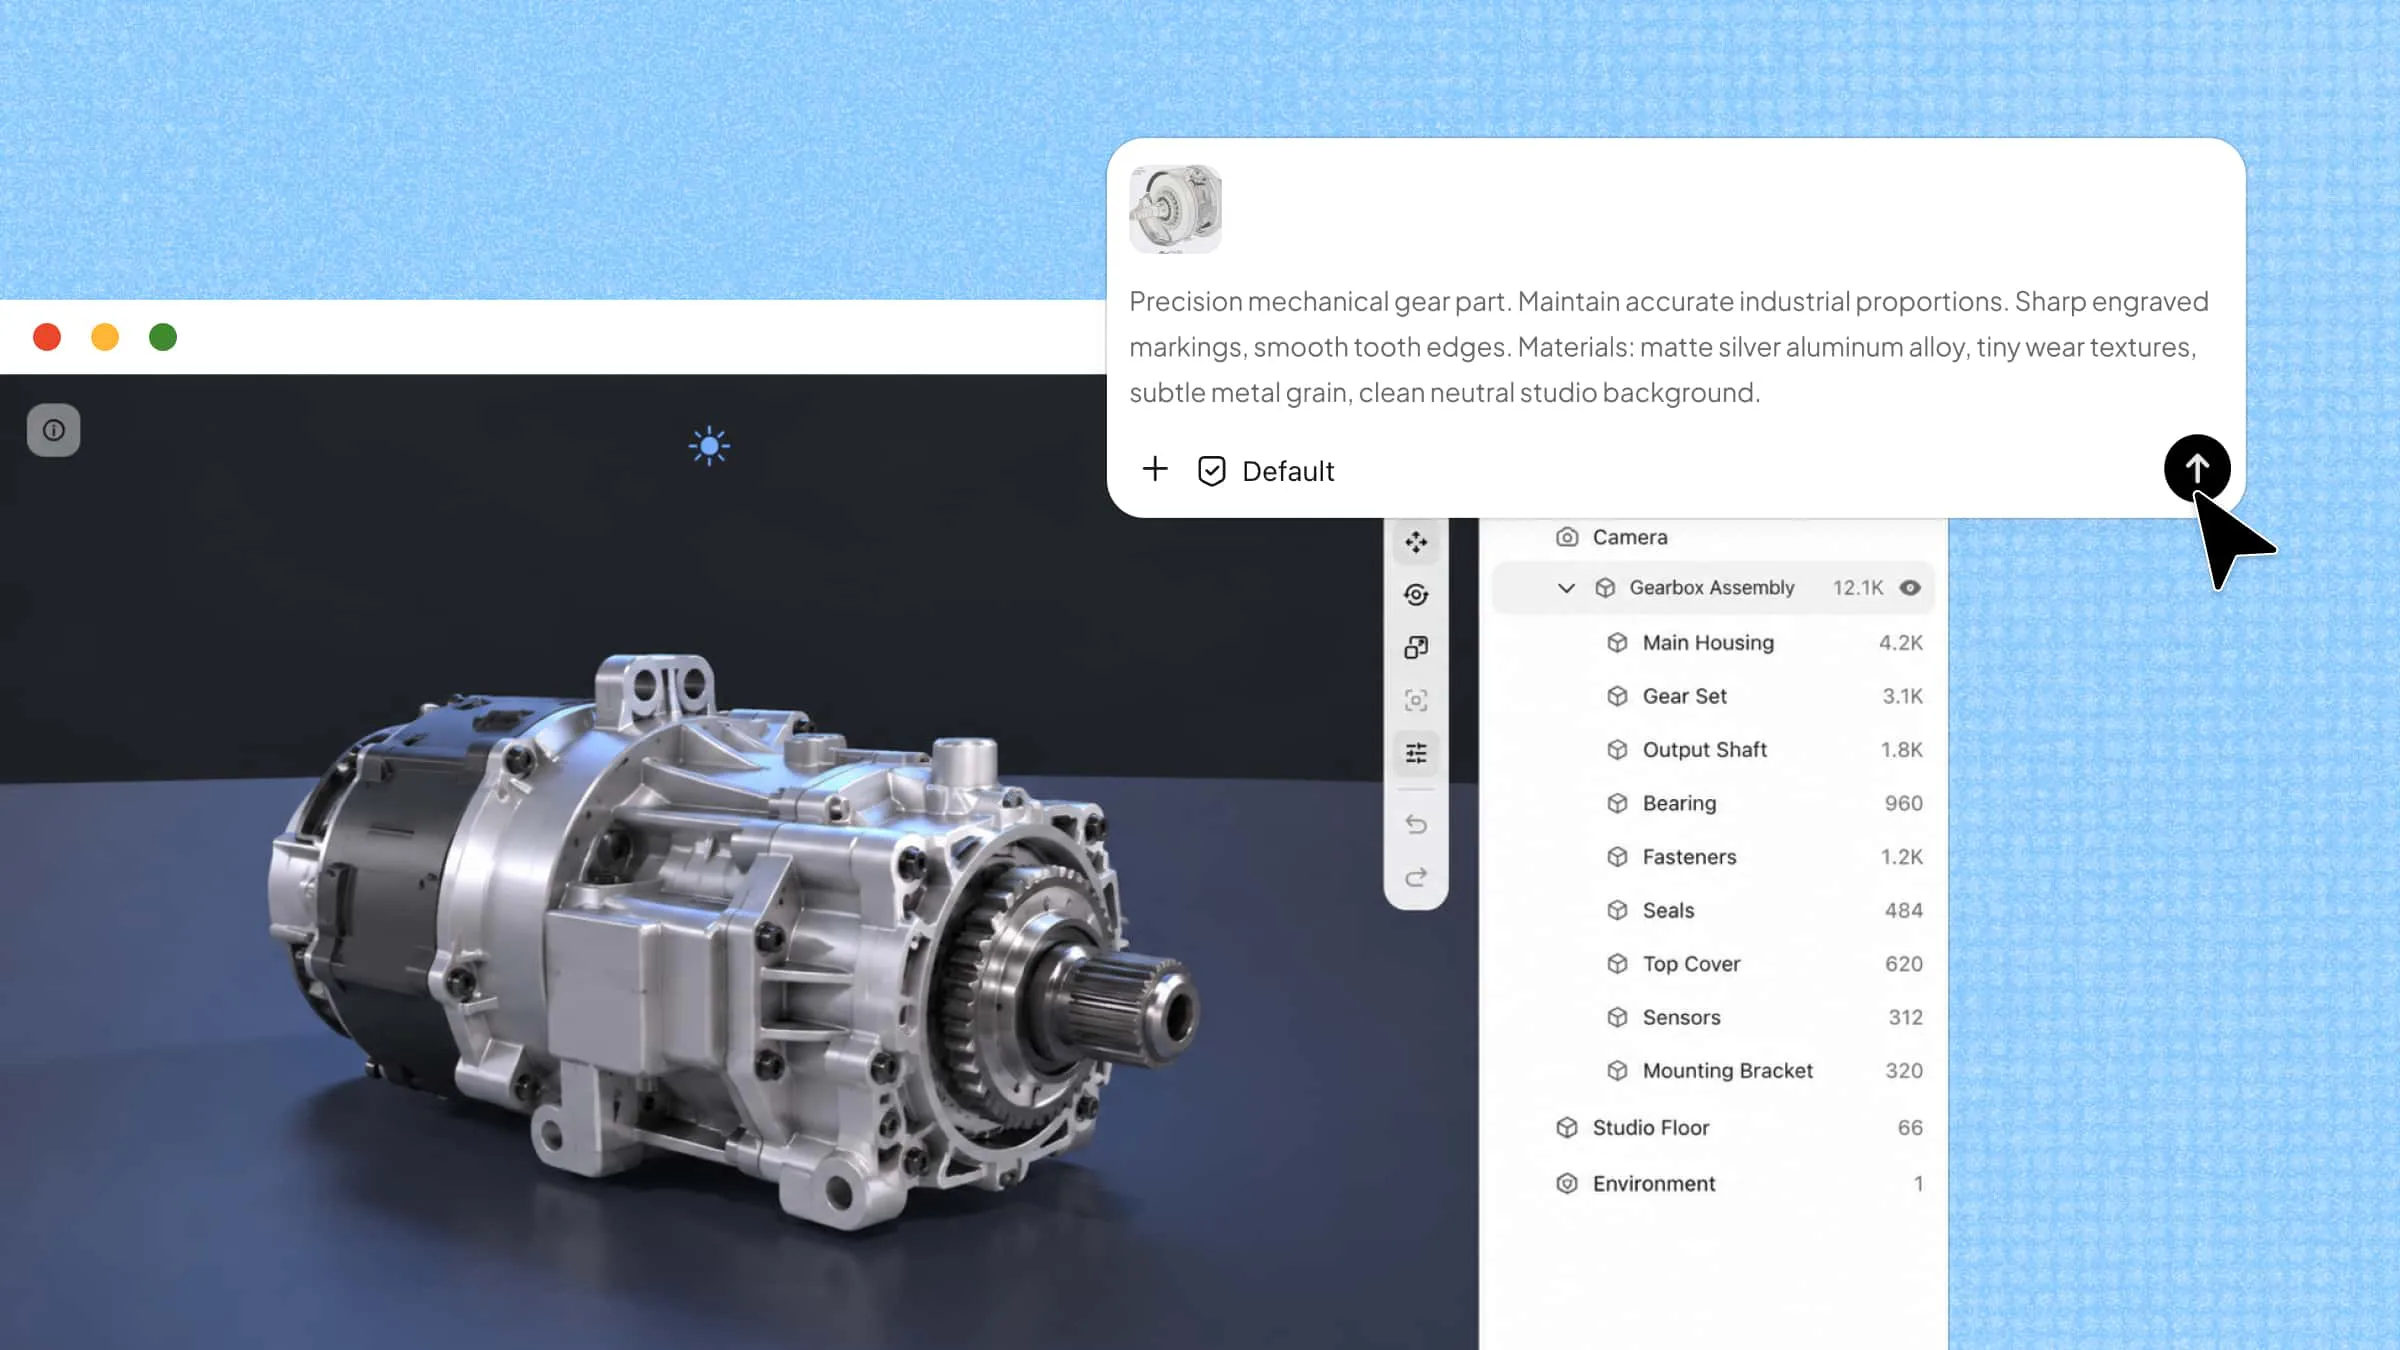
自定义桌面组件,通常意味着把系统自带的组件或者把多个单一用途的组件手动组合在一起。而 Kimi Work 提供了另一种方式:描述想要的组件,通过对话创建和调整,然后将它保存在看板中,或固定到桌面上。
什么是 Kimi Work 看板?
Kimi Work 是一款面向 macOS 和 Windows 推出的桌面 AI 智能体。Kimi Work 看板是一个跨会话空间,用来整理通过对话创建的交互式组件。
组件是针对特定需求创建的交互式视觉工具,例如查看天气或纪念日倒计时。看板为这些组件提供了一个存放位置,让它们在对话结束后仍然可用。或者说,通过看板,你可以把组件集中到一个围绕个人需求打造的页面中。
Kimi Work 看板的主要功能
Kimi Work 看板的价值不只在于生成一个桌面组件,还在于让组件围绕你的需求持续变化。你可以自己决定组件展示什么、如何排列,以及最终保存在看板中还是固定到桌面。
从适应模板到按需创建
传统桌面组件通常要求用户从预设模板中选择。Kimi Work 则从你的实际需求出发,让你自己定义组件的内容、信息层级和视觉方向,不必为了使用现成功能而改变原有习惯。
从整体重做到局部迭代
组件的第一版不需要一次达到最终效果。你可以选中需要修改的区域,调整文字、颜色、尺寸或布局,而不必重新描述整个组件。这样,每次修改都能在已有结果上继续推进。
在看板与桌面之间灵活使用
需要集中查看时,可以把多个组件保存在看板中;需要持续关注某项信息时,也可以将单个组件固定为独立桌面窗口。组件的放置方式可以根据使用频率和当前任务进行调整。
把一次生成变成长期视图组件
保存到看板后,可以在后续使用中继续查看和修改。随着需求变化,你可以更新内容、调整信息层级或重新安排布局,让看板逐渐形成一套围绕个人需求建立的信息视图。
Kimi Work 看板与传统桌面组件的区别
两种方法都能让用户随时获取有用信息,但二者在小组件的创建、优化、组织以及桌面放置方式上存在差异。
| 对比维度 | 传统桌面小组件 | Kimi Work 看板 |
|---|---|---|
| 创建方式 | 从系统或应用提供的小组件中选择 | 围绕具体需求创建组件 |
| 调整方式 | 根据预设设置和控件进行调整 | 标注具体区域并自由提出修改要求 |
| 组织管理 | 分别通过对应的系统或应用进行管理 | 将生成的组件集中保存在看板中,并可跨会话使用 |
| 桌面使用 | 使用系统或应用提供的放置方式 | 将组件保留在看板中,或将单个组件固定到桌面作为独立窗口使用 |
当现成组件已能满足需求时,传统部件依然实用。若你希望对部件的信息、布局或用途拥有更高的掌控度,Kimi Work 看板则提供了另一种选择。这两种方式也可结合使用:将传统部件用于常用功能,借助 Kimi Work 打造个性化视图,方便你长期优化、反复查看。
如何用 Kimi Work 创建桌面组件
这套工作流同时适用于 macOS 和 Windows。你只需先描述需求,再不断优化并放置生成的组件即可。
第 1 步:下载并打开 Kimi Work
下载 Kimi Work 桌面端并打开,进入 Kimi Work 功能区,点击“看板”,然后点击“对话创建”。进入想要创建第一个组件的工作区。
第 2 步:创建第一个组件
从一个明确的使用场景开始,输入提示词,说明组件的用途、需要展示的信息和视觉方向,然后点击发送。例如:
第 3 步:批注并调整结果
查看组件,然后进入批注模式,选中想要修改的区域并描述调整内容。根据需要重复操作,直到组件达到预期效果。
第 4 步:将组件固定在桌面,或者保存在看板中
组件准备好后,可以将它保存在看板中,方便日后访问。如果想在其他工作中持续查看某个组件时,也可以将它固定为独立的桌面窗口。
个人看板的使用场景
管理日常家务和个人习惯
创建一个待办事项组件,记录本周需要完成的采购、清洁和账单事项,再添加习惯追踪组件,查看阅读、运动或早睡计划的完成情况。你可以将当天最重要的事项固定到桌面,其余内容保留在看板中。
跟进个人兴趣和重要日期
为演唱会、旅行或纪念日创建天气和倒计时组件,再用另一个组件整理相关计划和准备事项。随着日期临近,可以继续调整内容,把当前最需要关注的信息放在更显眼的位置。
为产品上线建立倒计时和任务看板
在产品上线前,可以创建一个进度组件,显示还有多少待办,列出当前优先任务、待解决问题和关键里程碑。再将倒计时固定到桌面,同时把完整任务视图保留在看板中,方便随时查看整体进度。
建立重点资产观察面板
如果你每天都关注金融资产和指标,可以把它们整理成一个紧凑的市场观察面板,再固定到桌面上随时查看。根据研究习惯安排信息层级,让重要指标更容易找到。在做出决策前,仍需通过适当的信息源核实金融数据。
整理一次实验的结果
在进行实验时,可以创建一个实验看板,分别记录测试结果、使用数据、最新实验备注和当前项目状态。将每类信息放入独立组件,再集中到同一个看板中。下次继续实验时,就能直接回到这组视图,不必重新翻找文件和对话。
Kimi Work 看板适合哪些人?
Kimi Work 看板适合需要长期关注一组信息,同时又希望自己决定内容、布局和展示方式的人。它尤其适合以下几类用户:
需要持续查看关键信息的人 如果你每天都会重复查看某些内容,可以把它们集中到一个看板中。这样无需反复翻找对话、文件或不同应用,也能快速回到自己的信息入口。
不想受固定模板限制的人 传统工具通常要求用户先适应既定的字段和布局。Kimi Work 看板则允许你先描述自己的需求,再逐步调整内容。你可以从一个简单版本开始,之后再补充字段、修改排序,或改变信息的呈现方式。
需要反复优化信息视图的人 有些信息在不同阶段的重要性并不相同。Kimi Work 看板适合那些会随着任务进展调整信息层级的用户。你可以突出当前最重要的内容,也可以隐藏暂时不需要关注的部分。
经常在多个任务之间切换的人 如果你需要同时处理不同项目或生活安排,独立的看板可以帮助你保留不同的上下文。每个看板围绕一组目标组织内容,切换时不必重新解释背景或重新搭建页面。
偏好视觉化信息的人 对于不想只依赖长文本、表格或多个窗口的用户,组件和看板可以提供更直观的信息入口。状态、日期、进度和重点内容能够按照你的阅读习惯进行排列。
总体来说,Kimi Work 看板更适合把某些信息当作“长期工作界面”的用户,而不是仅偶尔生成一次内容的用户。如果你只需要一次性的清单或简单提醒,系统自带的工具可能已经足够;如果你希望持续调整并反复使用一套个性化视图,看板会更有价值。
Kimi Work 不止有看板
看板让你把经常查看的信息整理成组件,并集中放进一个页面。但它只是 Kimi Work 的一部分。作为桌面 AI Agent,Kimi Work 还可以处理本地文件、操作浏览器、持续推进复杂目标,并按照预定时间执行重复任务。
直接处理本地文件和文件夹
将本地文件夹关联到项目后,Kimi Work 可以读取其中的文件,并将整理、分析或生成的结果直接写回指定位置。它也可以运行代码和命令,适合处理需要在多个文档、电子表格或代码文件之间连续操作的任务。涉及权限的操作会根据你选择的权限模式请求确认。
通过 Kimi WebBridge 操作浏览器
连接 Kimi WebBridge 后,Kimi Work 可以在已登录的浏览器中导航页面、点击元素、填写表单和下载文件。对于需要在网页与本地文件之间来回处理的流程,这可以减少重复点击、复制和粘贴。
设置一次性或周期性任务
Kimi Work 支持按计划运行任务。你可以设置指定时间执行的一次性任务,也可以创建每天、每周或每月重复运行的任务。任务保存后会按照设定时间启动,适合处理定期收集、整理和生成结果的工作。
使用目标模式持续推进复杂目标
对于无法通过一轮对话完成的任务,你可以在目标中说明目标、约束条件和验收标准。Kimi Work 会把目标拆分成多个步骤,持续执行并检查进度。你可以随时查看当前状态、补充信息或调整方向,而不必在每一轮重新描述完整背景。
使用插件连接更多工具
Kimi Work 的插件可以扩展外部数据和第三方服务能力。安装插件并完成必要授权后,你可以在对话中调用相应工具,减少在多个应用之间手动切换的步骤。不同插件的功能和授权范围可能有所不同,使用前可以先确认其访问权限。
看板更适合整理和持续查看信息,而这些功能更侧重于执行任务与交付结果。你可以阅读 Kimi Work 完整介绍,进一步了解 Goal Mode、定时任务、插件、本地文件处理和浏览器自动化。
总结
Kimi Work 看板为桌面组件提供了一个对话式起点。你可以描述想要的内容,查看渲染后的组件,再用批注指出需要调整的部分。生成结果可以跨会话保存在看板中,也可以将单个组件固定到桌面上。无论你想创建天气视图、倒计时、任务面板,还是一个个性化看板,Kimi Work 都能帮助你围绕真正关心的信息打造专属页面。