Word has no direct way to export a document as JPG. Its File menu offers document formats like PDF and DOCX, but not images. Most method that gets you a JPG works around this, usually by converting the document to a PDF first and then exporting that as an image. This guide covers four ways to do it: the Mac Preview method, the Windows Print to PDF approach, a free online converter, and a one-step option with Kimi Docs.
Overview of 4 ways to convert Word to JPG
Converting a Word document to JPG always takes at least one extra step, since Word has no native image export. Here's a quick comparison of all four methods before diving into the steps.
| Method | Platform | Intermediate file needed |
|---|---|---|
| Preview (Mac) | Mac only | Yes, PDF |
| Print to PDF + online converter (Windows) | Windows | Yes, PDF |
| Online Word to JPG converter | Any device, browser | No |
| Kimi Docs | Any device, browser | No |
How to convert Word to JPG on Mac using Preview
If you're on a Mac, you can directly use the built-in Preview function to do the conversion.
Step 1: Save the Word document as a PDF
With the document open in Word, go to File > Save As, then choose "PDF" from the File Format dropdown and save it.
Step 2: Open the PDF in Preview
Find the saved PDF in Finder and double-click it. Preview is the default PDF viewer on Mac, so it opens automatically.
Step 3: Export as JPEG
Go to File > Export, choose JPEG from the format dropdown, and adjust the quality slider if you want to control the file size. Higher quality means a sharper image and a larger file. Click "Save" when you're done.
That's the full process. If you need a PNG instead of a JPG, the same Export menu offers PNG as well, so you can use this method for either format from the same PDF.
How to convert Word to JPG on Windows 11
Windows doesn't have a Preview equivalent, but it has a similar workaround using the Print to PDF feature that's built into Word. Once you have a PDF, a free online converter handles the final step.
Step 1: Print the document as a PDF
Open the Word document, go to File > Print, and select "Microsoft Print to PDF" from the printer dropdown. Click "Print," choose a location to save, and Word creates a PDF from the document.
Step 2: Upload the PDF to a free PDF-to-JPG converter
Open your browser and go to a free online PDF to JPG tool. Upload the PDF you just saved.
Step 3: Convert and download your JPG
Click "Convert" and wait for the tool to process the file. Download the resulting JPG. If the document has multiple pages, most tools create a separate JPG for each one.
How to convert Word to JPG online
Some browser-based tools can convert a Word file directly to JPG images. The conversion still goes through a PDF behind the scenes, but these tools handle that step behind the scenes.
Step 1: Open a Word to JPG converter
Search for a online Word to JPG converter in your browser. Look for one that accepts DOC or DOCX files directly rather than requiring a PDF first.
Step 2: Upload your Word document
Drag and drop your file into the upload area, or click to browse and select it from your computer. For those asking how to convert Word to JPG on a laptop, this method works on any laptop browser without any software needed.
Step 3: Convert and download
Click "Convert" and download the resulting JPG once processing is done. Most online tools generate a separate image file for each page of the document, so a five-page document gives you five JPG files.
Convert Word to JPG in one step with Kimi Docs
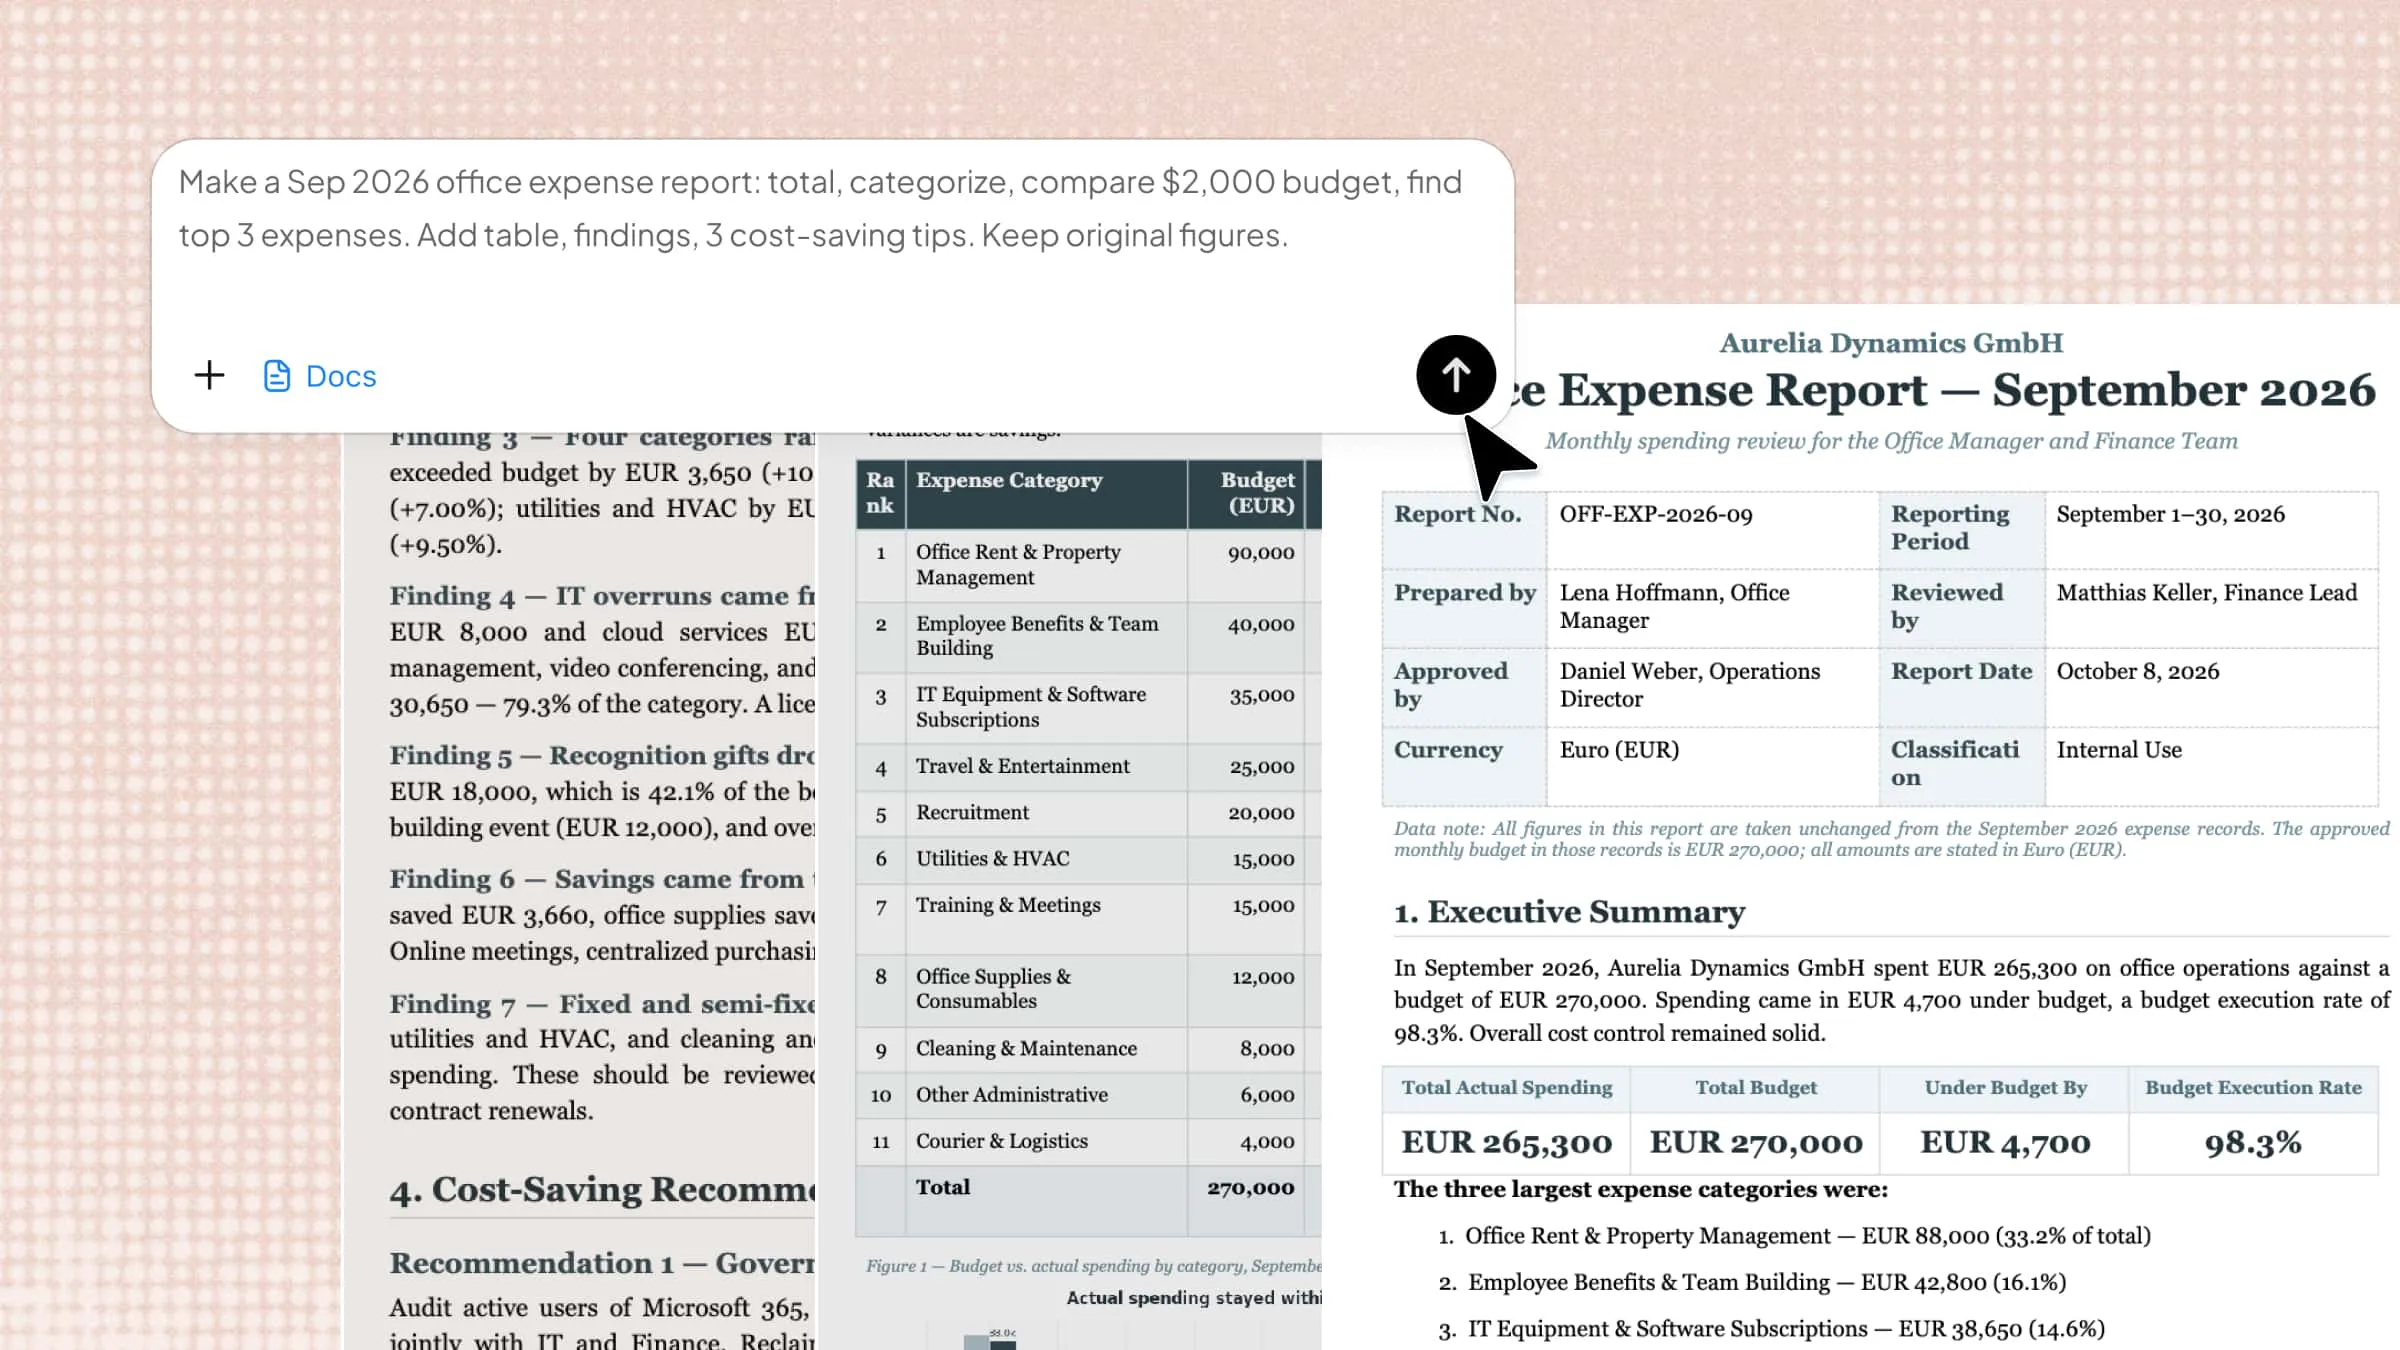
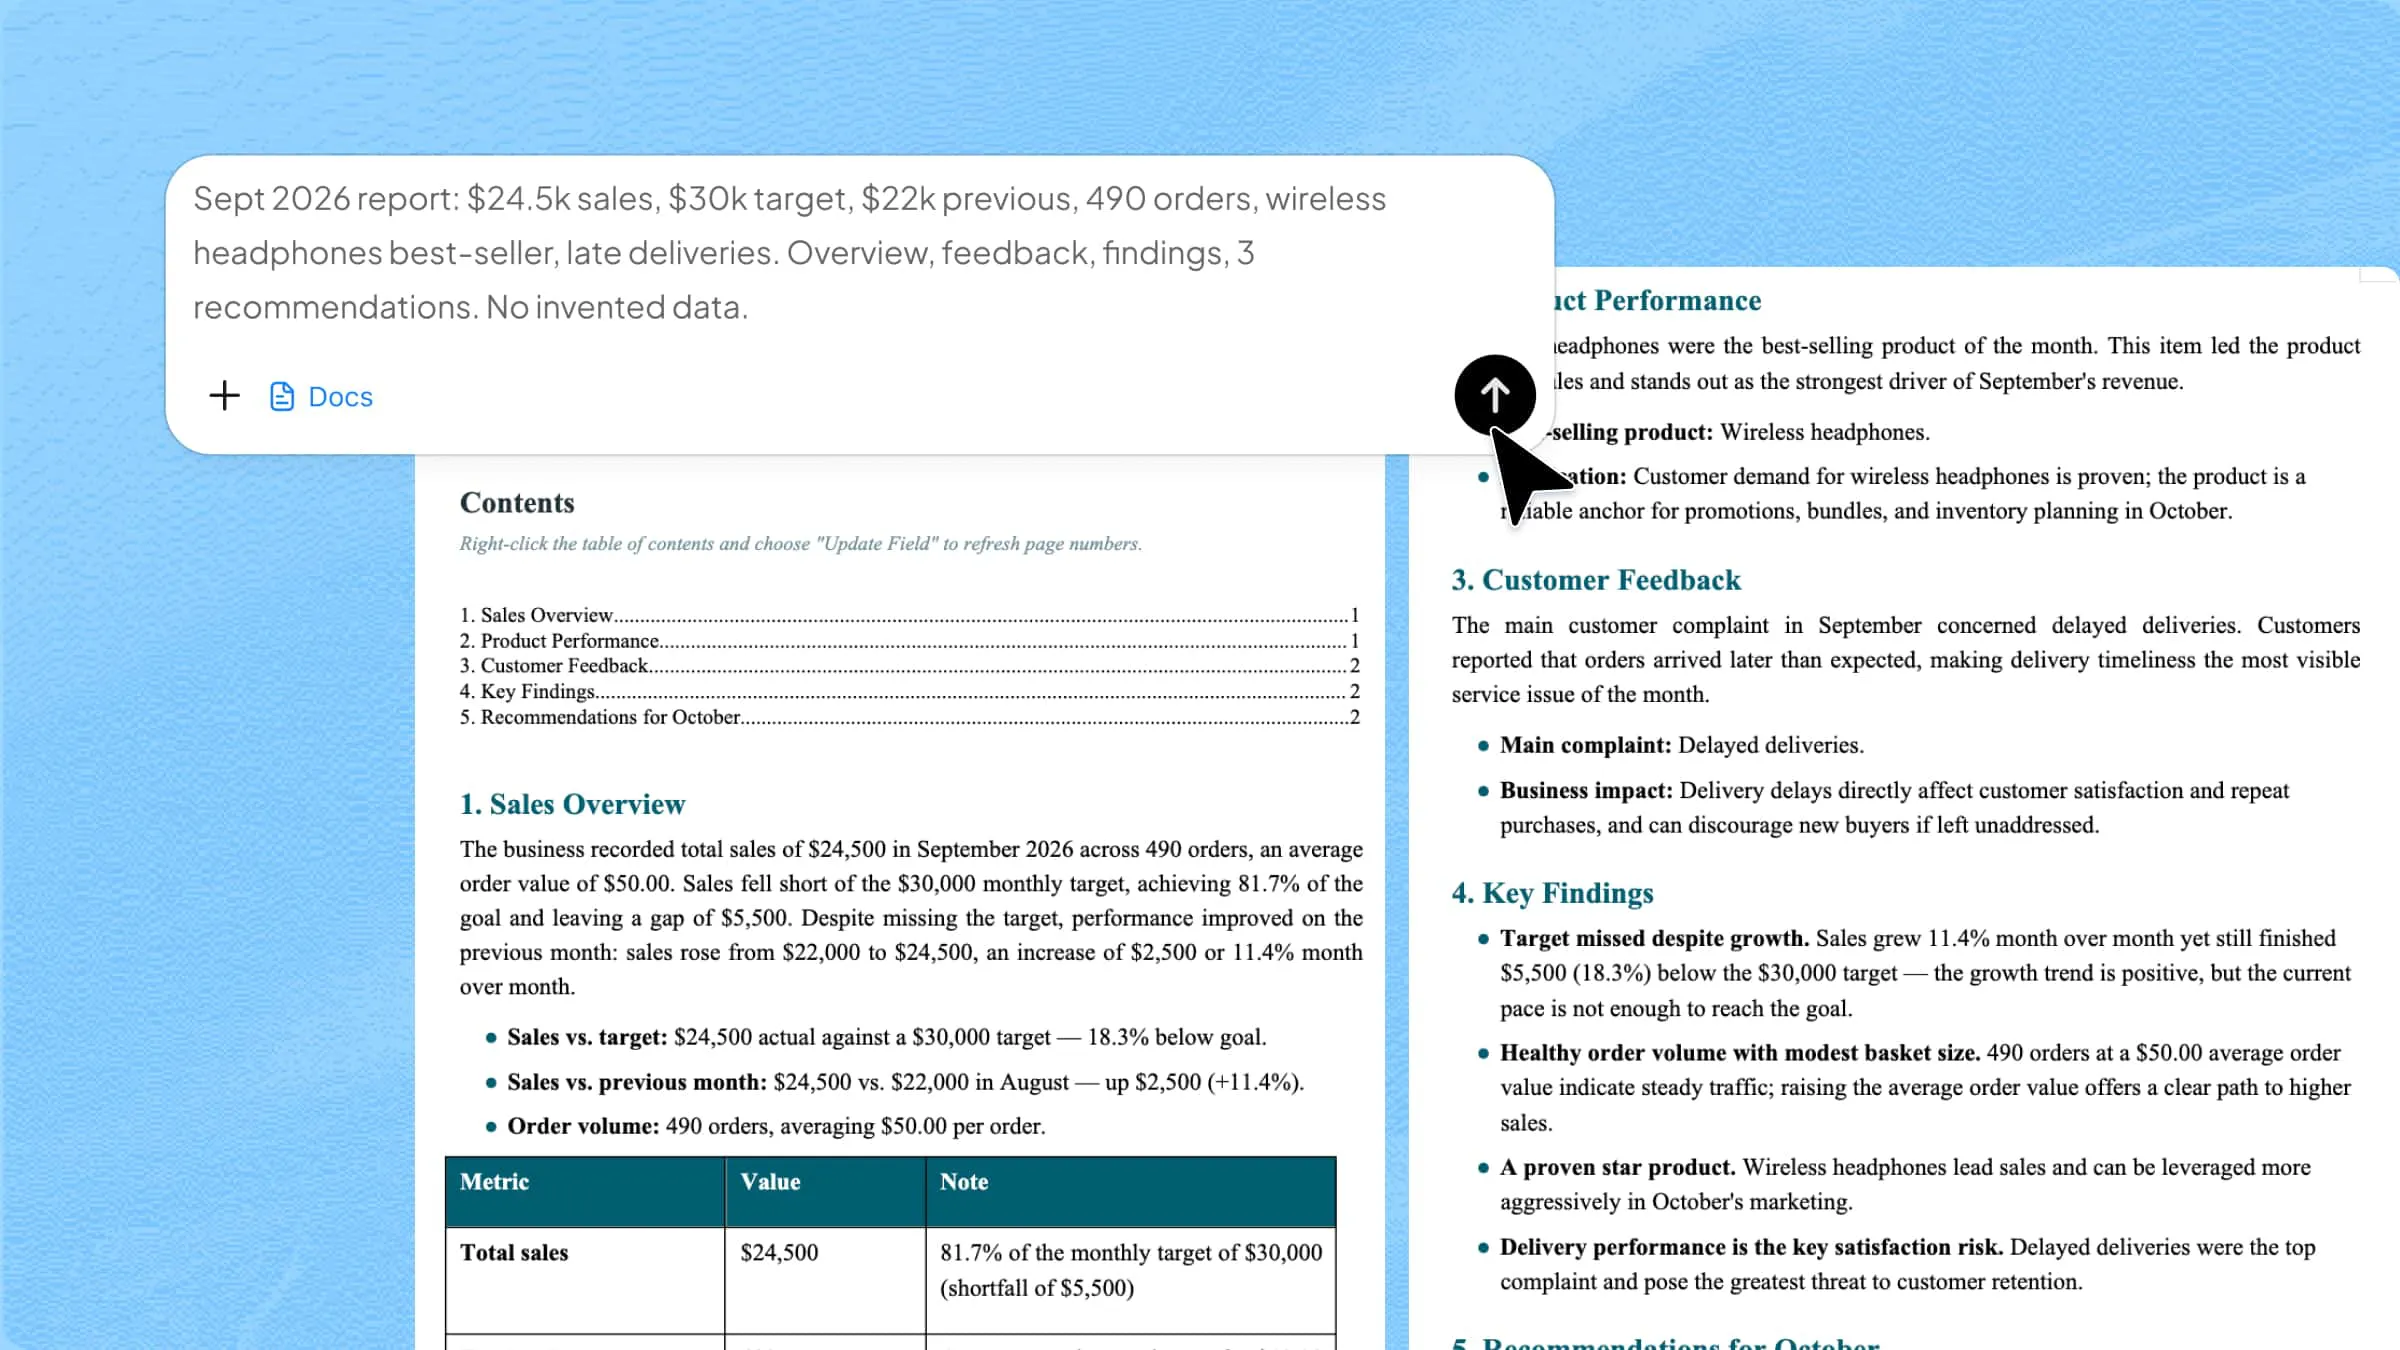
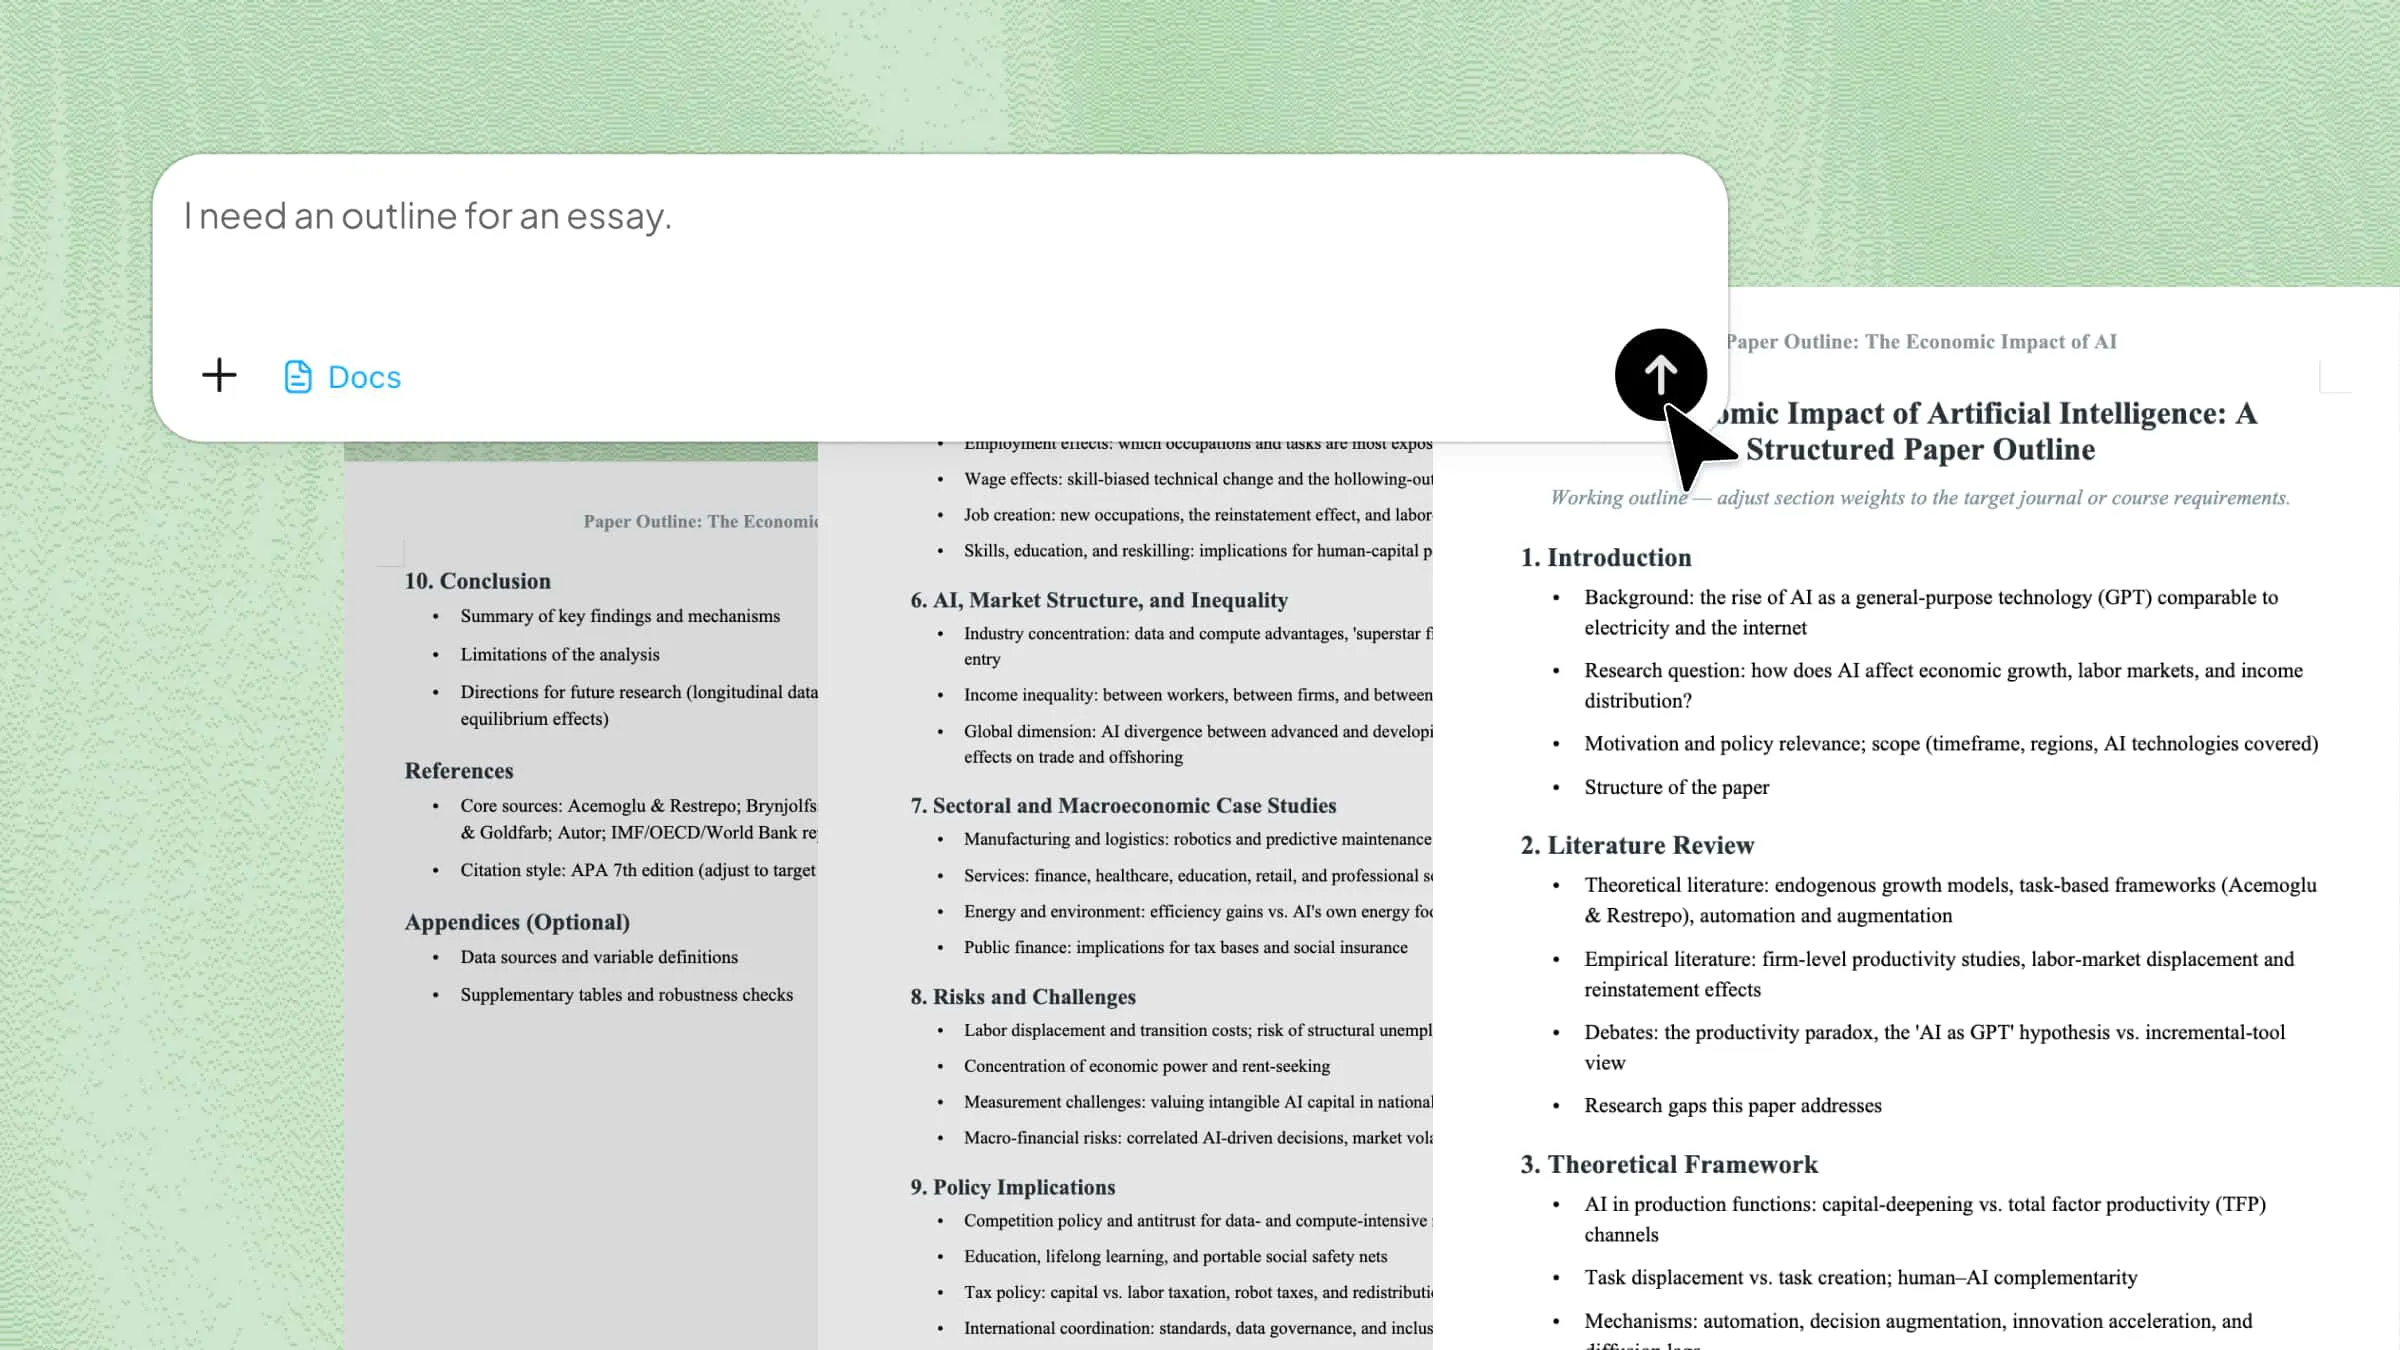
To use tools like Kimi Docs for Word to JPG conversion, you just need to upload the Word document directly, describe the output you want, and download the image. Operating as an advanced AI document agent, it eliminates the hassle of multi-step workarounds. No converting to PDF in the middle, and no extra downloads required.
Step 1: Upload your Word document and enter the prompt
Open Kimi Docs, upload your Word file, and describe what you need.
Step 2: Let Kimi process the file
Kimi converts the document and generates the image output directly, without an intermediate PDF step.
Step 3: Download your JPG
Once processing is complete, download the image file, ready to share or use right away.
Key features of Kimi Docs
Fast and efficient from start to finish: Upload the Word file and the JPG comes back without saving intermediate files, switching between tools, or repeating steps. For anyone asking how can I convert word file to JPG as quickly as possible, this is the shortest path.
Work across devices: Kimi Docs runs in the browser, so you can convert a file from a laptop, tablet, or phone whenever the need comes up. There's no software to install and nothing tied to a specific operating system.
Handle multiple formats: If you decide midway through that you want PNG instead of JPG, say so in the next prompt. There's no need to start over in a different tool.
Handle multi-page documents automatically: Long files get split into individual page images without any manual page range selection.
How to keep quality high when converting Word to JPG
A few settings make the biggest difference in how sharp the final image looks.
Export at 300 DPI or higher. The default 72-96 DPI looks fine on screen but turns blurry once printed or zoomed in.
Convert directly from the PDF in one pass. Re-saving a JPG that's already been compressed degrades it further each time.
Use PNG instead of JPG if the image needs to stay lossless, since PNG doesn't apply the same compression.
Conclusion
These tools all enable Word-to-JPG conversion without complex software, but some of them require more than one step. For simpler conversion workflows or for batch processing, format flexibility, or intelligent post-conversion editing, Kimi Docs delivers an easy and quick solution that streamlines the entire pipeline from document to image.