Word starts a new page automatically when your text fills the current one. But when you need a page to end at a specific point, regardless of how much content is on it, a manual page break gives you that control. This guide covers how to insert a page break in Word using three methods, how to view breaks once they're placed, and how to manage page structure across longer documents..
Overview of page break methods in Word
All four methods insert the same type of manual page break. The difference is only where you find the option.
| Method | Where to find it | Best for |
|---|---|---|
| Insert tab | Insert > Page Break | Most common, easiest to find |
| Keyboard shortcut | Ctrl+Enter (Windows) / Cmd+Return (Mac) | Fastest for regular use |
| Layout menu | Layout > Breaks > Page | When you're already in Layout settings |
| Kimi Docs | Prompt-based | Adjusting page structure across a whole document |
How to add a page break in Word using the Insert tab
The most straightforward way to add a page break is through the standard toolbar. By using the Insert tab, you can instantly push your content to the next page with a single click.
Step 1: Place your cursor
Click on the document at the exact spot where you want the new page to begin. The text from that cursor position onward will move to the top of the next page, so placement matters.
Step 2: Go to the Insert tab
Click "Insert" on the ribbon at the top of the Word window.
Step 3: Click Page Break
In the Pages group on the left side of the Insert tab, click “Page Break.” The cursor moves to the top of a new page and a manual page break marker is placed at the insertion point.
How to insert page breaks in Word using the keyboard shortcut
You can insert a page break faster by using the shortcut on the keyboard. It takes much less time compared to clicking through the ribbon.
Step 1: Place your cursor
Click in the document where you want the new page to begin.
Step 2: Press Ctrl+Enter (Windows) or Cmd+Return (Mac)
After pressing the shortcut keys, a page break will be inserted in Word.. The text after the cursor jumps to the top of the next page with no dialog box or ribbon navigation required. This shortcut works across all current versions of Word, including Microsoft 365, Word 2019, Word 2021, and Word for Mac.
How to add a page break in Word using the Layout menu
The Layout menu's Breaks option is useful when you're already working in layout settings. It also shows all break types in one place, making it easier to see the difference between page breaks and section breaks.
Step 1: Place your cursor
Click at the point in the document where the new page should start.
Step 2: Go to Layout > Breaks
Click the "Layout" tab on the ribbon, then click "Breaks" in the Page Setup group. A dropdown appears with all available break types listed.
Step 3: Select Page
Under the Page Breaks section at the top of the dropdown, select "Page." The text from the cursor onward moves to the top of the next page. This inserts the same manual page break as the Insert tab method.
How to do a page break in Word with Kimi Docs
Placing page breaks one by one works fine for a short document. However, if you want to apply page breaks across multiple sections at once, doing it manually means repeating the same tedious steps dozens of times throughout longer files.
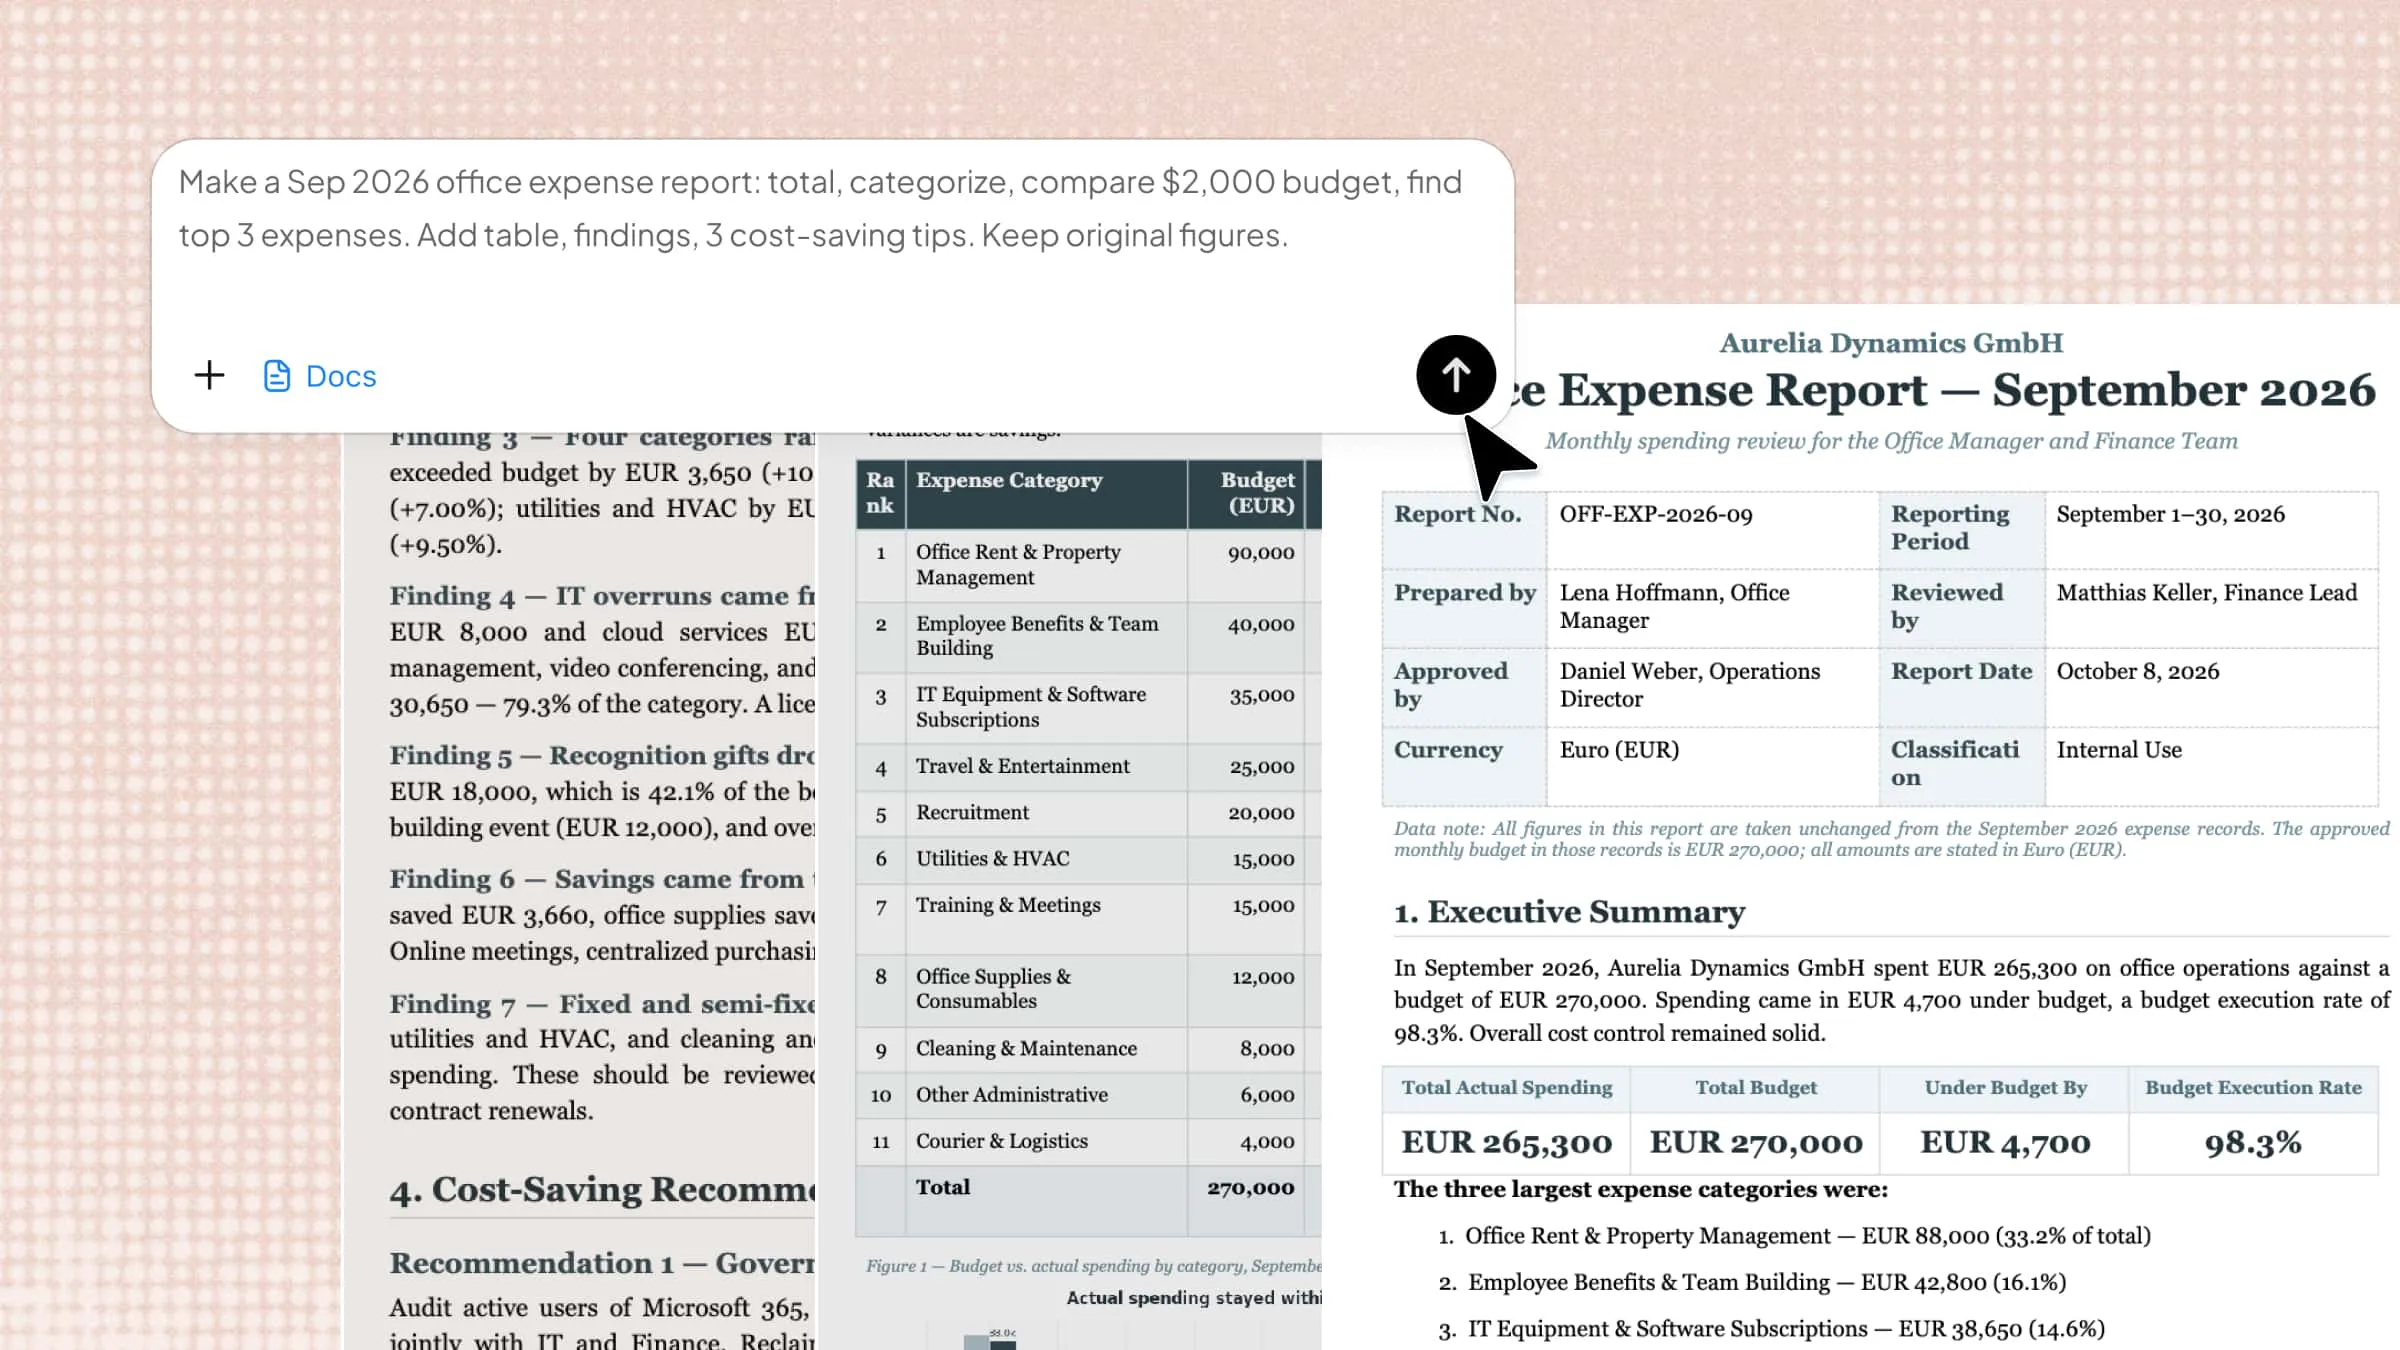
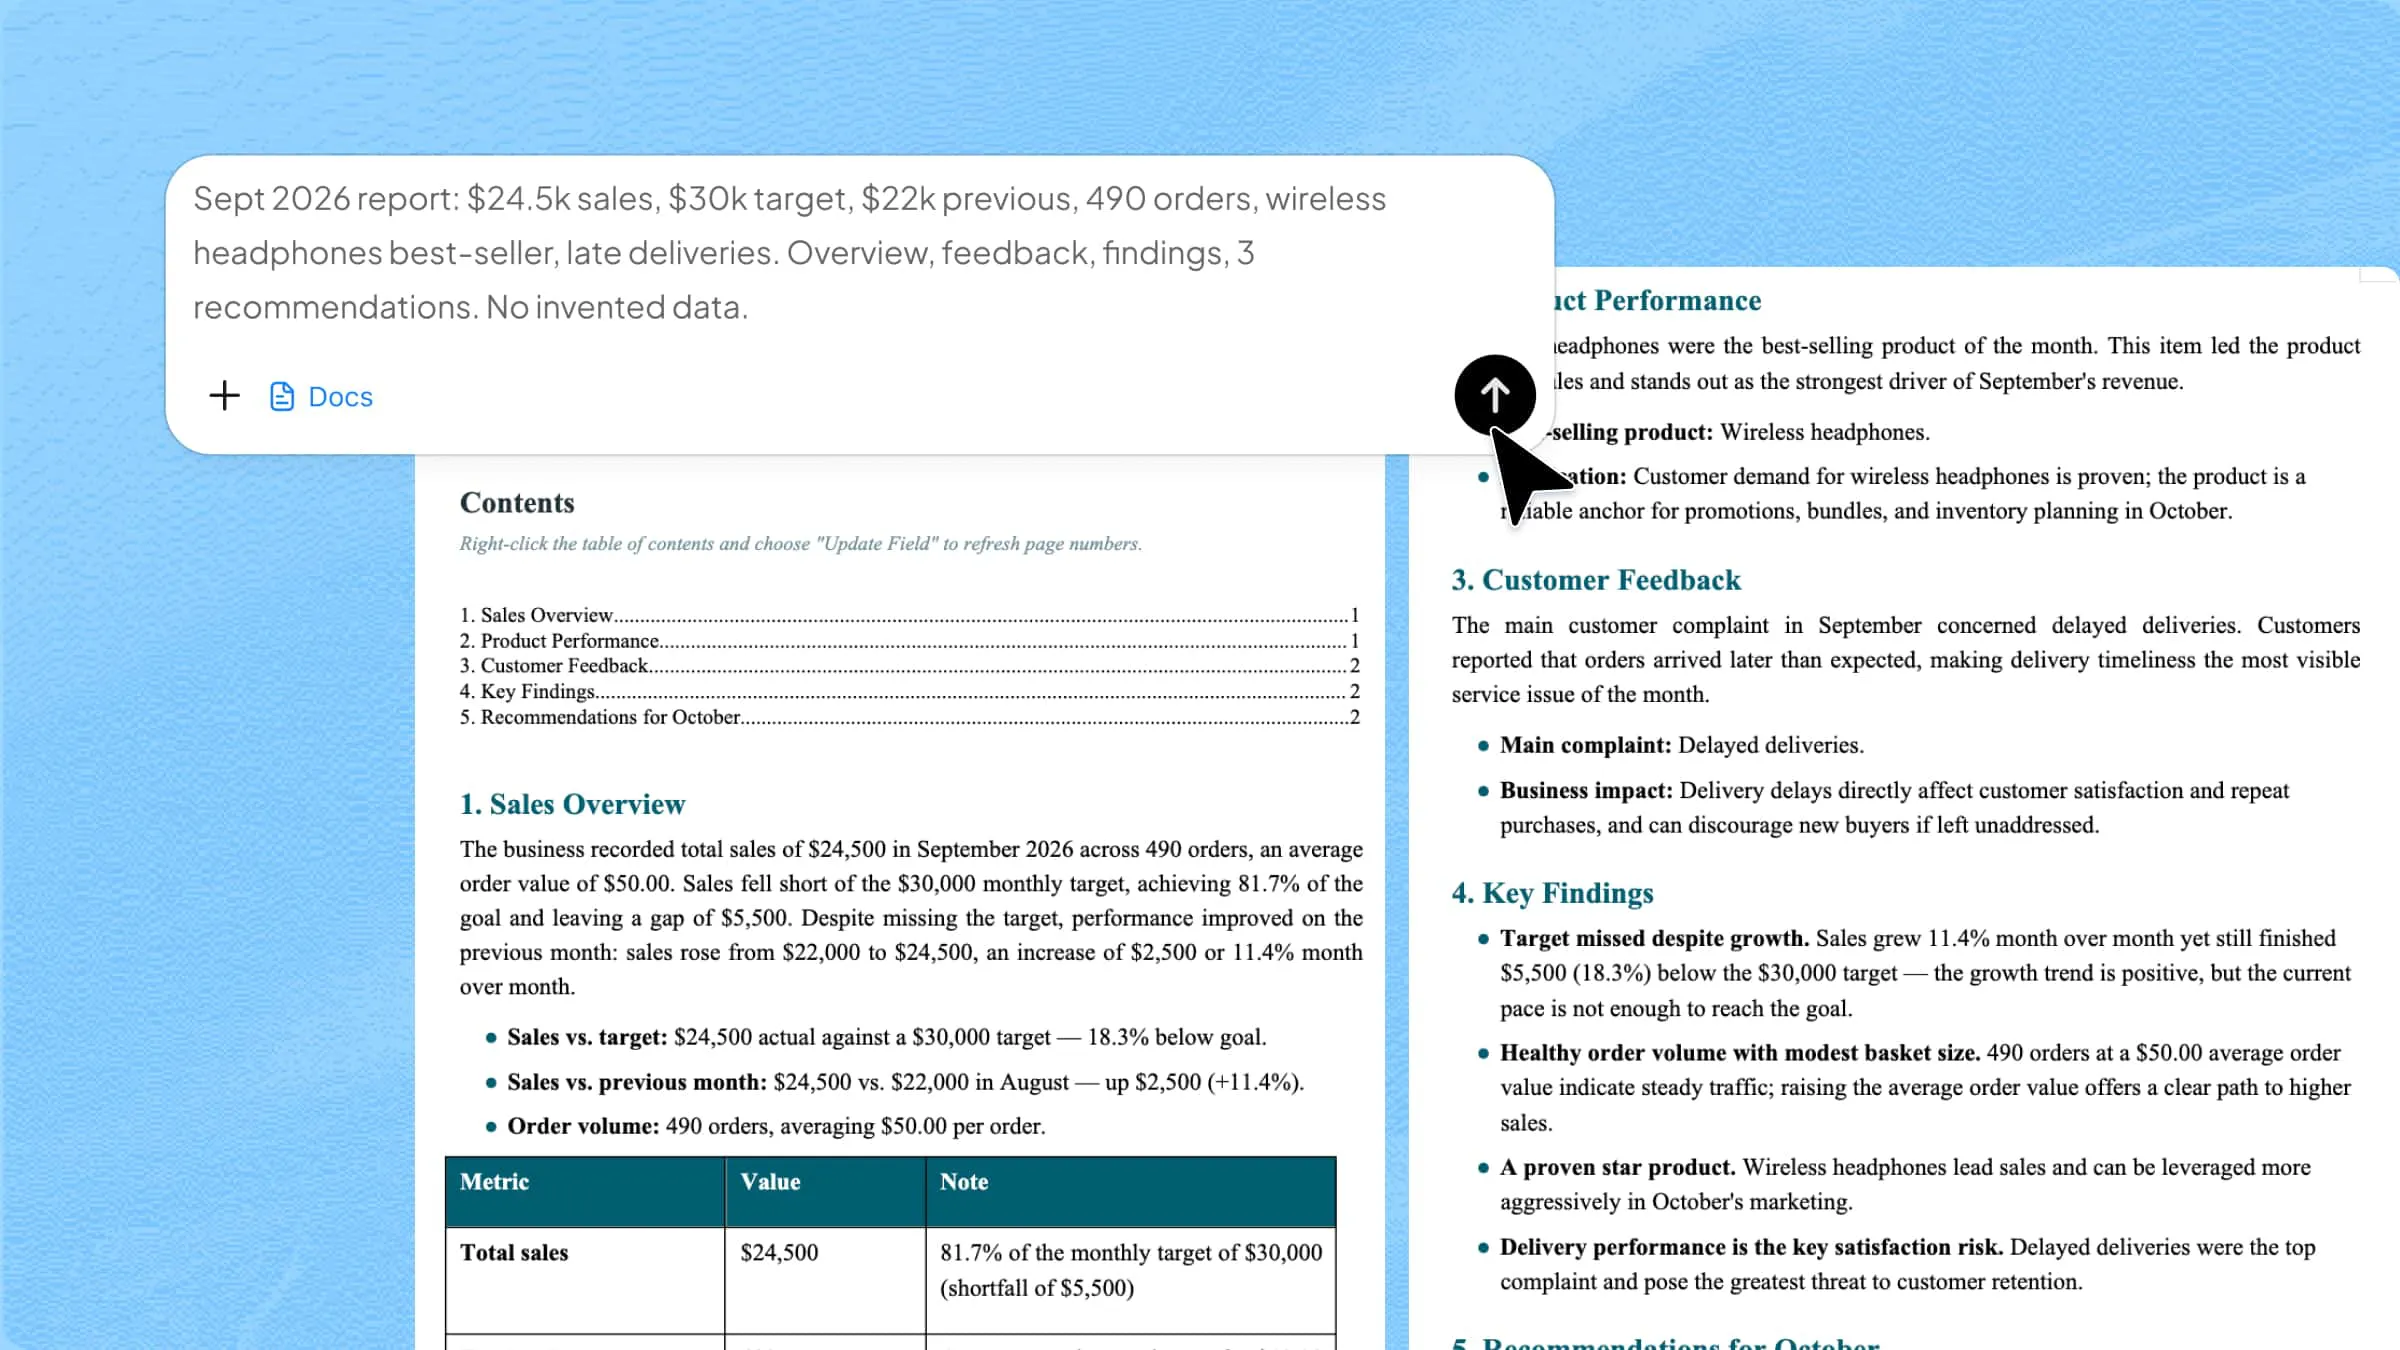
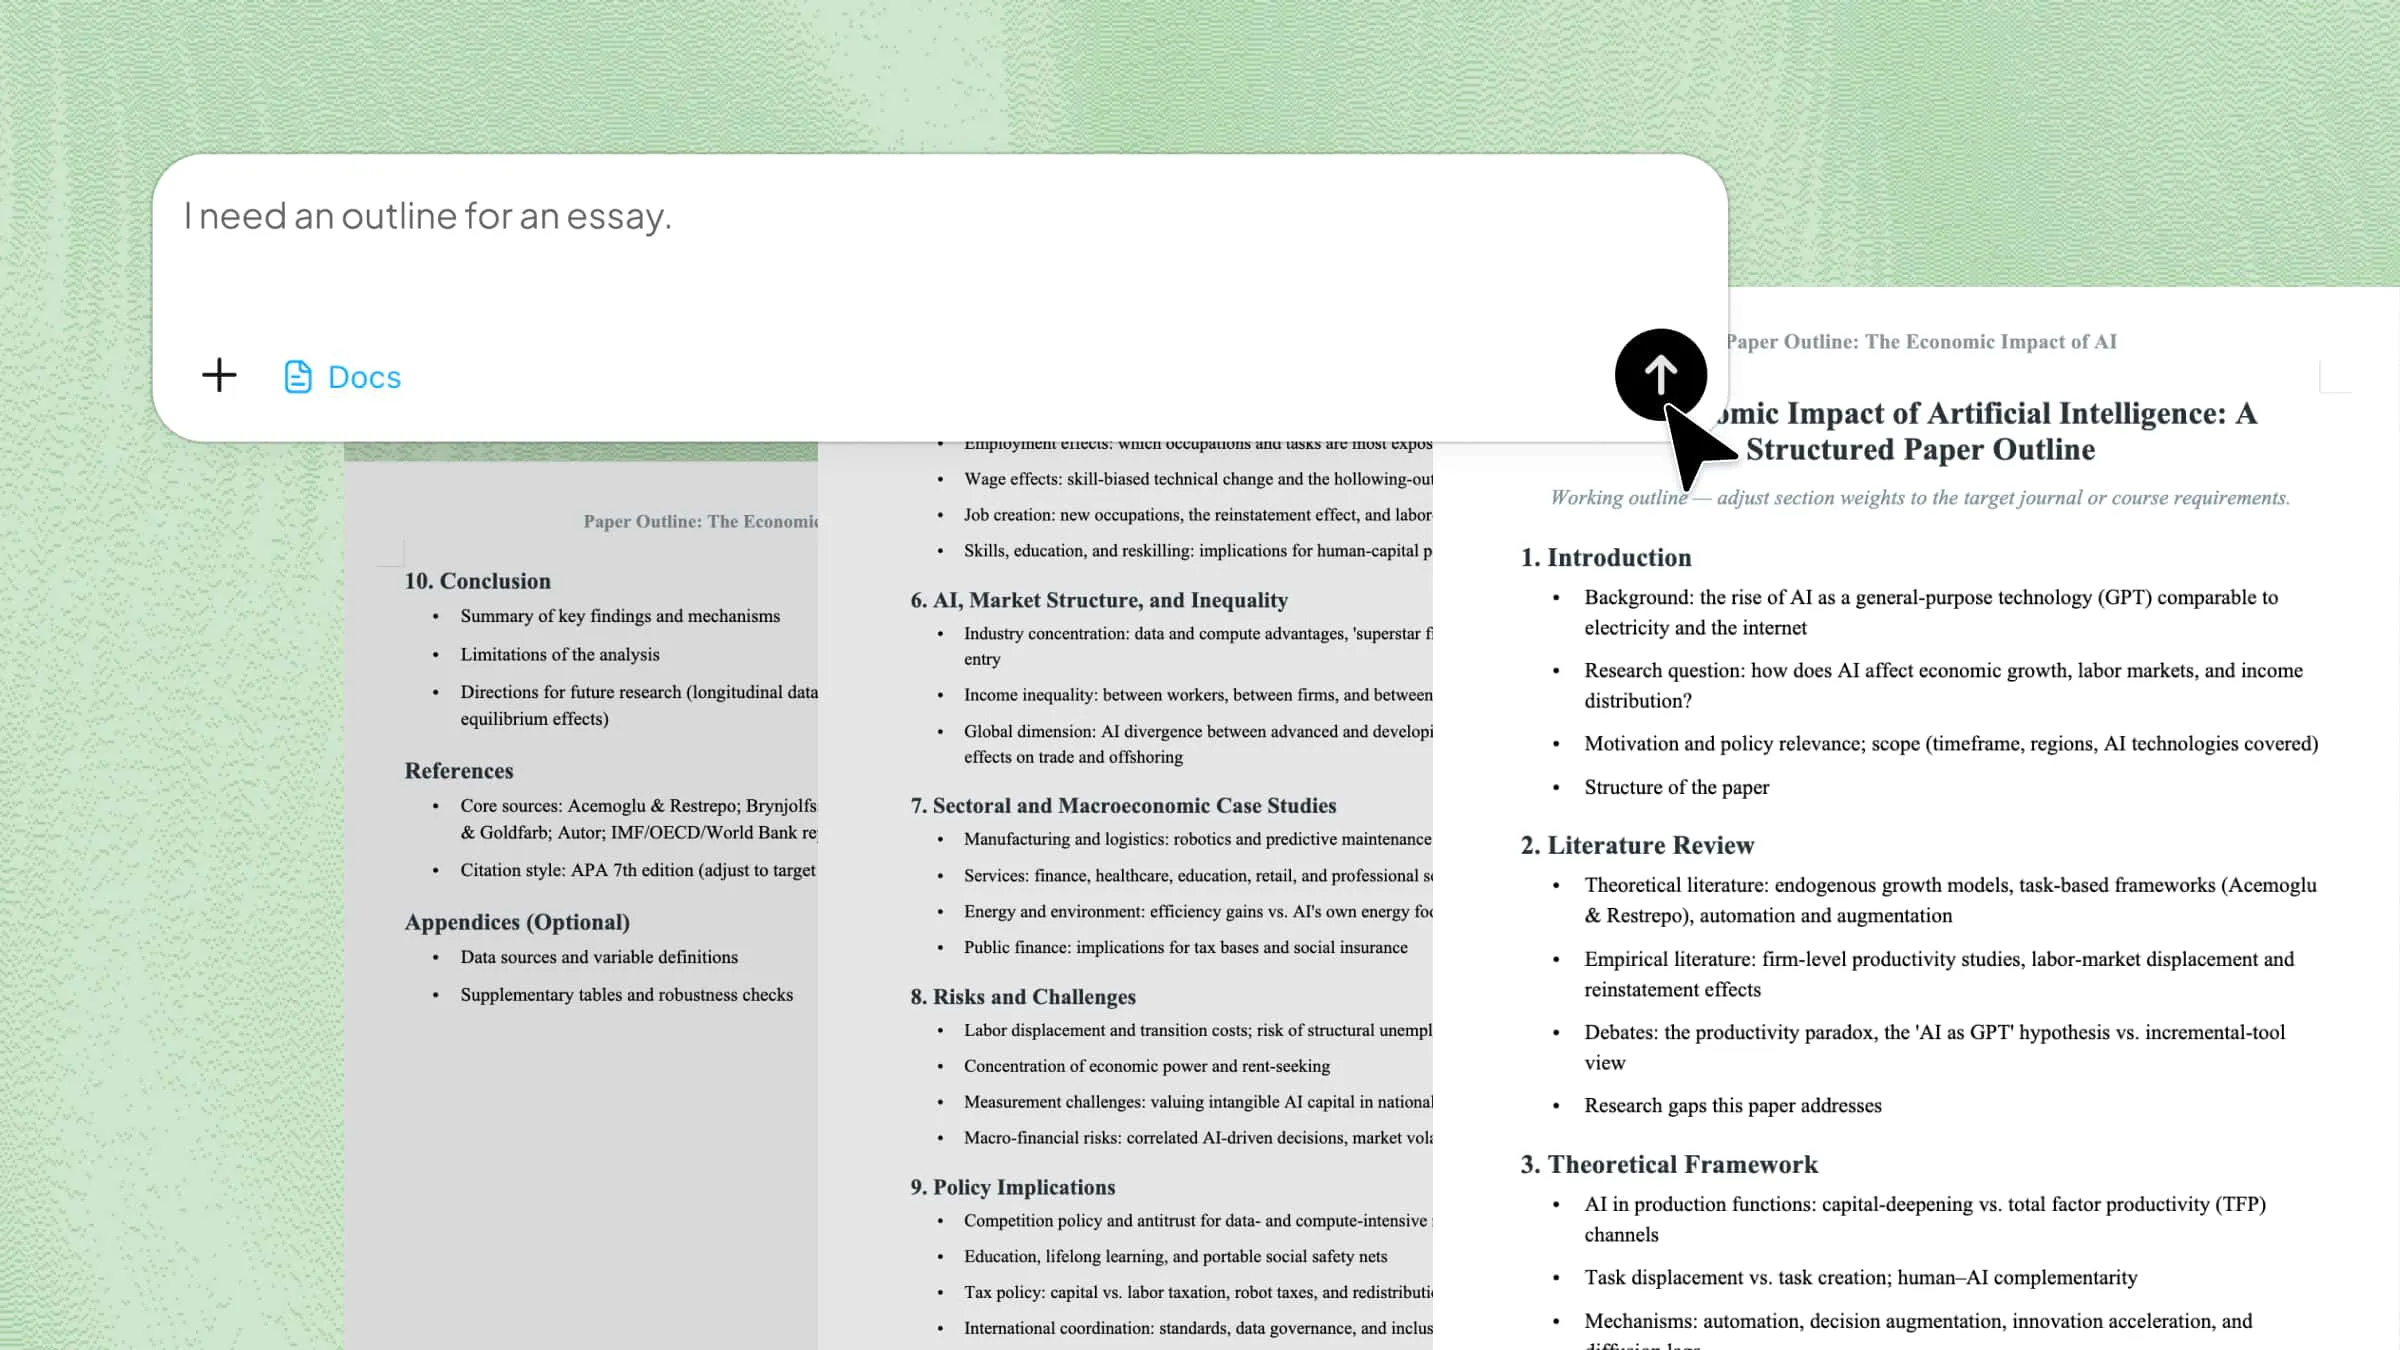
As an AI document agent, Kimi Docs can streamline the process. Simply upload your Word file and describe where the page breaks should go along with any other formatting adjustments you need. Kimi will process all the changes across your document instantly.
Step 1: Upload your document
Open Kimi Docs, and upload the Word file you want to restructure.
Step 2: Describe where the page breaks should go
Tell Kimi where to insert page breaks and any other formatting changes to make alongside them.
Example prompt:
Step 3: Download the formatted document
Kimi applies the page break as described and returns the finished file.
Key features of Kimi Docs
Apply page breaks across the whole document at once: No need to place each break manually when multiple sections need one. Page breaks are inserted at every matching point in the document, not just the ones you spotted manually.
Combine page breaks with other formatting changes: Add page breaks, adjust heading styles, fix spacing, or change page orientation for specific sections all in a single prompt, instead of handling each task separately.
No settings or complex settings required: Describe what needs fixing in plain English and Kimi handles it. There's no need to know which menu controls the behavior or navigate any settings tab to apply it.
Handle long documents without losing structure: Whether the document is ten pages or a hundred, page breaks are applied consistently from start to finish without the structure breaking down partway through.
How to insert page breaks into words and change orientation
A standard page break starts a new page but keeps the same orientation. To make a one page landscape while the rest stay portrait, a section break is needed instead.
Step 1: Insert a section break, not a page break
Place your cursor where the orientation change should start. Go to Layout > Breaks, then select "Next Page" under Section Breaks. This starts a new section on the following page rather than just moving text down.
Step 2: Change the orientation of the new section
With your cursor placed inside the new section, go to Layout > Orientation and select "Landscape" or "Portrait" depending on what the new section needs. The orientation change applies only to that section, leaving all other pages unchanged.
How to see page breaks in Word
Go to the Home tab and click the Show/Hide button, the paragraph symbol in the Paragraph group. Each manual page break appears as a dotted line labeled “Page Break” stretching across the page. Clicking Show/Hide a second time hides the markers again.
Knowing where page breaks are placed matters before sharing a document. A break in the wrong place can create a short or blank-looking page that the recipient sees but can't explain.
How to insert page break lines in Word
Word doesn't add a visible line at a page break by default. If you want a horizontal rule above the new page, add a border to the paragraph just before the break.
Place your cursor at the end of that paragraph. Go to Home > Borders, click the dropdown arrow next to the border icon, and select “Bottom Border.” A line appears under the paragraph without affecting the page break itself.
Conclusion
Managing page breaks or section breaks can be tiresome. Mastering these page break methods gives you instant, precise control over your document's layout and flow. Choose the technique that best fits your current editing speed, and start structuring your documents cleaner and faster today. With Kimi Docs, you can process all the formatting thing in Work easily without mess.