Headers in Word are easy to open and edit for a basic change. The part that trips people up is controlling where a header appears and where it doesn't: making one page different from the rest, repeating a header consistently across all pages, or changing one section without affecting others. This guide covers how to edit headers in Word documents for each of these situations, from a simple edit to section-specific headers and size changes.
How to edit a header in Word for all pages
This is the core process for how to edit header in word for all pages and how to change header in word across the entire document. Any edits made here apply everywhere by default.
Step 1: Open the header
Double-click in the header area at the top of any page. The header becomes active and the Header & Footer tab appears in the ribbon.
Step 2: Edit the content
Click inside the header and make your changes. Type, format, or delete text the same way you would in the main document body. Any changes apply to every page in the document by default.
Step 3: Close the header
Click "Close Header and Footer" in the ribbon, or double-click anywhere in the body of the document, to return to normal editing mode.
How to edit a header in Word for the first page only
To edit header in Word first page only, using Word's built-in "Different First Page" option, which is faster than inserting a section break and works without affecting the rest of the document.
Step 1: Open the header and enable Different First Page
Double-click the header to enter editing mode. In the Header & Footer tab, check the box for "Different First Page." This creates a separate header slot for just the first page without touching any other pages.
Step 2: Edit the first page header
The header area on the first page now shows "First Page Header." Edit its content here. Any changes apply only to page one.
Step 3: Edit the remaining pages header separately
Click "Next" in the Navigation group or scroll to page two and click in the header area. This is the header that appears on every page after the first. Edit it separately from the first page version.
To remove the header from the first page entirely without affecting other pages, enable "Different First Page" and simply leave the first page header area blank.
How to edit a header in Word for different pages
To edit header in Word for different pages without changing other pages, using section breaks and the "Link to Previous" setting. The same approach covers how to edit header in Word for one page, specifically when only one section needs a unique header.
The principle is that Word links all headers together by default. To make one section's header independent, you break that link by turning off "Link to Previous." Once it's off, edits in that section's header don't carry over to any others.
Step 1: Insert a Next Page section break
Place your cursor at the end of the last page of the section that should have its own header. Go to Layout > Breaks > Next Page to insert a section break.
Step 2: Open the header in the new section
Scroll to the first page of the new section and double-click the header area to enter editing mode. A label appears showing the section number.
Step 3: Turn off Link to Previous
In the Header & Footer tab, click "Link to Previous" to deselect it. This disconnects the new section's header from the one before it. Changes here won't affect any earlier pages.
Step 4: Edit the header content for this section
With the link off, type or format the header for this section. It applies only to pages within this section.
How to delete a header in Word
This section will cover how to delete header in word for the whole document, the first page only, or a single section.
To remove a header from all pages
Go to Insert > Header > Remove Header. This clears the header content from every page in the document at once.
To remove a header from just the first page
Enable "Different First Page" in the Header & Footer tab, then leave the first page header area empty. The header disappears from page one but stays on all other pages.
To remove a header from one section only
Insert a Next Page section break before that section, turn off "Link to Previous" in the header of that section, then delete the header content from that section's header area.
How to change header size in Word
The header size is controlled by the top margin and the header distance setting, not by the content inside it.
Step 1: Open Page Setup
Go to Layout > Margins > Custom Margins to open the Page Setup dialog.
Step 2: Adjust the top margin and header distance
Under the Margins tab, change the "Top" margin to control how much space appears above the header. Under the Layout tab, change the "Header" value under "From edge" to adjust the distance from the top of the page to the header content. Click "OK."
How to change the font of the header or footer in Word
Double-click the header or footer to enter editing mode. Select the text you want to reformat, then use the Home tab to change the font, size, or style. For a consistent look across the whole document, right-click the "Header" style in the Styles pane and choose "Modify" to update all header text at once.
How to repeat a header in Word
Header will repeat across every page by default, unless the document has multiple sections with unlinked headers.
By default, any content in the header repeats automatically on every page. If a header is missing from some pages, the most common cause is that a section break was inserted and "Link to Previous" was turned off. To restore the repeating header, double-click the header in the section where it's missing, click "Link to Previous" to turn it back on, and confirm you want to match the previous section's header.
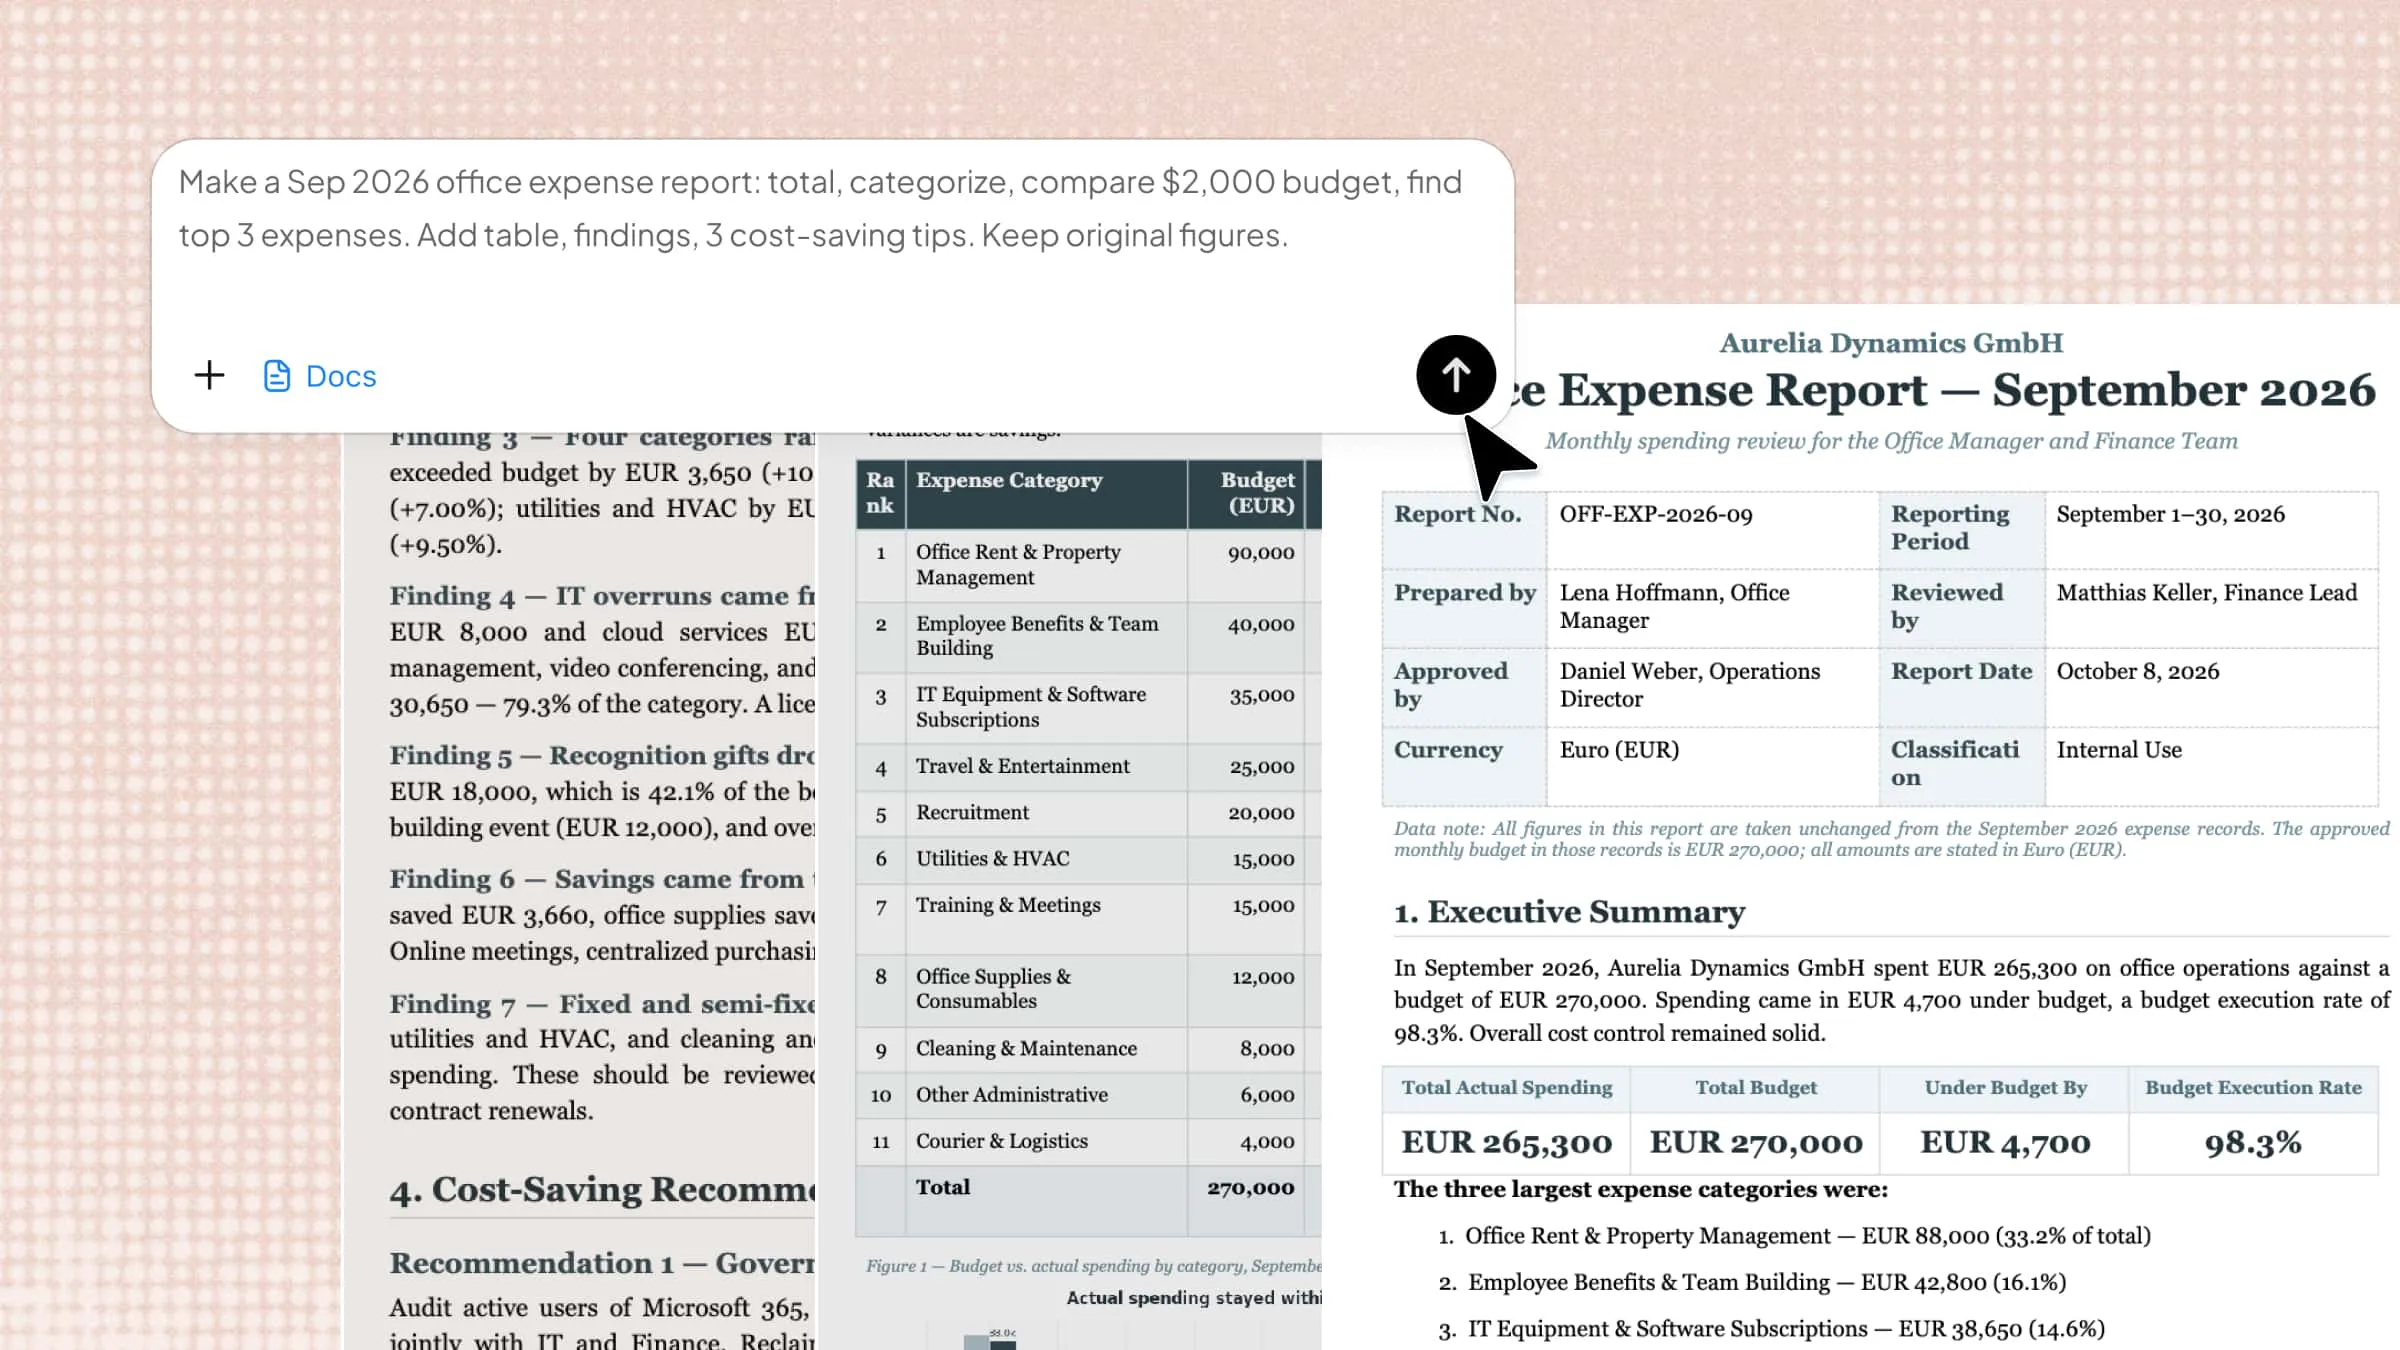
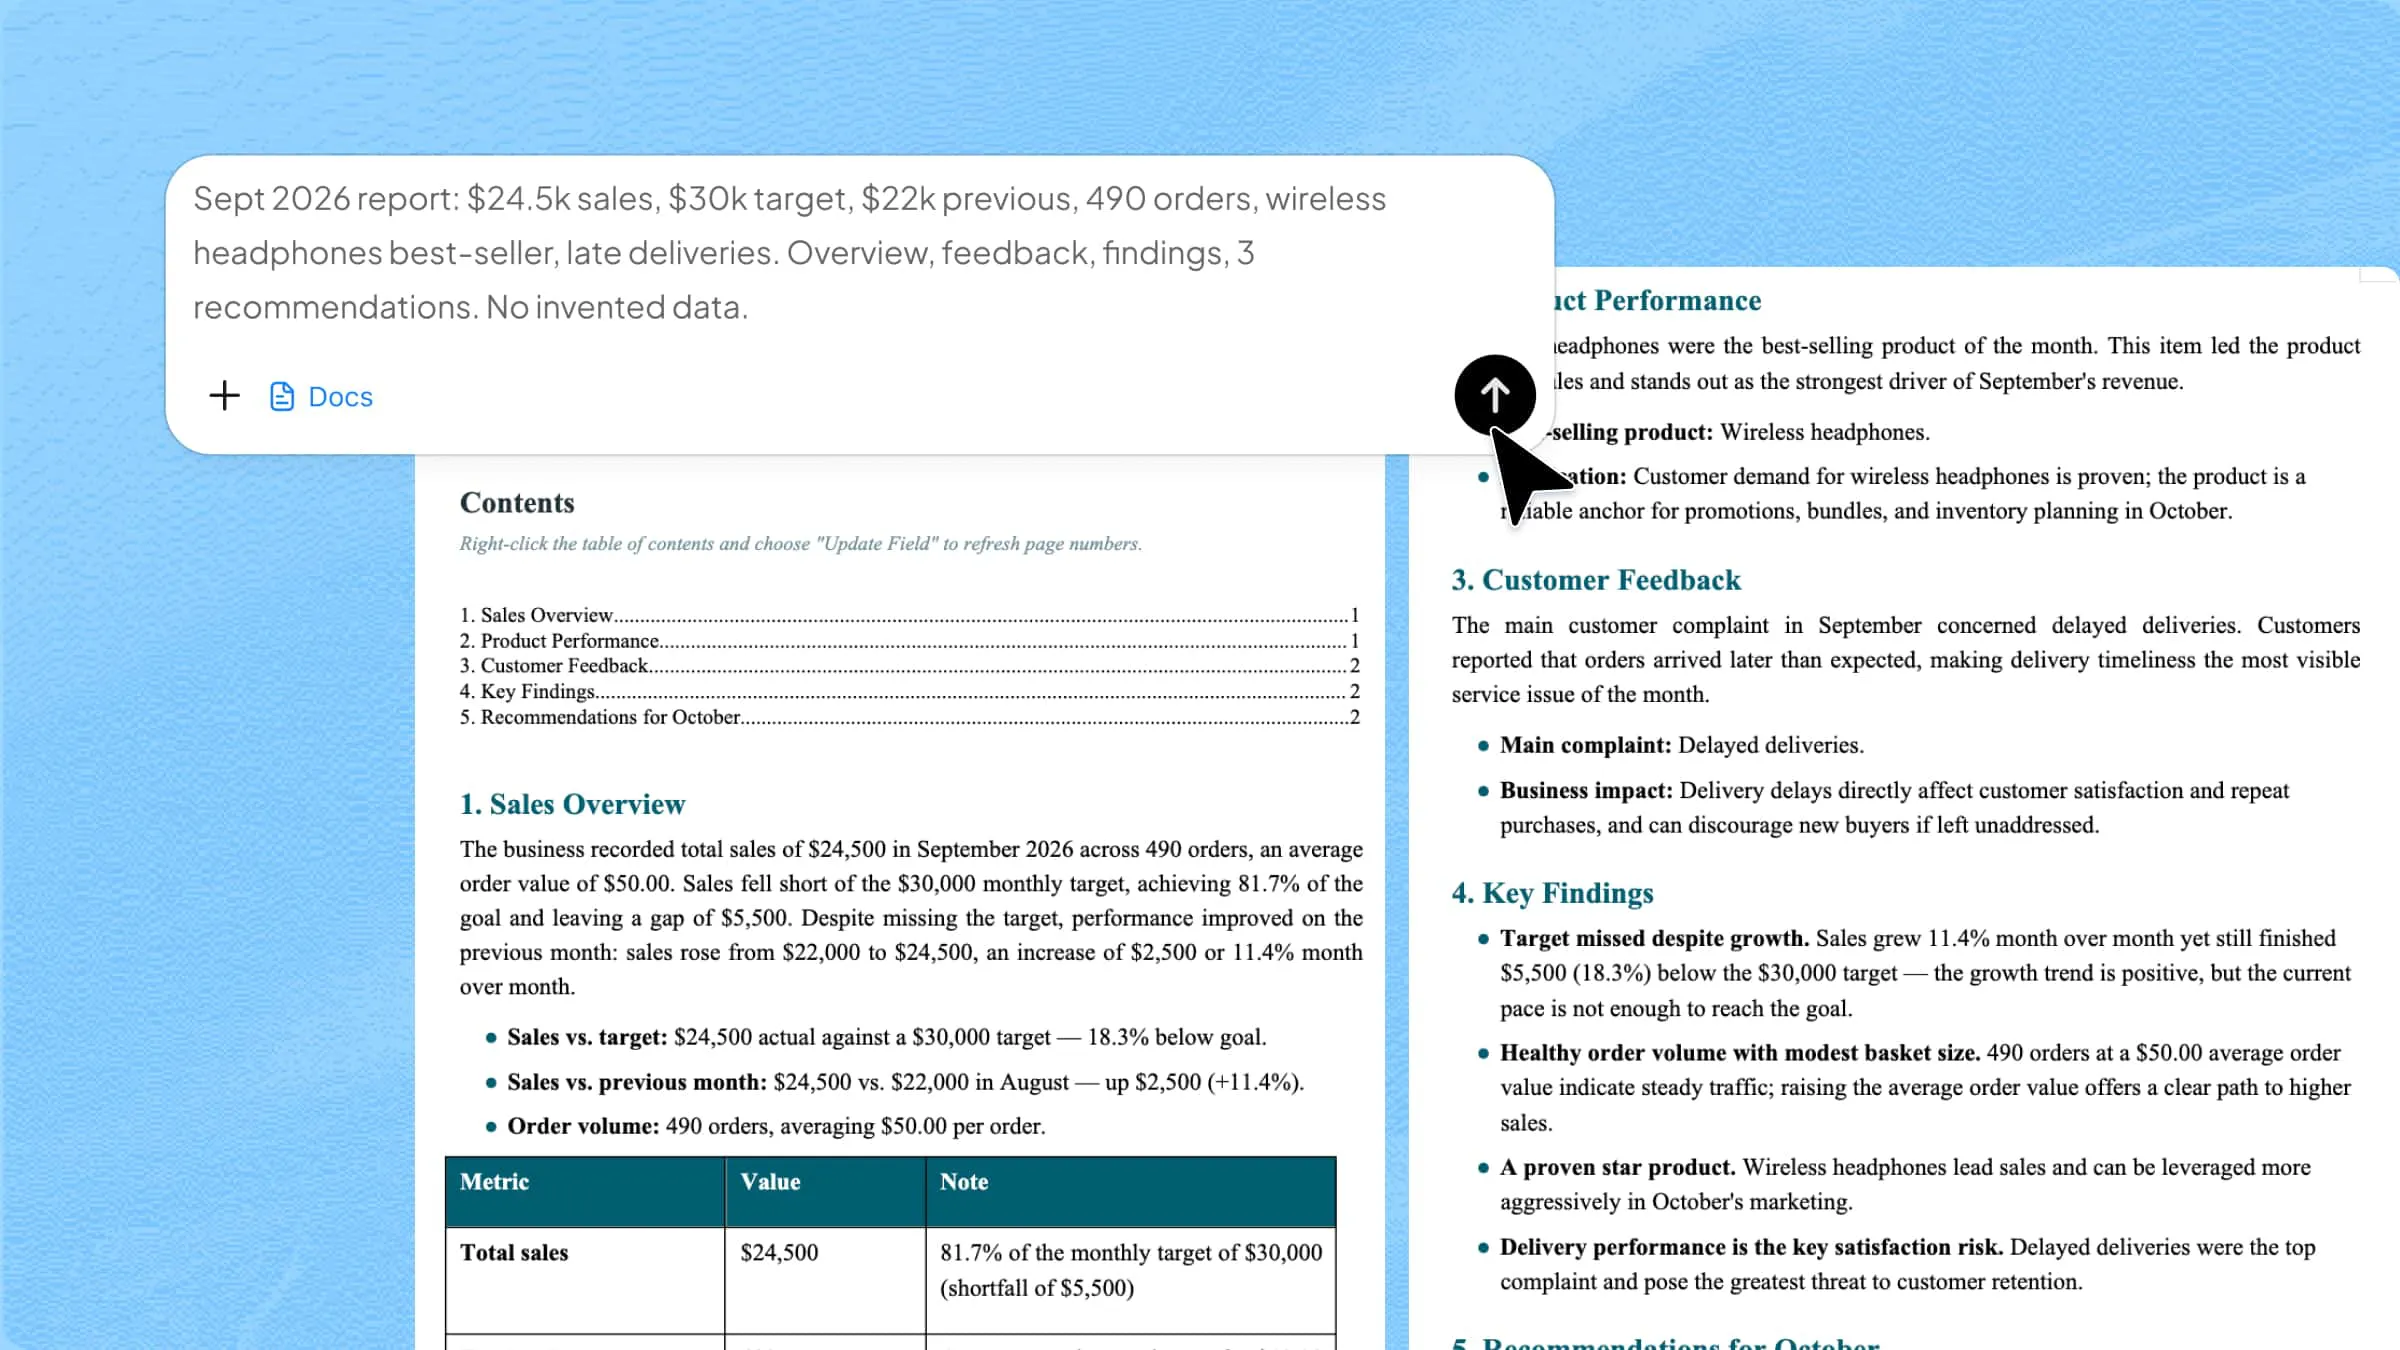
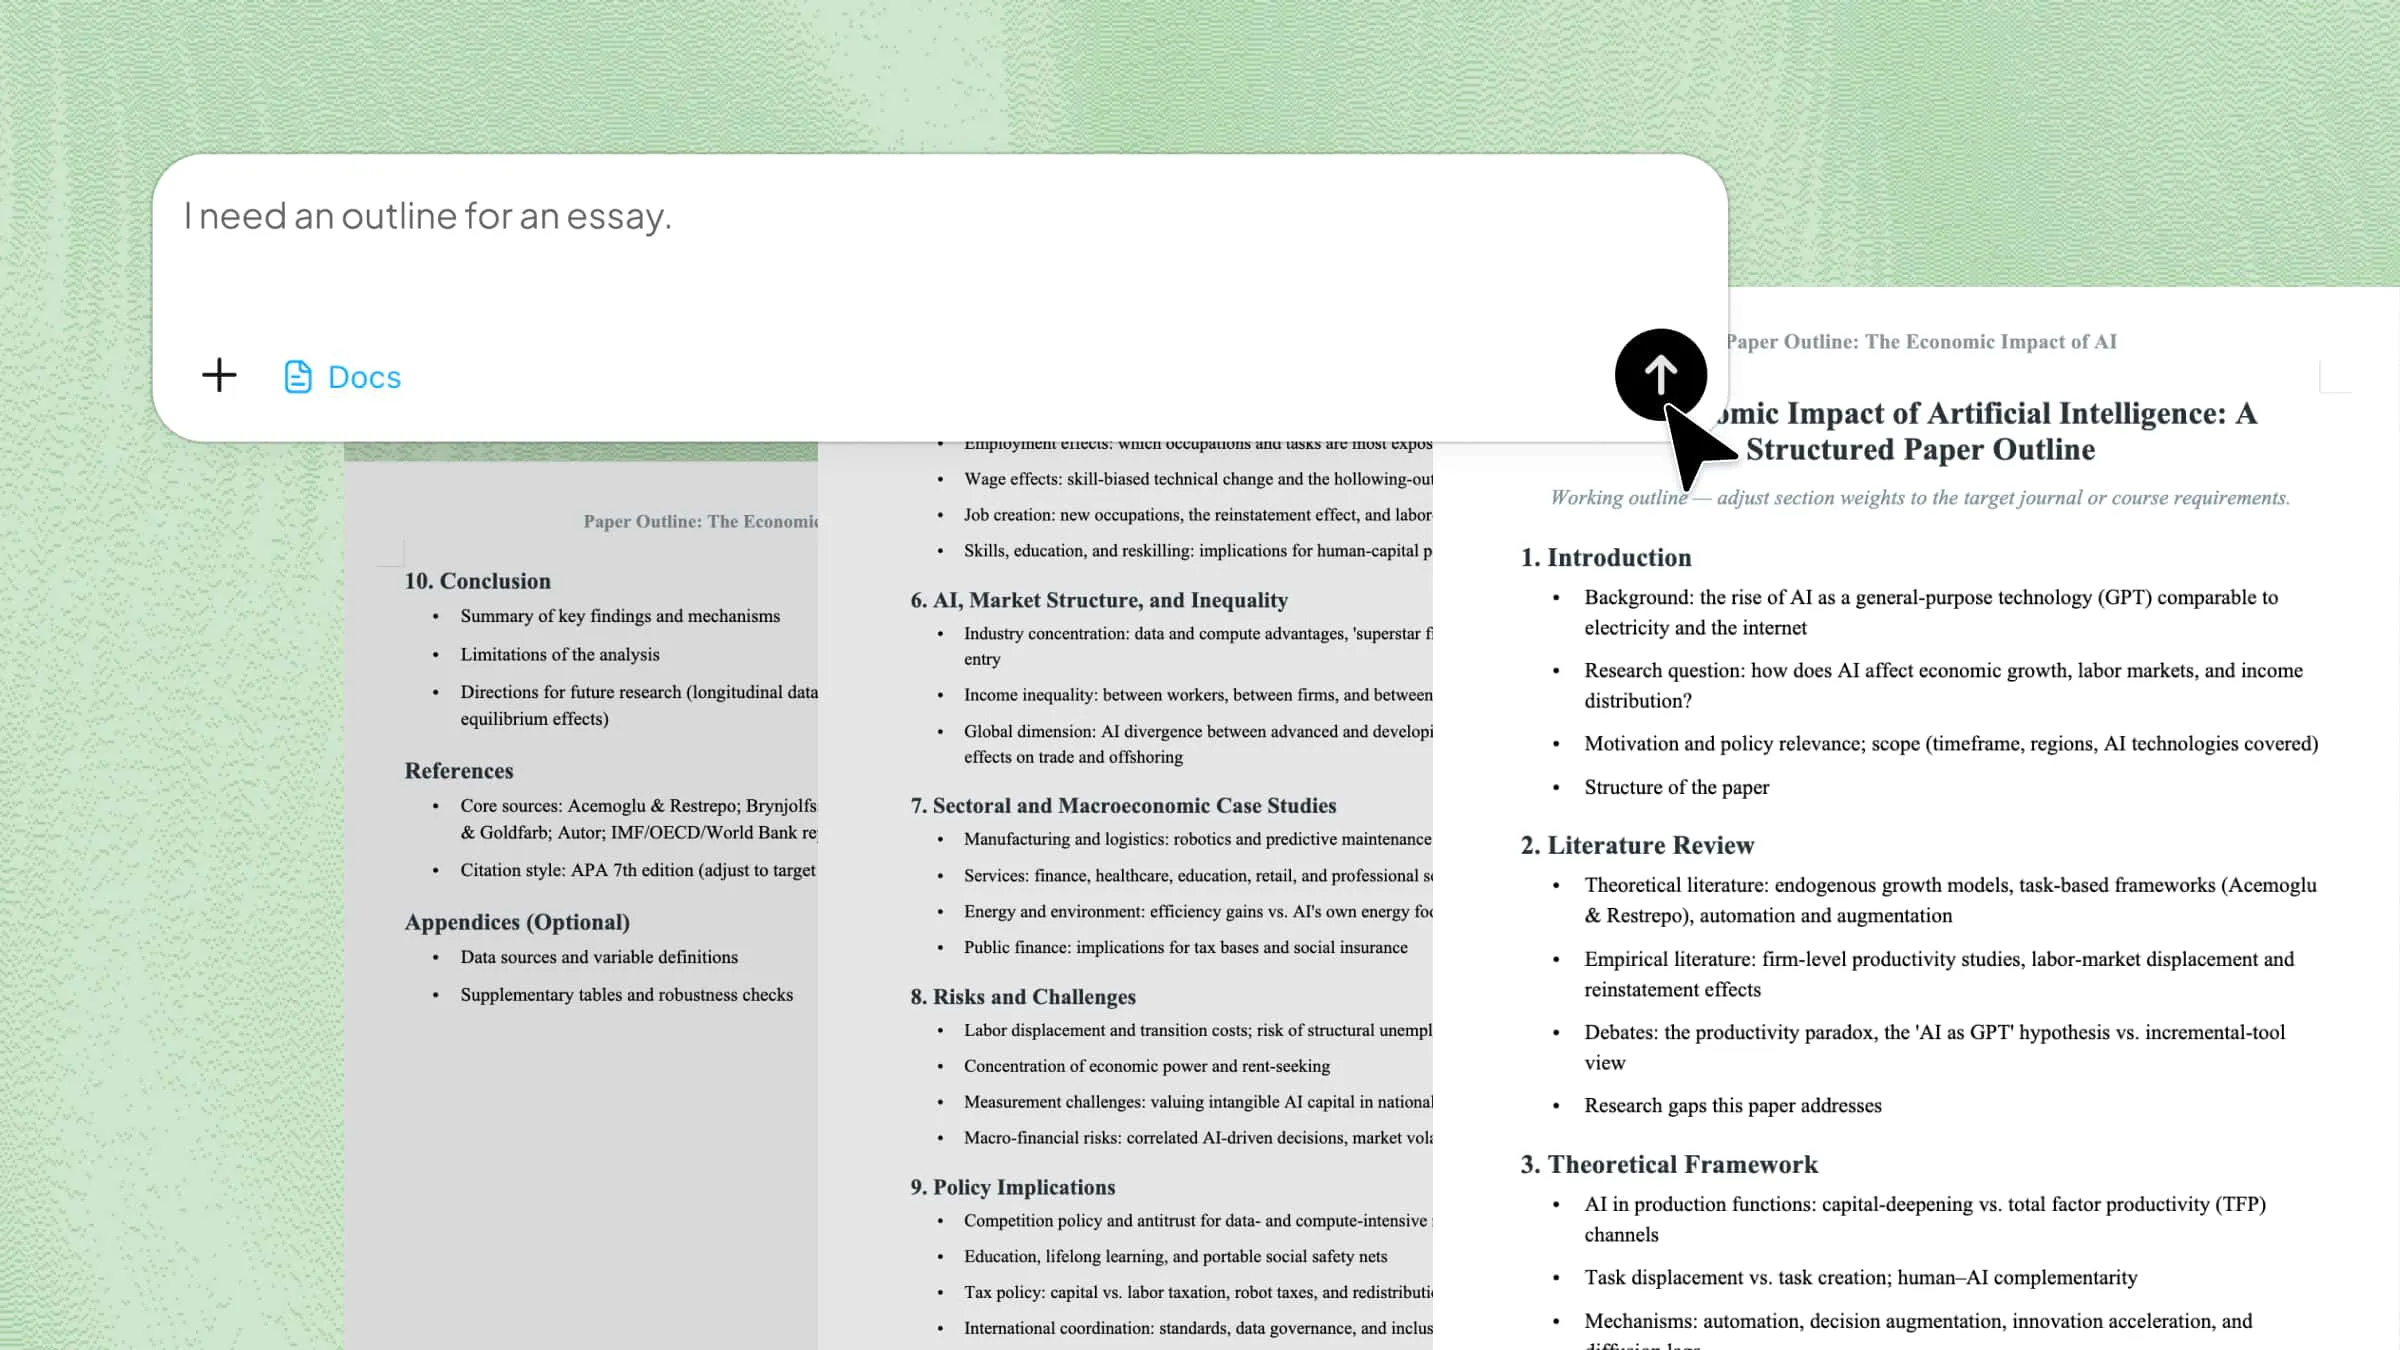
How to edit headers in Word with Kimi Docs
Manually editing headers across multi-chapter documents is tedious, requiring you to break section links and update each page individually.
Instead, use Kimi Docs as your AI document agent. Simply upload your file and describe your desired header structure. Kimi automatically creates the section breaks, unlinks headers, and applies the correct content throughout your document in one step.
Step 1: Upload your document
Upload the Word file you want to restructure.
Step 2: Describe the header setup you want
Tell Kimi which pages should have which headers and any formatting details.
Step 3: Download the formatted document
Kimi applies the header structure as described and returns the finished file.
Key features of Kimi Docs
Configure complex, multi-section header architecture through a single prompt: Rather than manually inserting section breaks, navigating each header area to toggle Link to Previous, and adjusting Different First Page settings chapter by chapter, the entire header structure, including section-specific content, unlink logic, and per-section first-page exceptions, can be defined and applied across the full document in one operation.
Combine header setup with other formatting: Header changes can be part of a broader formatting request alongside font changes, spacing, and section structure, all handled in the same step.
Work from a plain description: There's no need to navigate the Header & Footer tab, remember which setting controls which behavior, or repeat the same steps for each section.
Handle large-scale and batch document processing: Whether it's a single document with dozens of sections or hundreds of files that need the same header structure applied, Kimi processes them at scale without repeating the setup for each one.
Conclusion
Setting up headers correctly across a multi-section document means inserting breaks, unlinking each section, and applying the right content one at a time. Kimi Docs does all of that from a single description, whether the document has three sections or thirty. Upload your file, describe the structure you need, and get a properly formatted document back without touching the Header & Footer tab yourself.