A Step-by-Step Guide on How to Add a Section Break in Word

Discover how to insert a section break in Word to apply different page orientations, distinct headers, or restarted page numbering. This guide covers Next Page and Continuous types, plus how Kimi Docs can automate your layout structure.

10 min read2026-07-21
How to insert a section break in a Word document

A section break divides a Word document into independently formatted parts, each with its own layout, orientation, headers, footers, or page numbering. This step-by-step guide covers how to insert a section break in Word for each of the four distinct break types, how to set up unique headers per section, and how to restart page numbers effortlessly.

The four types of section break in Word

Before inserting one, it helps to know which type fits your situation, since each has a different effect on where the new section starts.

TypeWhat it doesWhen to use it
Next pageStarts the new section at the top of the next pageWhen the new page also needs different formatting: its own header, a different orientation, or restarted page numbers. If no formatting change is needed, a plain page break is simpler.
ContinuousStarts the new section on the same pageSwitching column layout or margins mid-page without starting a new page.
Even pageStarts the new section on the next even-numbered pageDocuments where chapters or major sections should always open on a left-hand (even) page.
Odd pageStarts the new section on the next odd-numbered pageDocuments where chapters or major sections should always open on a right-hand (odd) page, which is the standard for most printed books.

Note: If you're looking for how to add section break in Word online, the option is currently unavailable in the browser version. You'll need the Word desktop app.

How to insert a section break in Word

All four section break types follow the same steps to how to insert section break in Word. The only difference is which option you select from the Breaks menu.

Step 1: Place your cursor

Click in the document at the spot where the new section should begin. If you're inserting a Next Page section break, this is typically at the end of the last paragraph before the new section starts.

Place the cursor before inserting a section break in Word

Step 2: Open the Layout tab

Click "Layout" on the ribbon at the top of the Word window.

Open the Layout tab in Word

Step 3: Click Breaks

In the Page Setup group, click "Breaks" to open the dropdown menu. Both page breaks and section breaks are listed here.

Click Breaks in the Layout tab in Word

Step 4: Select your section break type

Under the "Section Breaks" heading in the dropdown, select the type you need: Next Page, Continuous, Even Page, or Odd Page. The section break is inserted at your cursor position and takes effect immediately. The path is Layout > Breaks regardless of which version of Word you're using. This is the standard path to insert section break in MS Word on all desktop versions.

Select a section break type from the Layout Breaks menu in Word

To confirm the break was inserted, go to the Home tab and click the Show/Hide button (the paragraph symbol). Section breaks appear as double dotted lines labeled with their type, such as "Section Break (Next Page)" or "Section Break (Continuous)."

How to insert a continuous section break in Word

A continuous section break is the one to use when you need to change a layout element mid-page without starting a new page. The most common use case is switching from a single-column layout to two columns partway down a page, where both the one-column section and the two-column section sit on the same page.

Follow the steps outlined in the "How to insert a section break in Word" section above, and select Continuous in Step 4. Any text after your cursor will stay on the same page instead of jumping to a new one. The formatting change takes effect immediately at your cursor position and continues until the next section break.

how to insert a continuous section break in Word

Note that Continuous section breaks are invisible in the layout unless you turn on Show/Hide formatting marks. If a layout change isn't taking effect where you expected it, check that the Continuous break is sitting at exactly the right position in the text.

How to insert a Next Page section break in Word

A Next Page section break is the most commonly used type. It starts the new section at the top of the following page and is the right choice for any formatting change that also needs a fresh page to start on, such as a different page orientation or a new chapter header.

Follow the steps above mentioned in the section "How to insert a continuous section break in Word" and select "Next Page" in Step 4. The text from the cursor position onward moves to the top of the next page and the new section begins there.

how to add a next page section break in Word

If the section break creates a blank page you didn't intend, check that the cursor was placed at the very end of the last line of the preceding section, not at the beginning of a new paragraph. An extra paragraph mark before the section break is the most common cause of unexpected blank pages.

How to add section break in word with different header

A section break alone doesn't create a different header automatically. The new section's header is linked to the previous section's header by default, which means any edits you make appear on all pages. One more step is needed to disconnect that link.

Step 1: Insert a Next Page section break

Follow the main steps above to insert a Next Page section break at the point where the unique header should begin.

Insert a Next Page section break before a different header

Step 2: Double-click the header area on the new page

Scroll to the new section's first page and double-click in the header area to enter editing mode. A label appears in the header showing the section number.

Open the header area in the new section in Word

Step 3: Turn off Link to Previous

In the Header & Footer Design tab, click "Link to Previous" to deselect it. This breaks the connection between this section's header and the one before it. Changes made here will no longer affect the previous section.

Turn off Link to Previous in Word header settings

Step 4: Type the new header content

With the link disconnected, type or format the header for this section. It applies only to this section and any sections after it that remain linked to it.

how to add section break in Word with different header

If the "Link to Previous" button appears grayed out, make sure you're in the correct section's header and that a section break (not just a page break) exists between the two sections. A page break doesn't create a new section, so the header link control won't be available.

How to add page numbers after a section break in Word

Restarting page numbers at a specific point follows the same logic as setting up a different header: insert a section break, unlink the footer from the previous section, then configure the numbering.

Step 1: Insert a Next Page section break

Insert the section break where the new page numbering should begin.

how to add page number after section break in Word

Step 2: Open the footer and unlink from the previous section

Double-click in the footer area on the first page of the new section, then go to the Header & Footer Design tab and click "Link to Previous" to turn it off.

Unlink the footer from the previous section in Word

Step 3: Insert or format the page number

Go to Header & Footer > Page Number > Format Page Numbers. Set "Start at" to 1 (or any other number you want the section to begin at), then click "OK." Insert the page number through Header & Footer > Page Number > Bottom of Page (or whichever position you prefer).

Restart page numbers after a section break in Word

The page numbering now restarts at the specified number from the beginning of that section, independent of the total page count in the rest of the document.

How to insert section breaks in Word with Kimi Docs

Setting up a section breaks across a long document and then going into each new section's header and footer to unlink them and applying the correct content is time-consuming when it needs to be done for every chapter or major section.

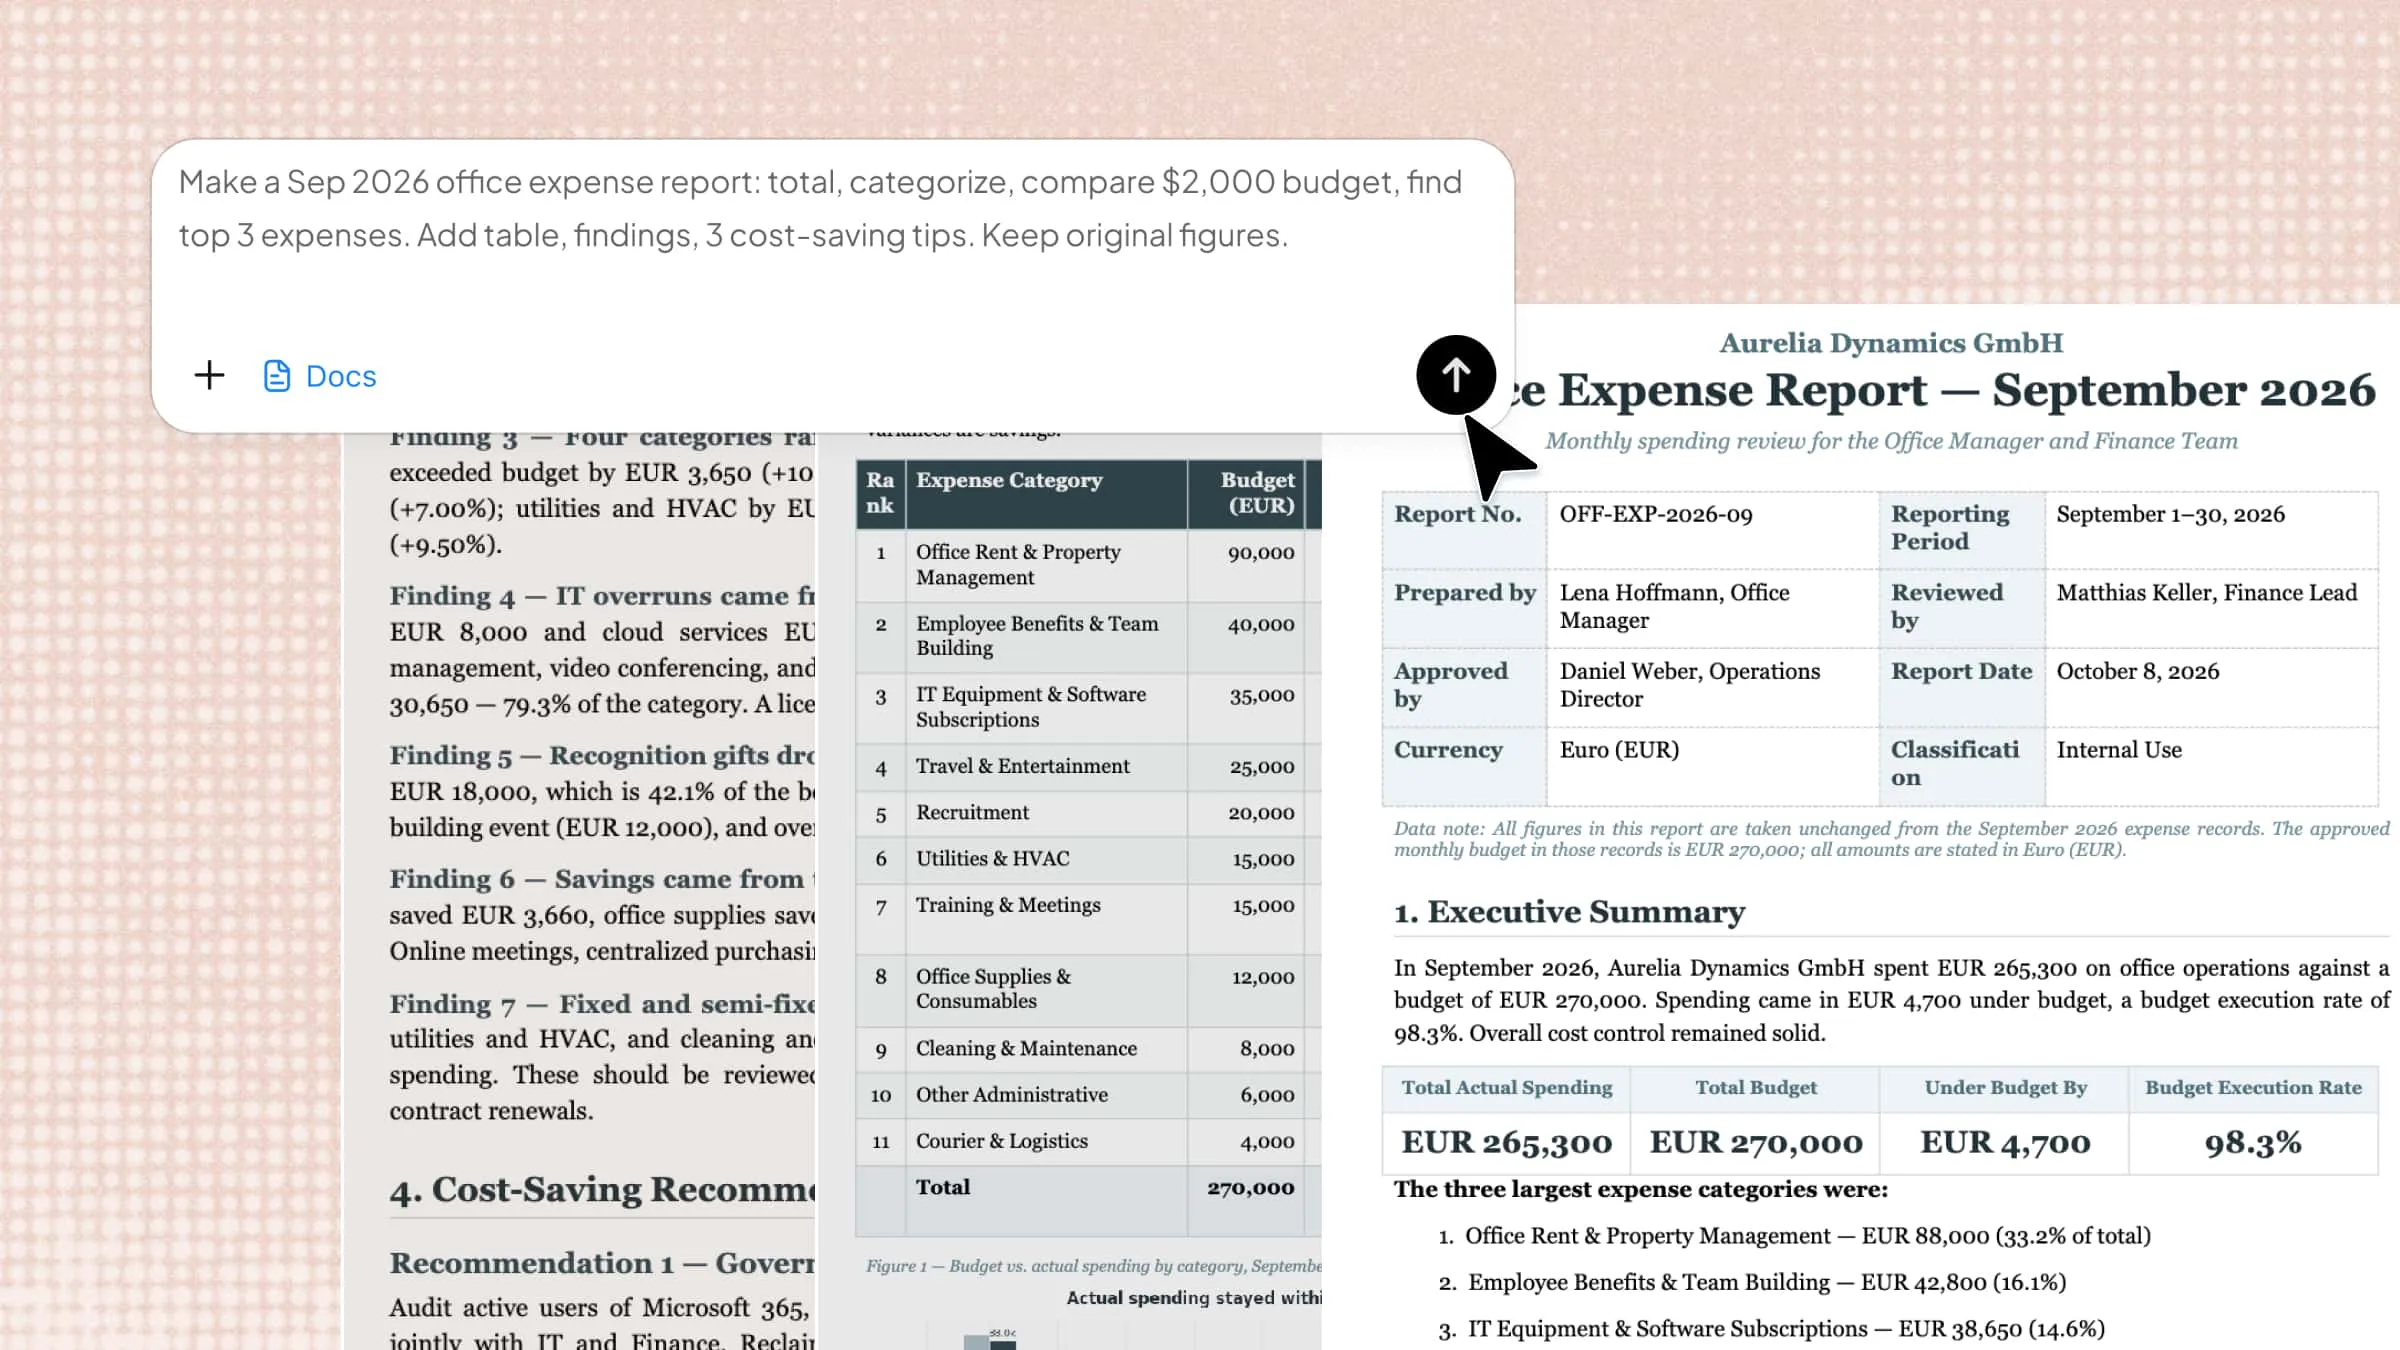
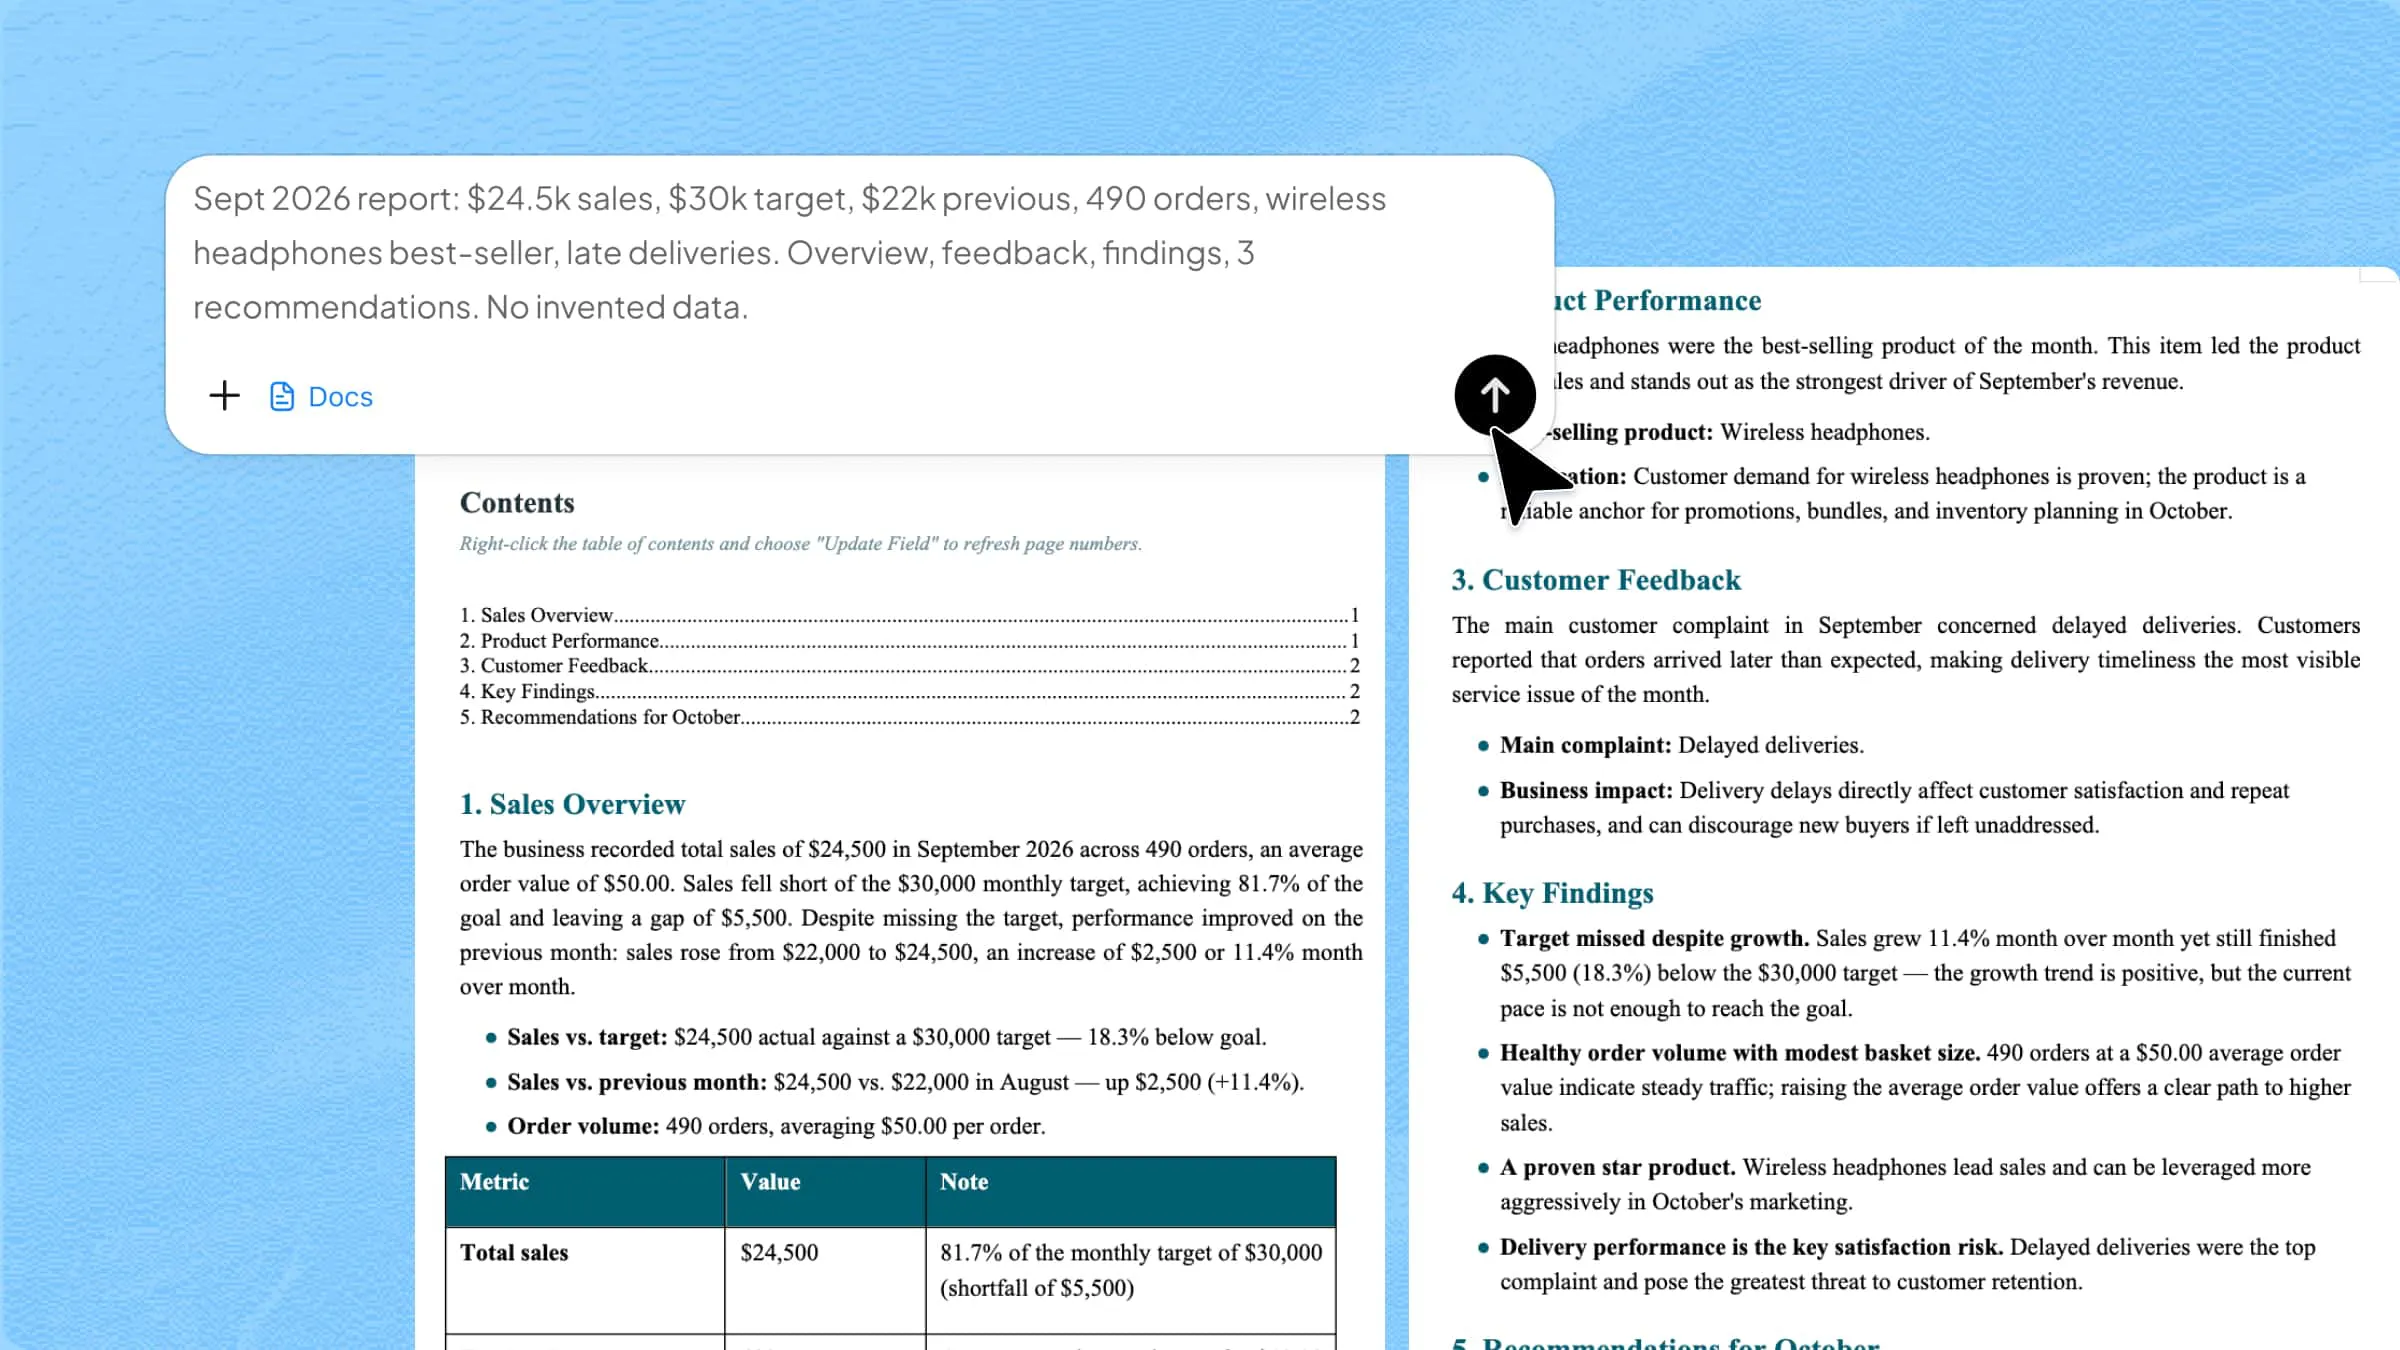
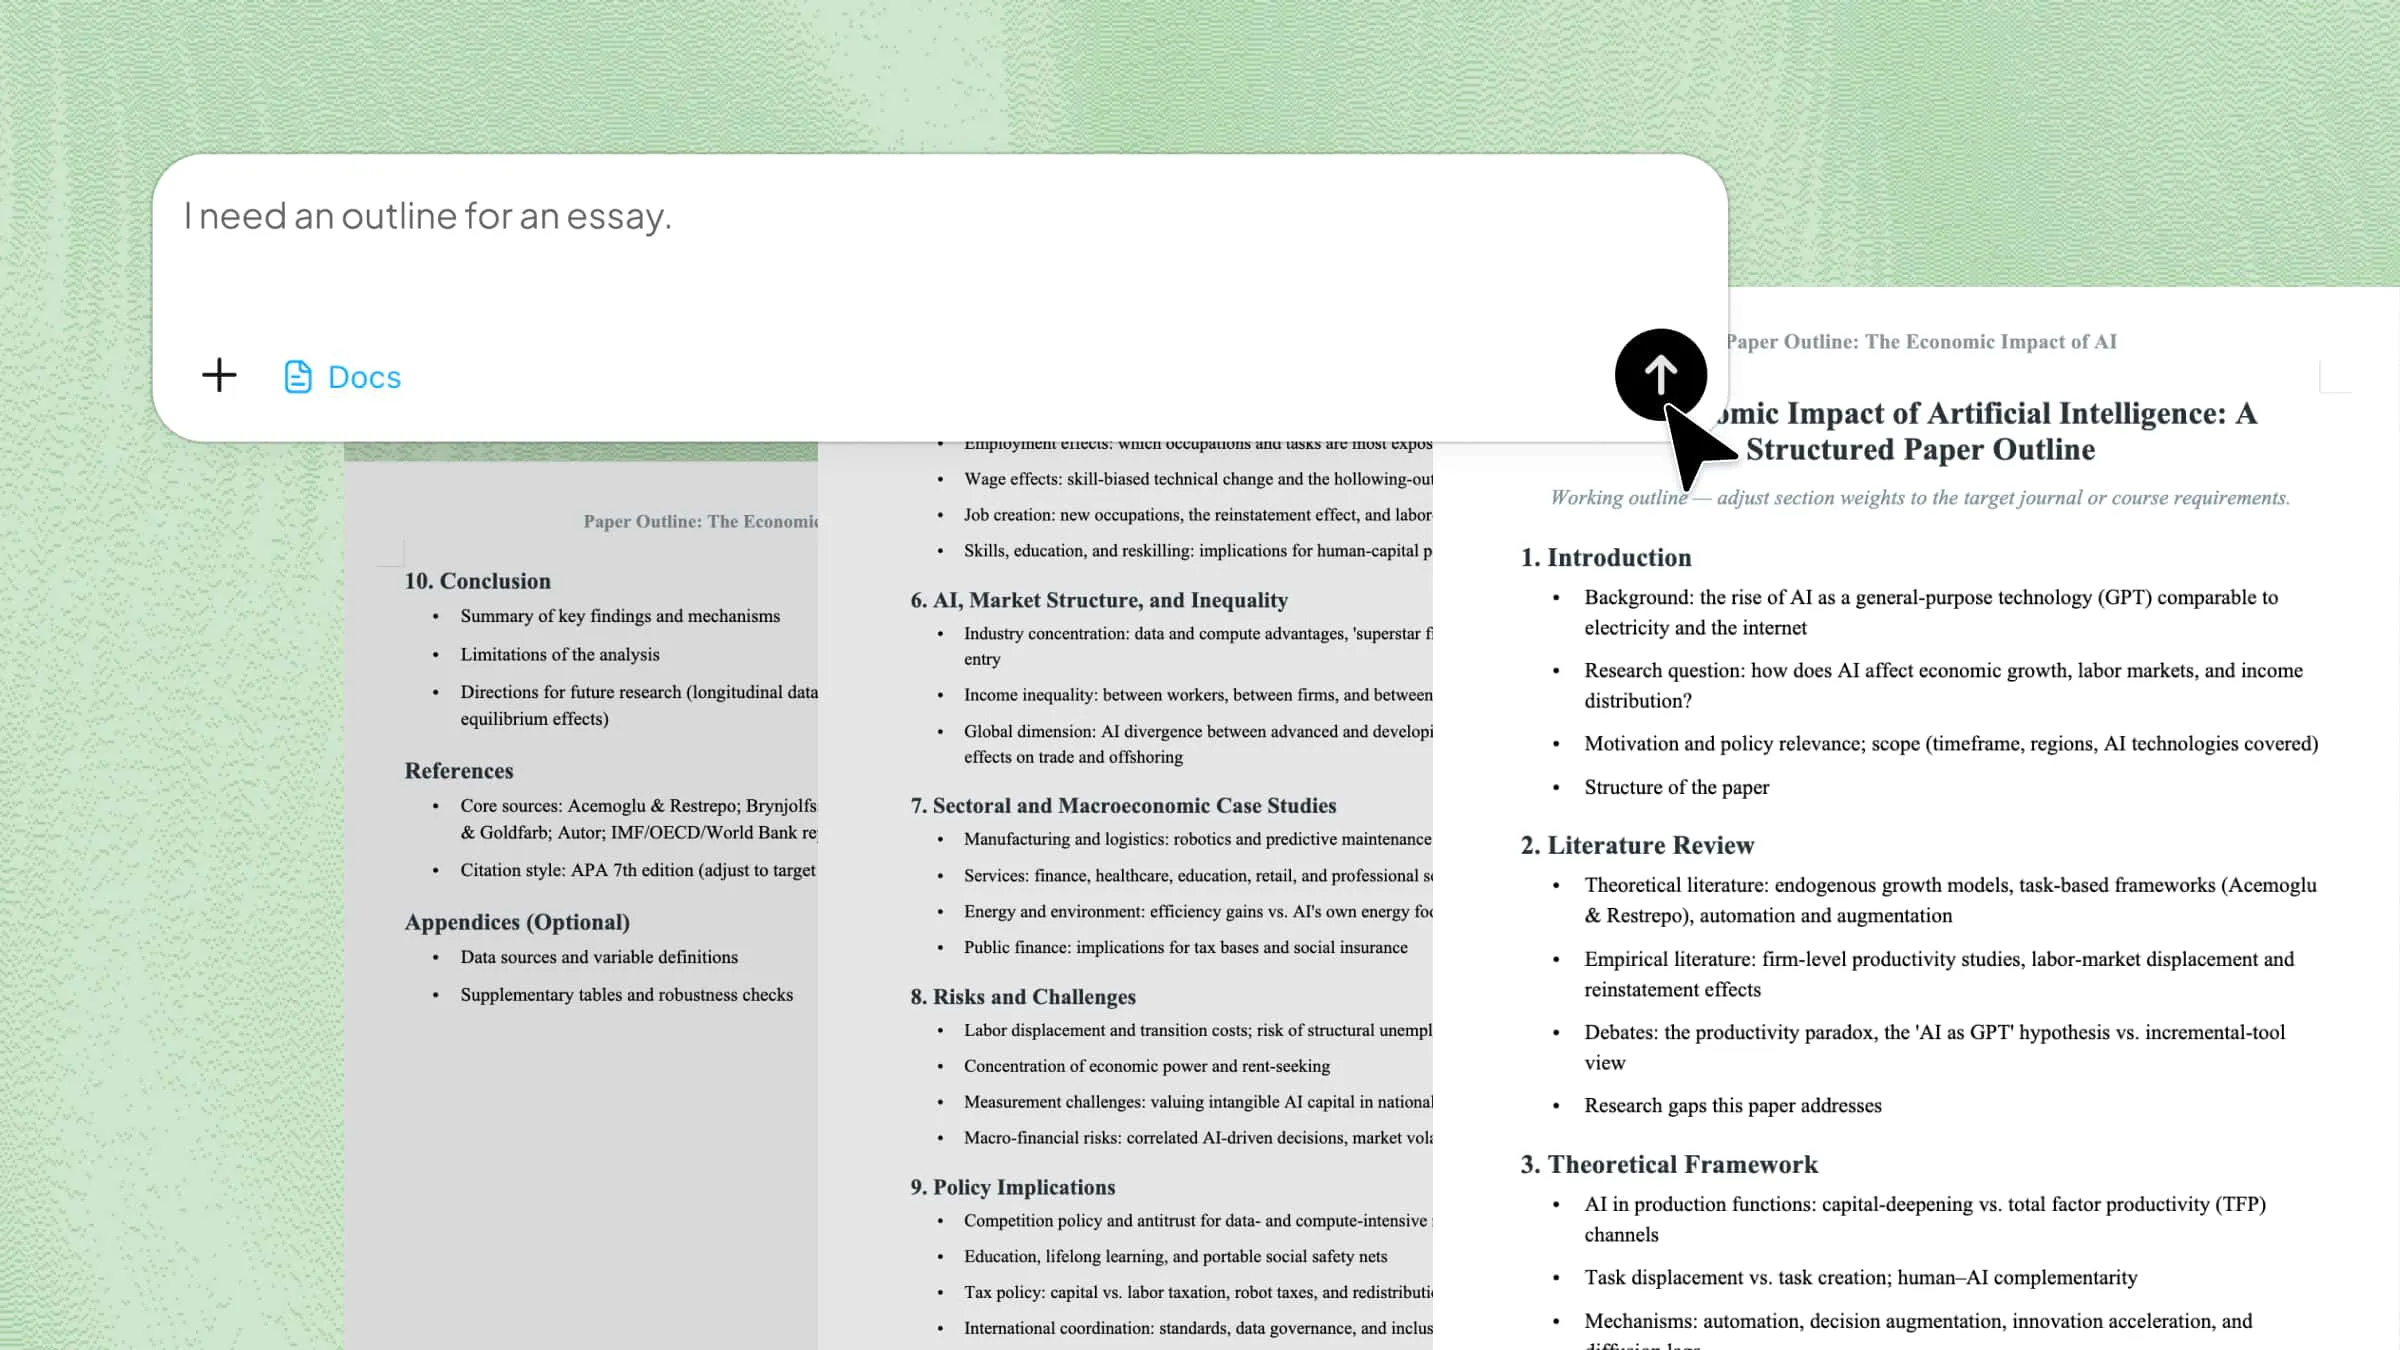
Kimi Docs functions as a precise AI document agent that structures your entire file from a simple description. It can automatically do all the formatting based on your requirements.

Step 1: Upload your document

Open Kimi Docs and upload the Word file that needs section breaks added.

Upload a Word document to Kimi Docs

Step 2: Describe the section structure you need

Tell Kimi where the section breaks should go and what formatting should apply to each section.

Add a Next Page section break before each chapter heading. Each chapter should have its own header showing the chapter title. Page numbers should restart at 1 at the beginning of each chapter.
Enter a prompt to add section breaks with Kimi Docs

Step 3: Download the formatted document

Kimi applies the section breaks and formatting as described and returns the finished file.

Download a Word document with section breaks added by Kimi Docs

Key features of Kimi Docs

  • Set up headers and footers per section: Adding a section break and then unlinking and updating the header or footer in each new section can be described in one prompt, rather than repeated manually for each section.

  • Handle page number restarting across sections: Kimi Docs automates section breaks and page numbering. Whether you want continuous numbering, custom restarts, or mixed formats, just state your layout needs and it configures the document instantly.

  • Insert multiple section breaks at once: Rather than placing each break manually, section breaks can be added at every described location across the document in one step.

  • Work from a plain description: Describe your layout in plain text. Kimi Docs automatically inserts the correct section break, saving you from complex Word menus.

  • Flexible formatting tailored to your needs: Instead of forcing a single rigid layout, Kimi Docs tailors the document structure to your exact needs. Whether you require distinct formatting per section like changing headers and orientations or a completely unified style, just state your preferences and Kimi Docs configures it automatically.

Conclusion

To insert a section break in Word is simple for a single instance, but setting up headers, footers, and page numbers correctly requires unlinking each new section from the one before it. For a document with many chapters, that's the same set of steps repeated each time. Kimi Docs applies the whole structure from a description, placing the breaks and handling the linking and formatting in one step rather than section by section.

FAQ

How do I insert a section break in Word?
Go to the Layout tab, click "Breaks," then select the section break type you need from the Section Breaks section of the dropdown. Next Page is the most commonly used type. The section break is inserted at your cursor position.
What is the difference between a Next Page and a Continuous section break?
A Next Page section break starts the new section at the top of the next page. A Continuous section break starts the new section on the same page, useful for layout changes like switching from one column to two mid-page without moving to a new page.
How do I add a different header in each section of a Word document?
Insert a Next Page section break, scroll to the new section's first page, double-click the header area to enter editing mode, then go to the Header & Footer tab and click "Link to Previous" to turn it off. With the link disconnected, you can type a header that only applies to that section.
How do I restart page numbers after a section break?
Insert a section break, open the footer in the new section, turn off "Link to Previous," then go to Header & Footer > Page Number > Format Page Numbers and set "Start at" to the number you want the section to begin at.
Can I add a section break in Word for the web?
No. Section breaks can only be inserted using the Word desktop app. Word for the web does not support adding or removing section breaks, regardless of the Microsoft 365 plan.
Why did inserting a section break create a blank page?
This usually happens when the cursor was placed at the start of a new paragraph rather than at the end of the last line of the preceding section. The paragraph mark ends up on a blank page between the two sections. Turn on Show/Hide formatting marks to find and delete it.
You Might Also Like
A User-Friendly Guide to Convert JPG to Word with Smallpdf
2026-07-21
How to Remove a Section Break in Word: 5 Ways
2026-07-21
How to Insert a Page Break in Word: 4 Ways
2026-07-21
Page Break vs Section Break in Word: Key Differences
2026-07-21
How to Add a Signature to a PDF Document
2026-07-21