Microsoft Word provides built-in tools for creating fillable forms using content controls, legacy form fields, and checkboxes. These features enable structured data collection without specialized software. This guide outlines the step-by-step procedure for designing, configuring, and protecting a fillable form in Word.
How to create a fillable form in Word
To create a fillable form in Word, you need to turn on the Developer tab to insert different types of form fields: text inputs, checkboxes, dropdowns, and date pickers..
Step 1: Turn on the Developer tab
On Windows, go to File > Options > Customize Ribbon, check the box for "Developer" under Main Tabs, and click "OK."
On Mac, go to Word > Preferences > Ribbon & Toolbar, select Main Tabs from the dropdown, check the box for "Developer," and click "Save."
Step 2: Insert form fields
Place your cursor where a field should go, then go to the Developer tab and insert the control you need.
On Windows, use the Controls group to insert a Rich Text, Plain Text, Check Box, or Drop-Down List content control.
On Mac, use the Legacy Controls group to insert a Text Box, Check Box, or Combo Box. The options are more limited than Windows but cover most common form needs.
Step 3: Set field options
On Windows, select a control and click "Properties" in the Controls group to configure it. On Mac, double-click a field or select it and choose "Options" to set its properties, such as default text, check box state, or dropdown items.
Step 4: Protect the form
Once all fields are in place, go to the Developer tab and select "Protect Form" on Mac, or "Restrict Editing" on Windows, then choose "Filling in forms" and start enforcing protection. This locks the document structure while keeping the fields fillable.
The core process is the same on Windows and Mac platforms. Two differences worth knowing upfront: enabling the Developer tab requires navigating a slightly different menu layout on each system, and control support varies by version. While newer versions of Word for Mac (such as Microsoft 365) fully support modern content controls, certain advanced control types or interface layouts still differ from Windows. Furthermore, if you are running an older Mac version, you may need to rely on Legacy Controls instead.
How to create a fillable form in Word with signature
A signature line can sit alongside the other form controls, giving the person filling out the form a clear place to sign. This ensures the signature field is built directly into your form's layout from the very beginning, preventing any alignment or formatting issues later on.
Step 1: Place your cursor where the signature should go
Click on the document at the spot where the signature line should appear. For most forms, this is near the bottom, below the final field and above any footer content.
Step 2: Insert a Signature Line
Go to Insert > Signature Line > Microsoft Office Signature Line. A setup box opens where you can enter the signer's name, title, and any instructions for the signer. Click "OK" and the signature line appears in the document.
Step 3: Restrict the form for editing
Apply Restrict Editing the same way as the main steps above. The signature line is included in the protected structure along with the other fields, so it stays intact when the document is filled out.
Make a fillable form in Word from template
If you'd rather not build from scratch, a Word fillable form template is a faster starting point. Word's own template gallery, available through File > New, includes a small selection of searchable form layouts. Typing "Forms" in the search field brings up the relevant options, which open directly in Word with content controls already inserted.
How to make a fillable form in Word with Kimi Docs
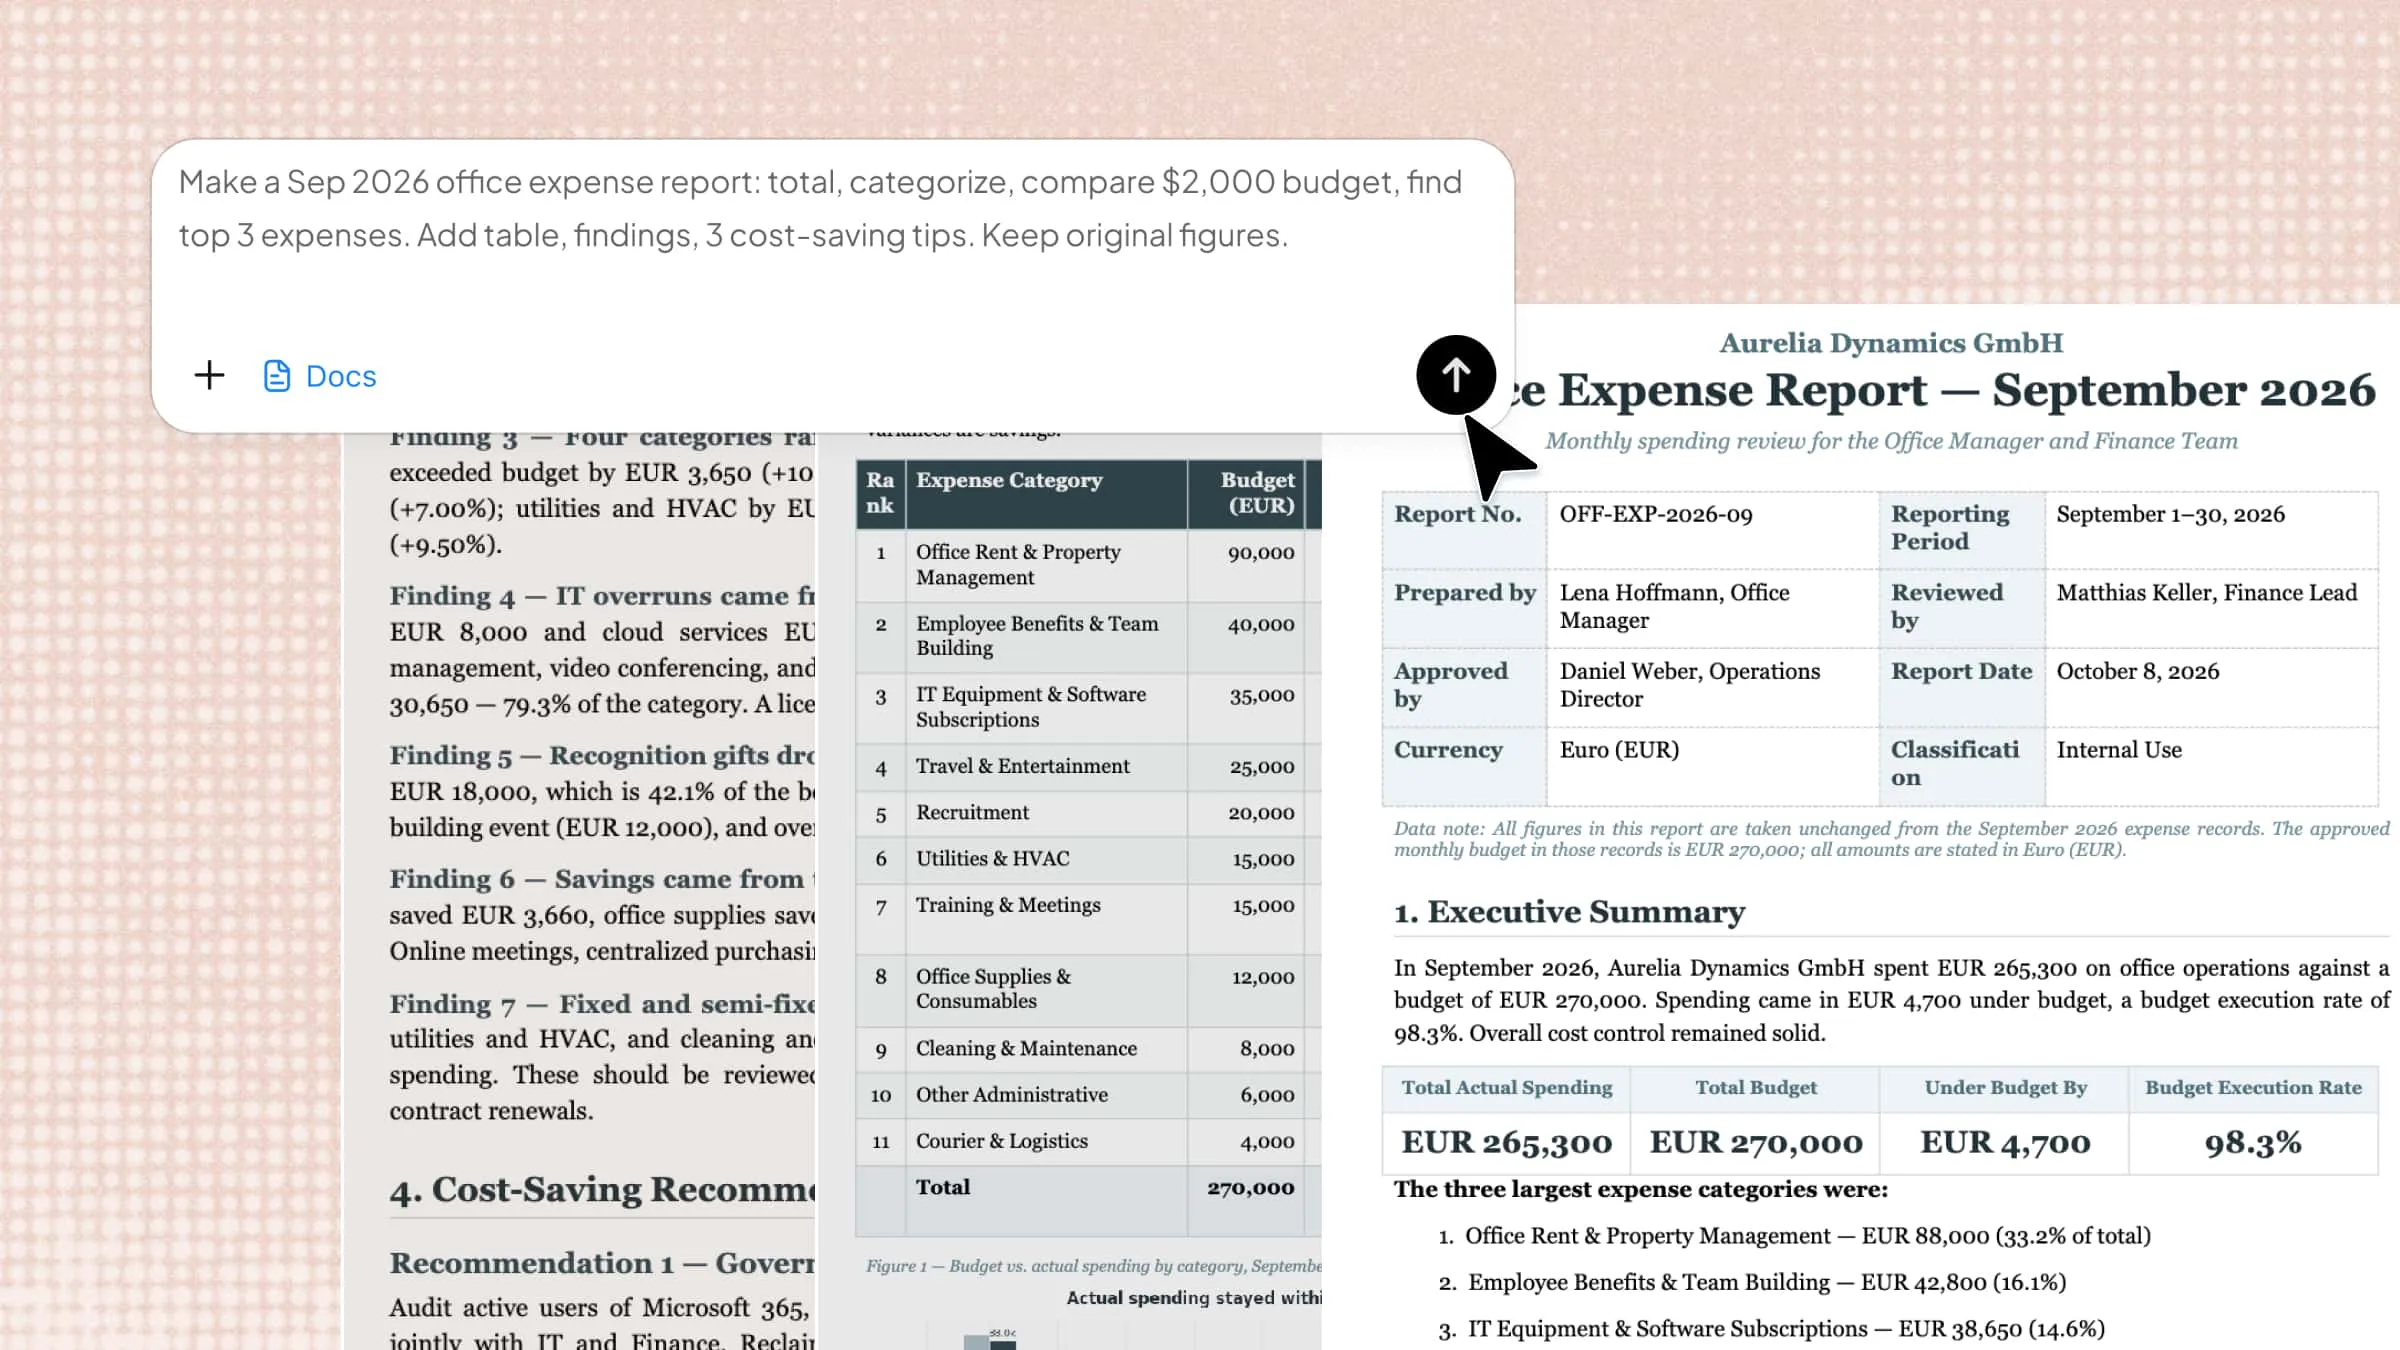
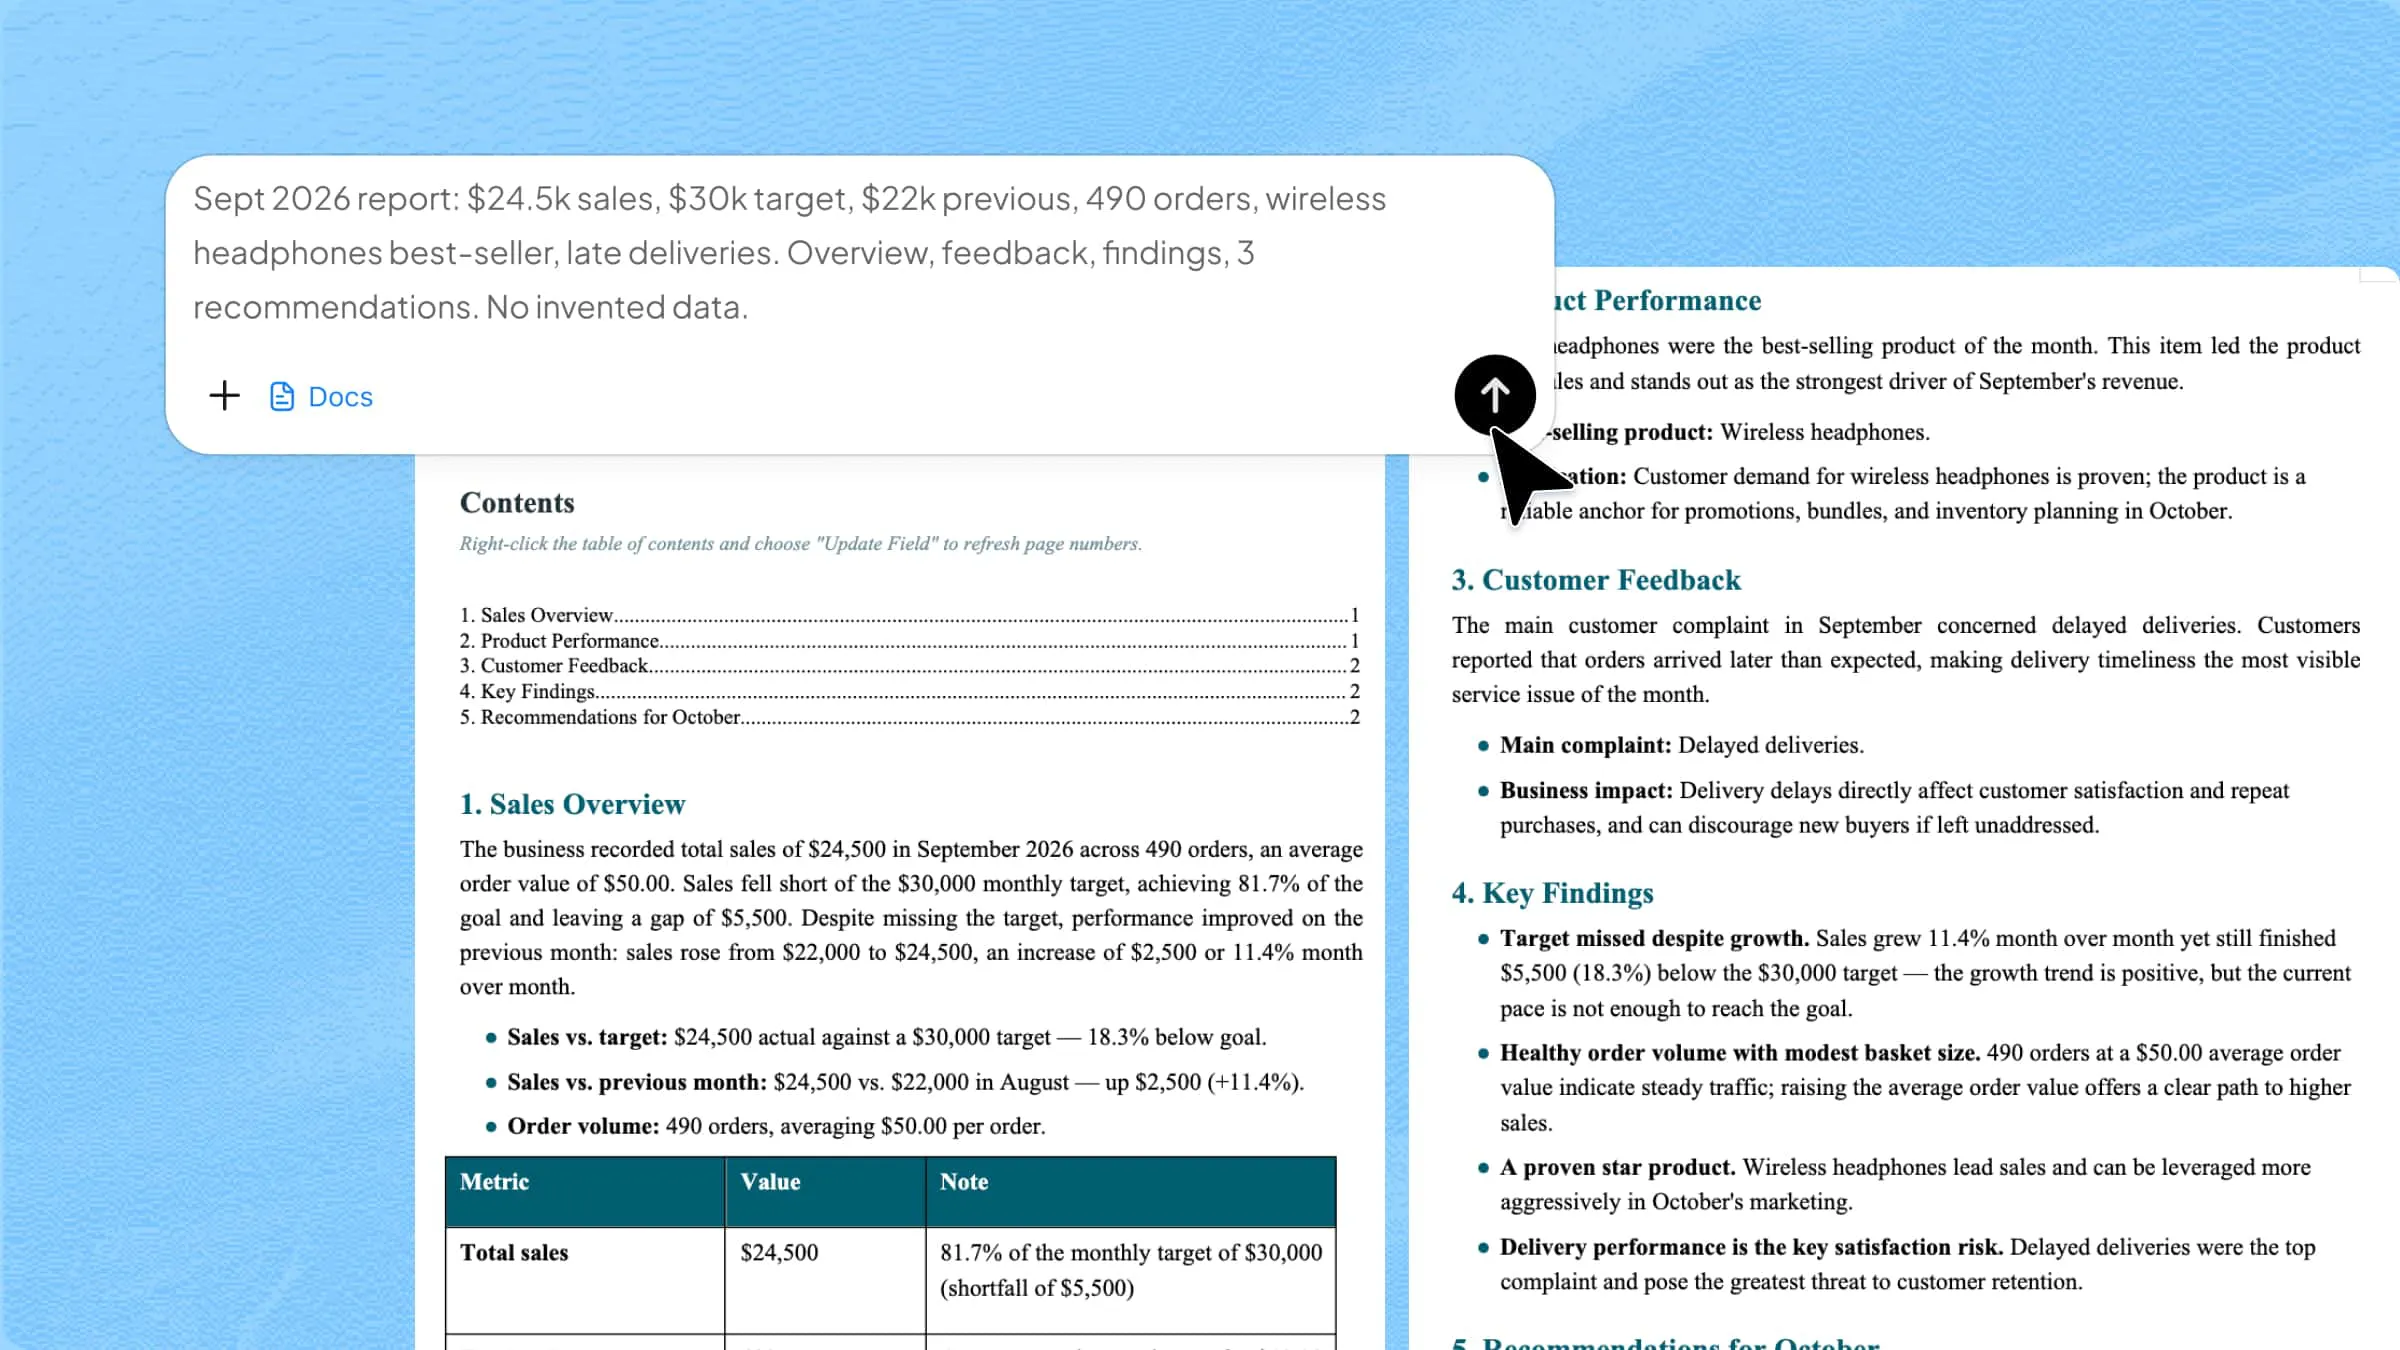
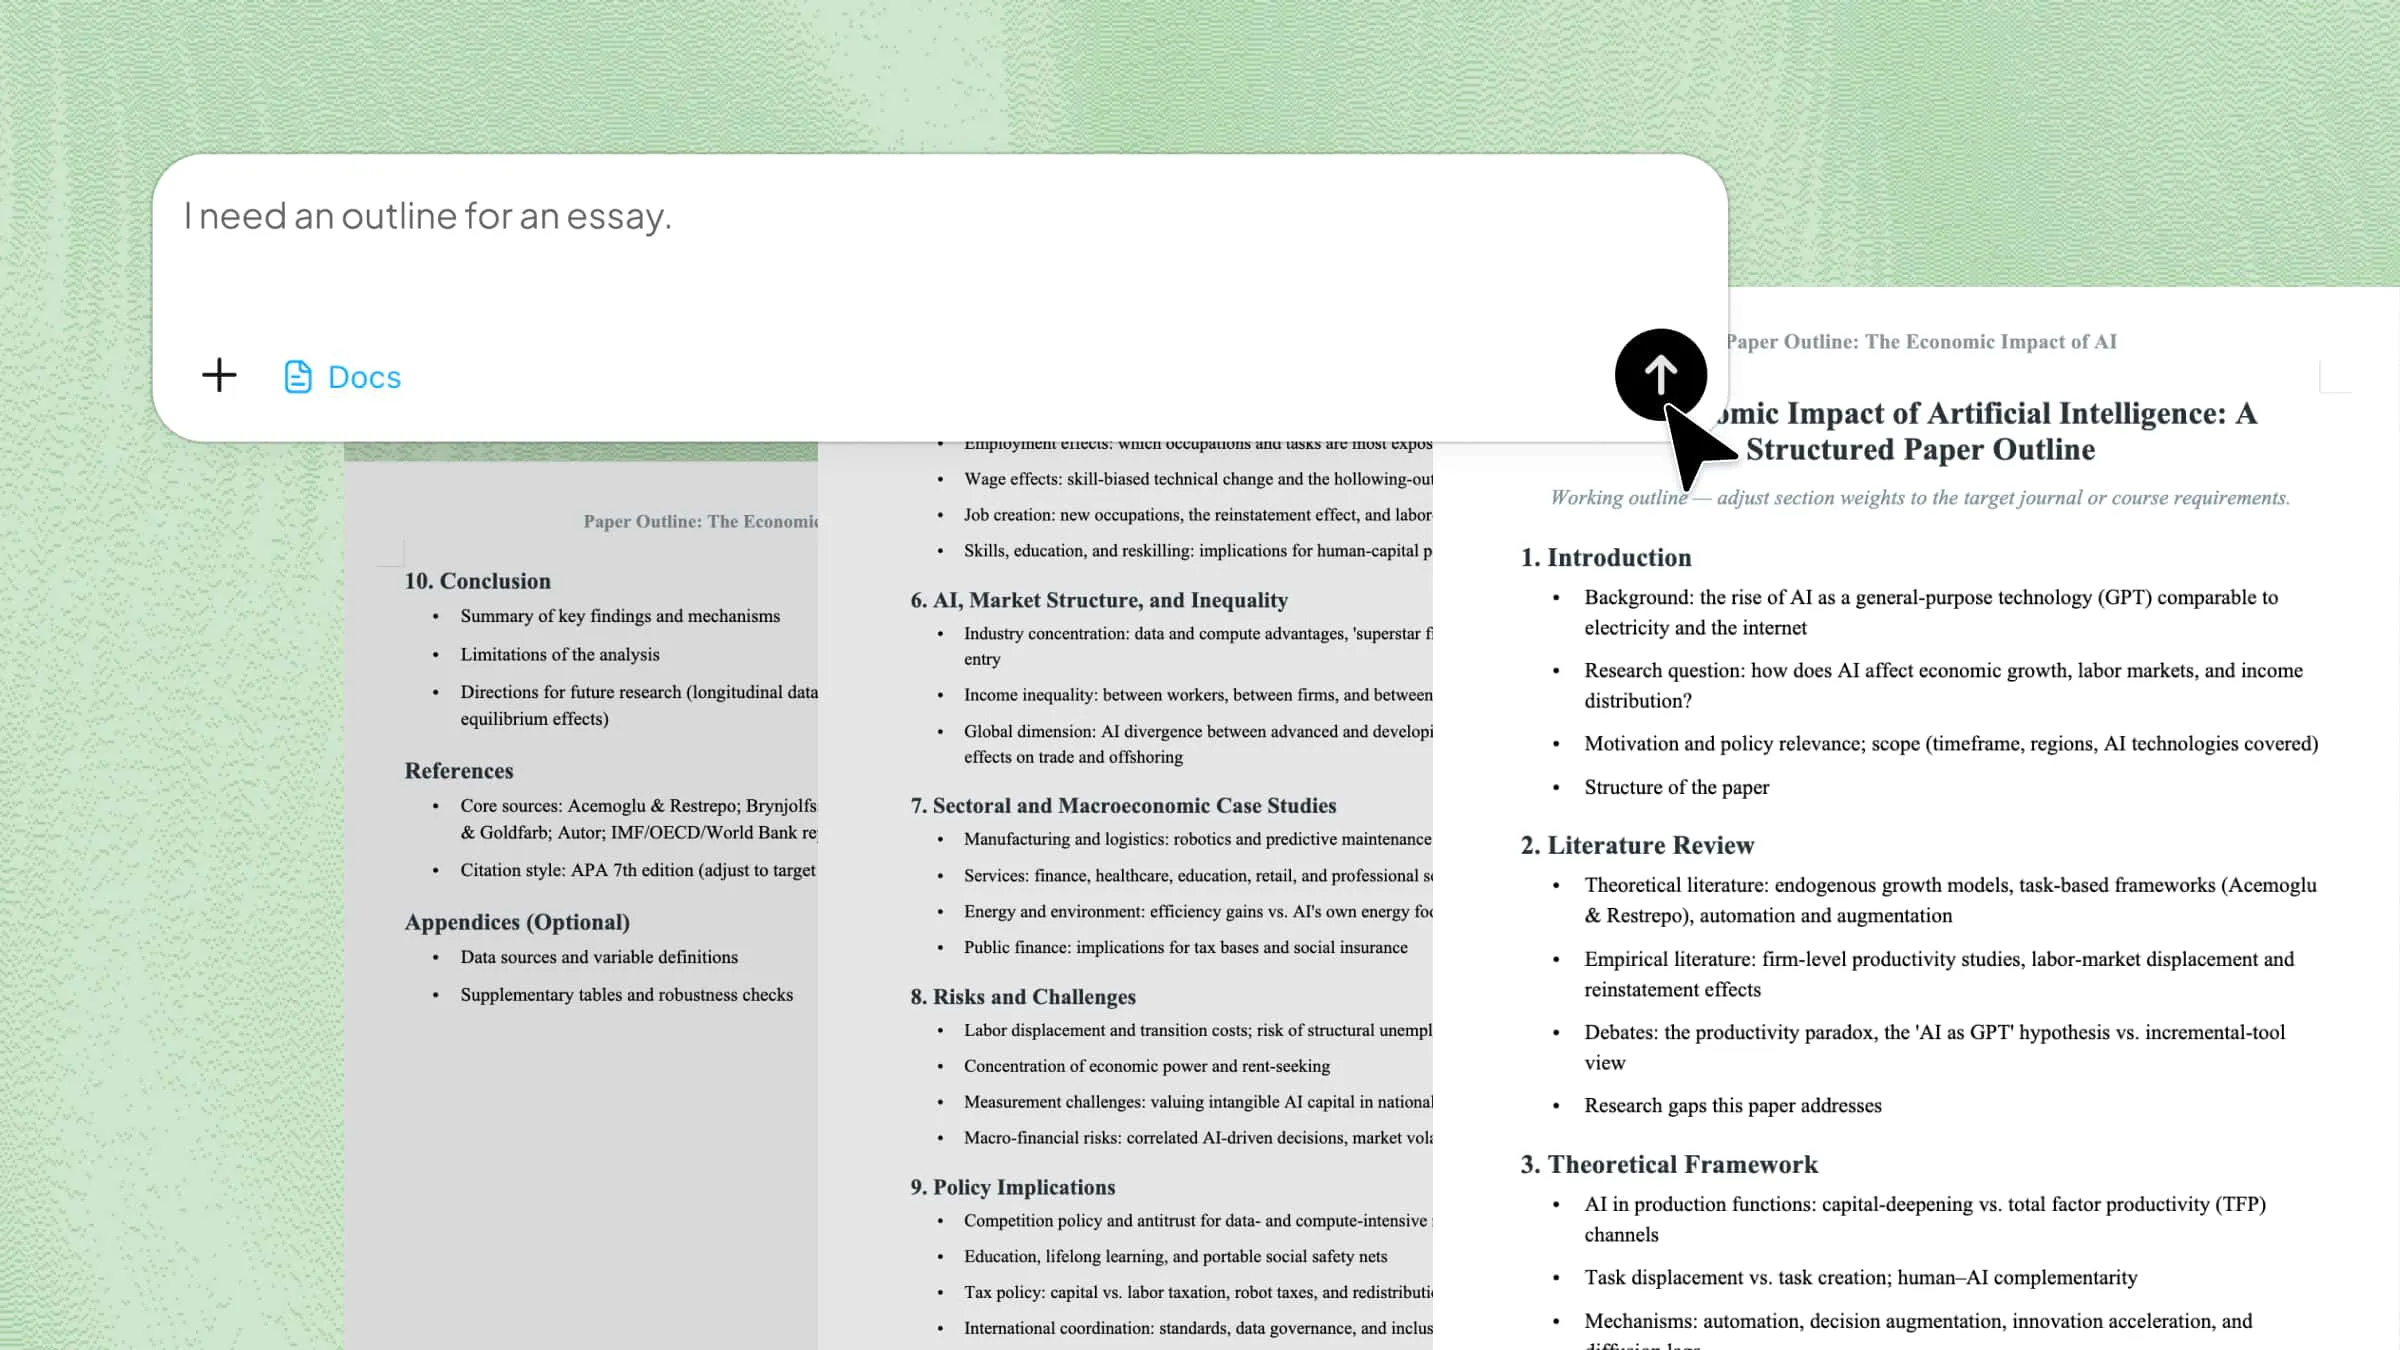
Building a fillable form manualy is workable but takes time, especially if the form has many fields or needs to be recreated with minor variations. Kimi Docs functions as an efficient AI document generator that creates the entire form structure from a simple description instead, instantly producing a clean Word document with all the required fillable fields already in place.
Step 1: Describe the form you need
First, switch to the dedicated Kimi Docs interface. Once inside, simply tell Kimi what the form is for and what fields it should include. You can list the specific inputs you want, such as text boxes, checkboxes, or date pickers and Kimi will understand how to structure them..
Step 2: Review the generated form
Kimi builds the form structure based on your description. Review the fields and send a follow-up prompt if anything needs adjusting.
Step 3: Download your form
Once it's ready, download the finished document as a Word file.
Key features of Kimi Docs
Simple and quick generatio: You can describe text fields, dropdowns, date pickers, and a signature line all together in a single prompt. Kimi Docs builds them instantly, bypassing the need to locate hidden menus, decipher technical content controls, or manually configure properties for every individual field.
Support multi-turn result iteration: Send a follow-up prompt to add a field, change a label, or adjust the layout. Kimi updates the relevant part of the form without touching the rest, so you're not starting over each time something needs to change.
Professional and clean formatting: Kimi Docs ensures that field labels, spacing, and layouts remain perfectly consistent across your entire form, even when mixing multiple field types. If your project demands variation, the platform can easily adapt the styling, margins, or formatting for different sections based on your exact instructions preventing the messy, accidental alignment shifts that usually happen when building forms manually over multiple sessions.
Work seamlessly across devices: Since the form is generated through a simple prompt, you aren't restricted by specific desktop software versions. You can seamlessly create, access, and generate fillable forms using Kimi Docs across web browsers, mobile devices, or your desktop application, delivering an identical, uninterrupted workflow no matter where you are working.
Conclusion
Word's built-in form tools enable structured data collection without specialized software, so you can begin designing professional fillable forms immediately, with the detailed guide. For anyone who needs to build forms regularly and is tired of creating forms manually, Kimi Docs generates the whole thing from a description and delivers a ready-to-use Word document.