Removing unwanted page breaks in Word documents can disrupt formatting and layout, and there are some details requires attention. This guide for how to undo a page break in Word provides clear instructions for locating and removing both manual and automatic page breaks, restoring seamless document flow with minimal effort.
Overview of page break removal methods
Before going through the steps, here is a quick look at when each method applies. This guide focuses on manual page breaks and paragraph-based breaks.
| Method | Best for |
|---|---|
| Show/Hide and delete | One or two manual page breaks |
| Find & Replace | Removing all manual page breaks at once |
| Paragraph settings | Breaks that won't delete or appear stuck |
| Keyboard shortcut | Quick deletion of a single visible page break |
| Kimi Docs | Cleaning up page breaks and formatting across a long document |
How to remove a page break in Word manually
The most direct way to fix a broken layout is to locate and delete the break yourself. This manual approach works on any version of Microsoft Word and is ideal when you only have one or two isolated page breaks to clean up and you know exactly where they are in the document.
Step 1: Show hidden formatting marks
Go to the Home tab and click the "Show/Hide" button, the paragraph symbol in the Paragraph group. This makes all hidden marks visible, including manual page breaks, which appear as dotted lines labeled "Page Break."
Step 2: Find the page break marker
Scroll through the document to find the dotted line marked "Page Break." Manual breaks are the only ones that show this label. Automatic page breaks appear as plain dotted lines without the label, and they can't be removed the same way.
Step 3: Select and delete it
Click directly on the page break marker line to place your cursor there. You can also double-click the marker to select the whole line. Press Delete or Backspace once to remove it. The text on either side closes up and flows without the extra break.
This process remains consistent whether you are working on Microsoft 365, Word for Mac, or older desktop versions. The Show/Hide button and the Delete key behave identically across all platforms. If you are using Word for the Web, you can find the Show/Hide button on the Home tab as well, though keep in mind that the browser version does not fully support certain advanced break types.
How to remove all page breaks in Word at once
If your document has several manual breaks scattered throughout, scrolling through to delete them one by one is tedious. Instead of hunting them down, you can use the Find & Replace tool to clear them out instantly. This method shows you how to remove all page breaks in Word in a single step, without the need to locate each one individually.
Step 1: Open Find & Replace
Press Ctrl+H on Windows or Cmd+H on Mac to open the Find & Replace dialog, or go to Home > Editing > Replace.
Step 2: Enter the page break code
In the "Find what" field, type ^m, which is the code Word uses for a manual page break. Leave the "Replace with" field completely empty.
Step 3: Replace all
Click Replace All. Word will immediately wipe out every manual page break across the entire document. This is the fastest way to clean up your formatting across a long file without scrolling through each page.
How to remove a page break in Word that won't delete
Some breaks don't show a visible marker even with Show/Hide turned on. These are caused by a paragraph setting called "Page break before," not a character that can be deleted directly.
Step 1: Select the paragraph jumping to a new page
Click to place your cursor in the paragraph that is starting on a new page unexpectedly. You'll know this is the cause if no "Page Break" marker appears on the line above it, even with Show/Hide enabled.
Step 2: Open Paragraph settings
Right-click the paragraph and choose "Paragraph," then select the "Line and Page Breaks" tab.
Step 3: Uncheck "Page break before"
Clear the checkbox for "Page break before," then click "OK." The paragraph stops forcing a new page and rejoins the normal flow of the document. The text stays completely intact.
How to remove a page break in Word using a shortcut
For a single visible page break, this is the fastest approach. The remove page break Word shortcut takes a few keystrokes rather than navigating any menu.
Step 1: Show formatting marks
Press Ctrl+Shift+8 on Windows or Cmd+8 on Mac to show hidden formatting marks directly without going to the Home tab. This is the same as clicking the Show/Hide button but faster.
Step 2: Click just before the page break
Click at the very beginning of the "Page Break" marker line.
Step 3: Press Delete
Press Delete once to remove the break. This is the quickest way to handle a single manual page break when you already know where it is.
How to remove page breaks in Word using Kimi Docs
For longer documents where page breaks are scattered throughout alongside other formatting issues, going through them one by one takes significant time.
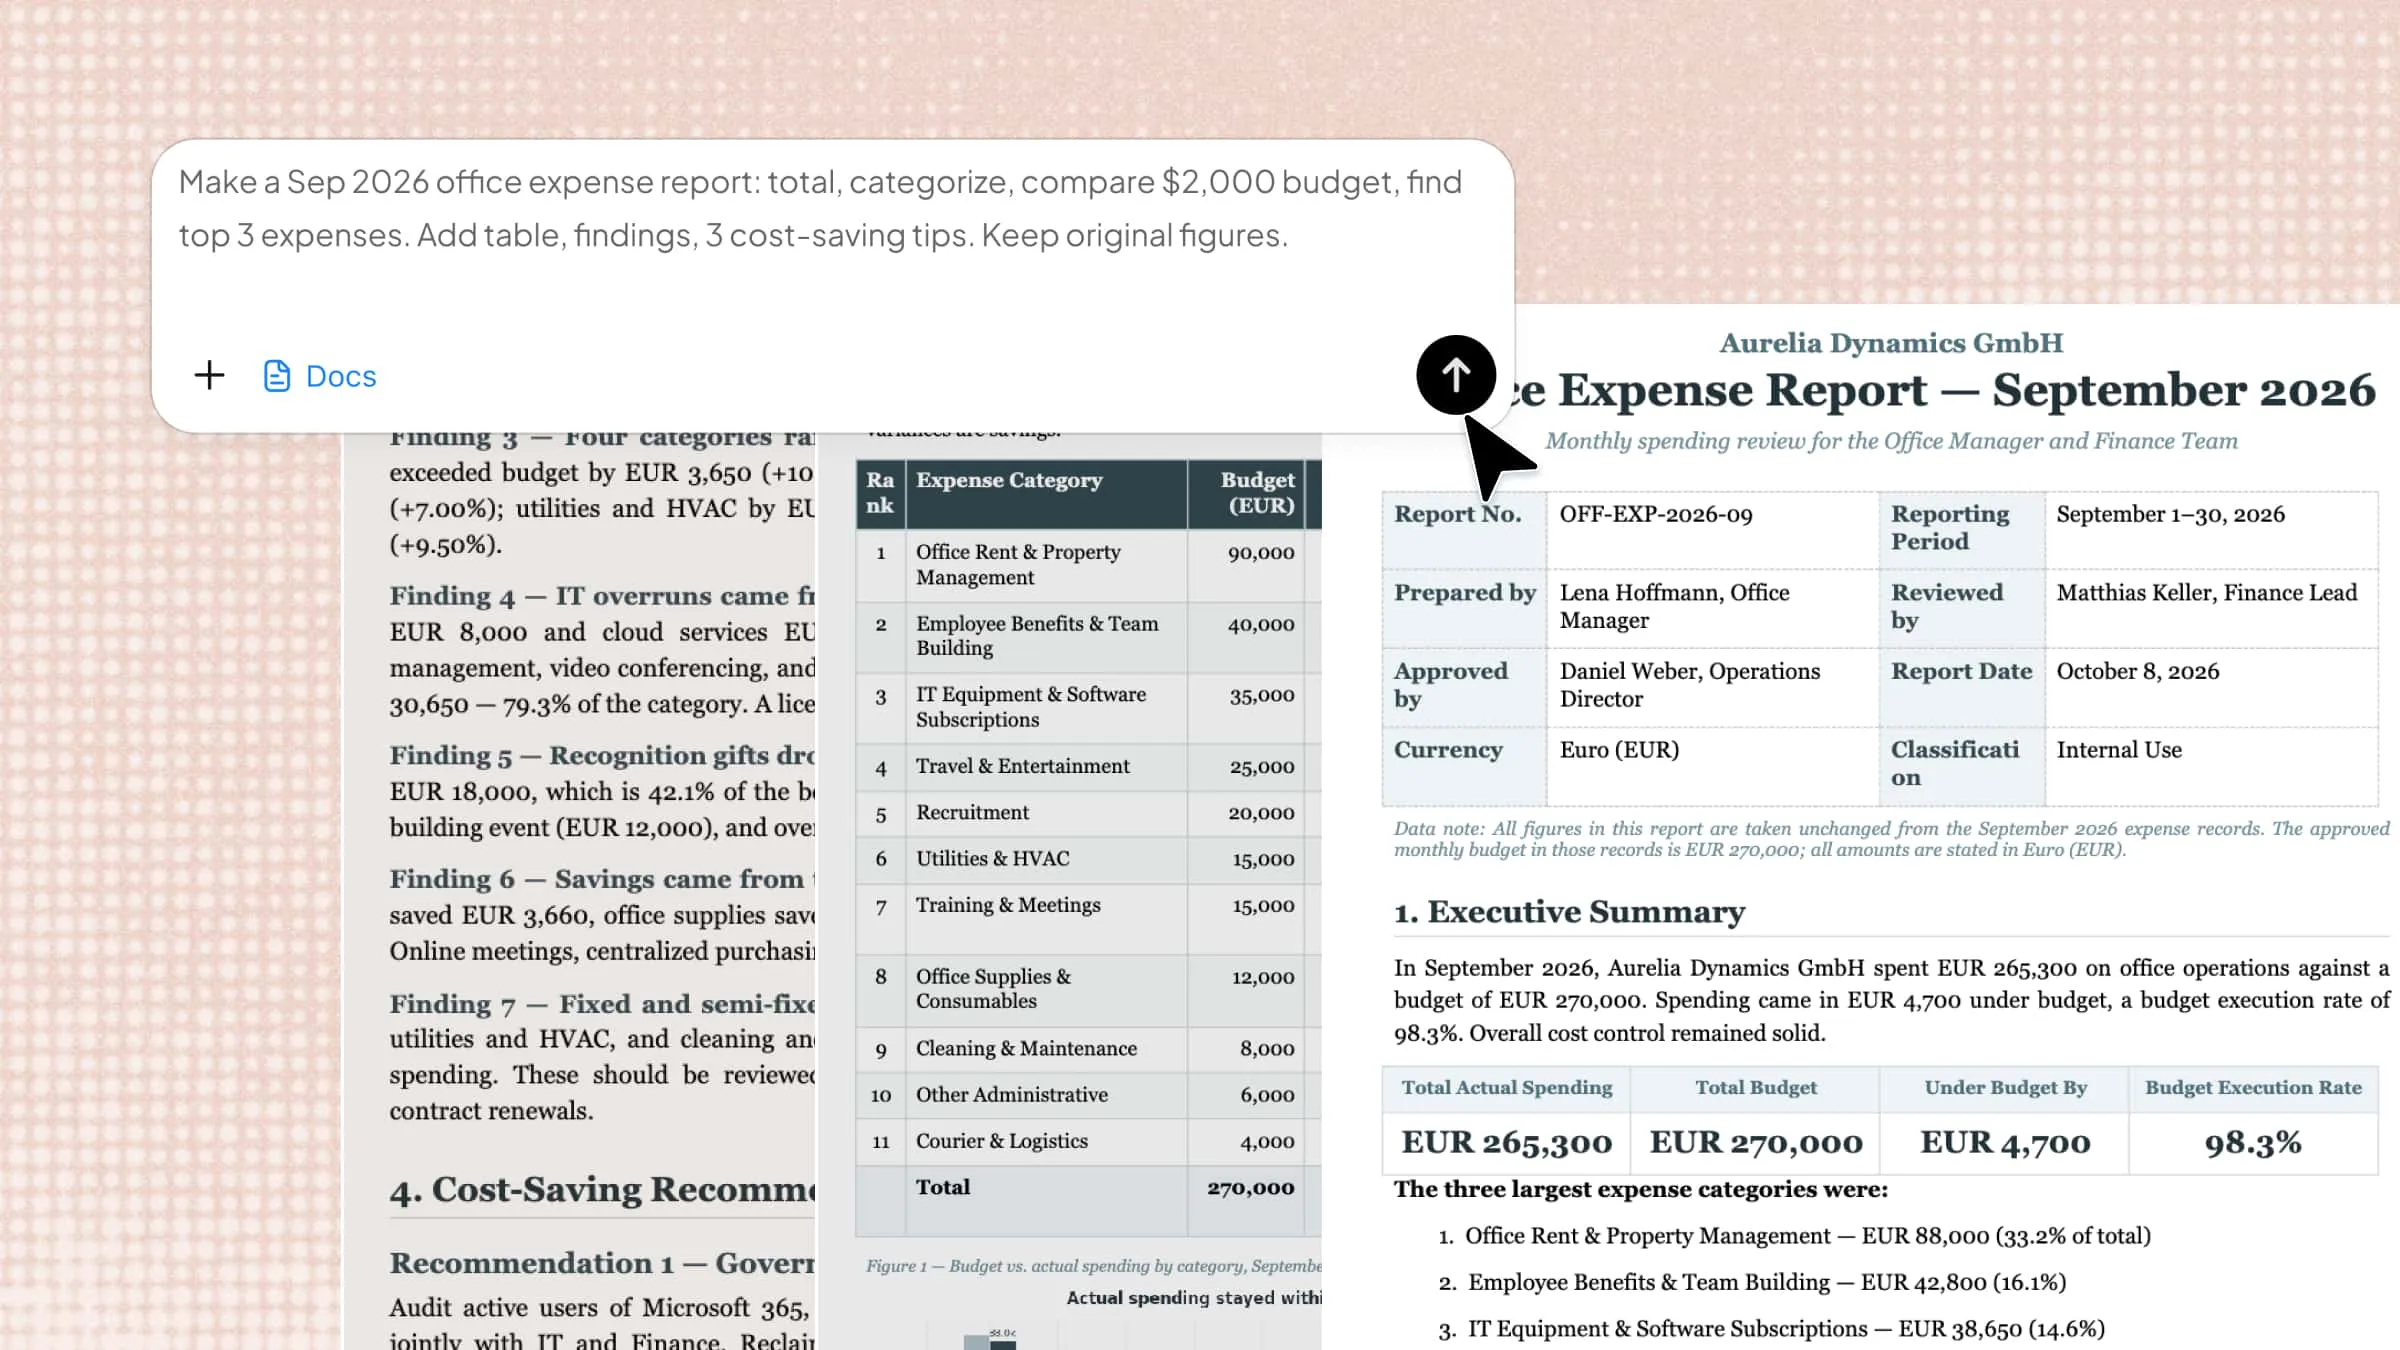
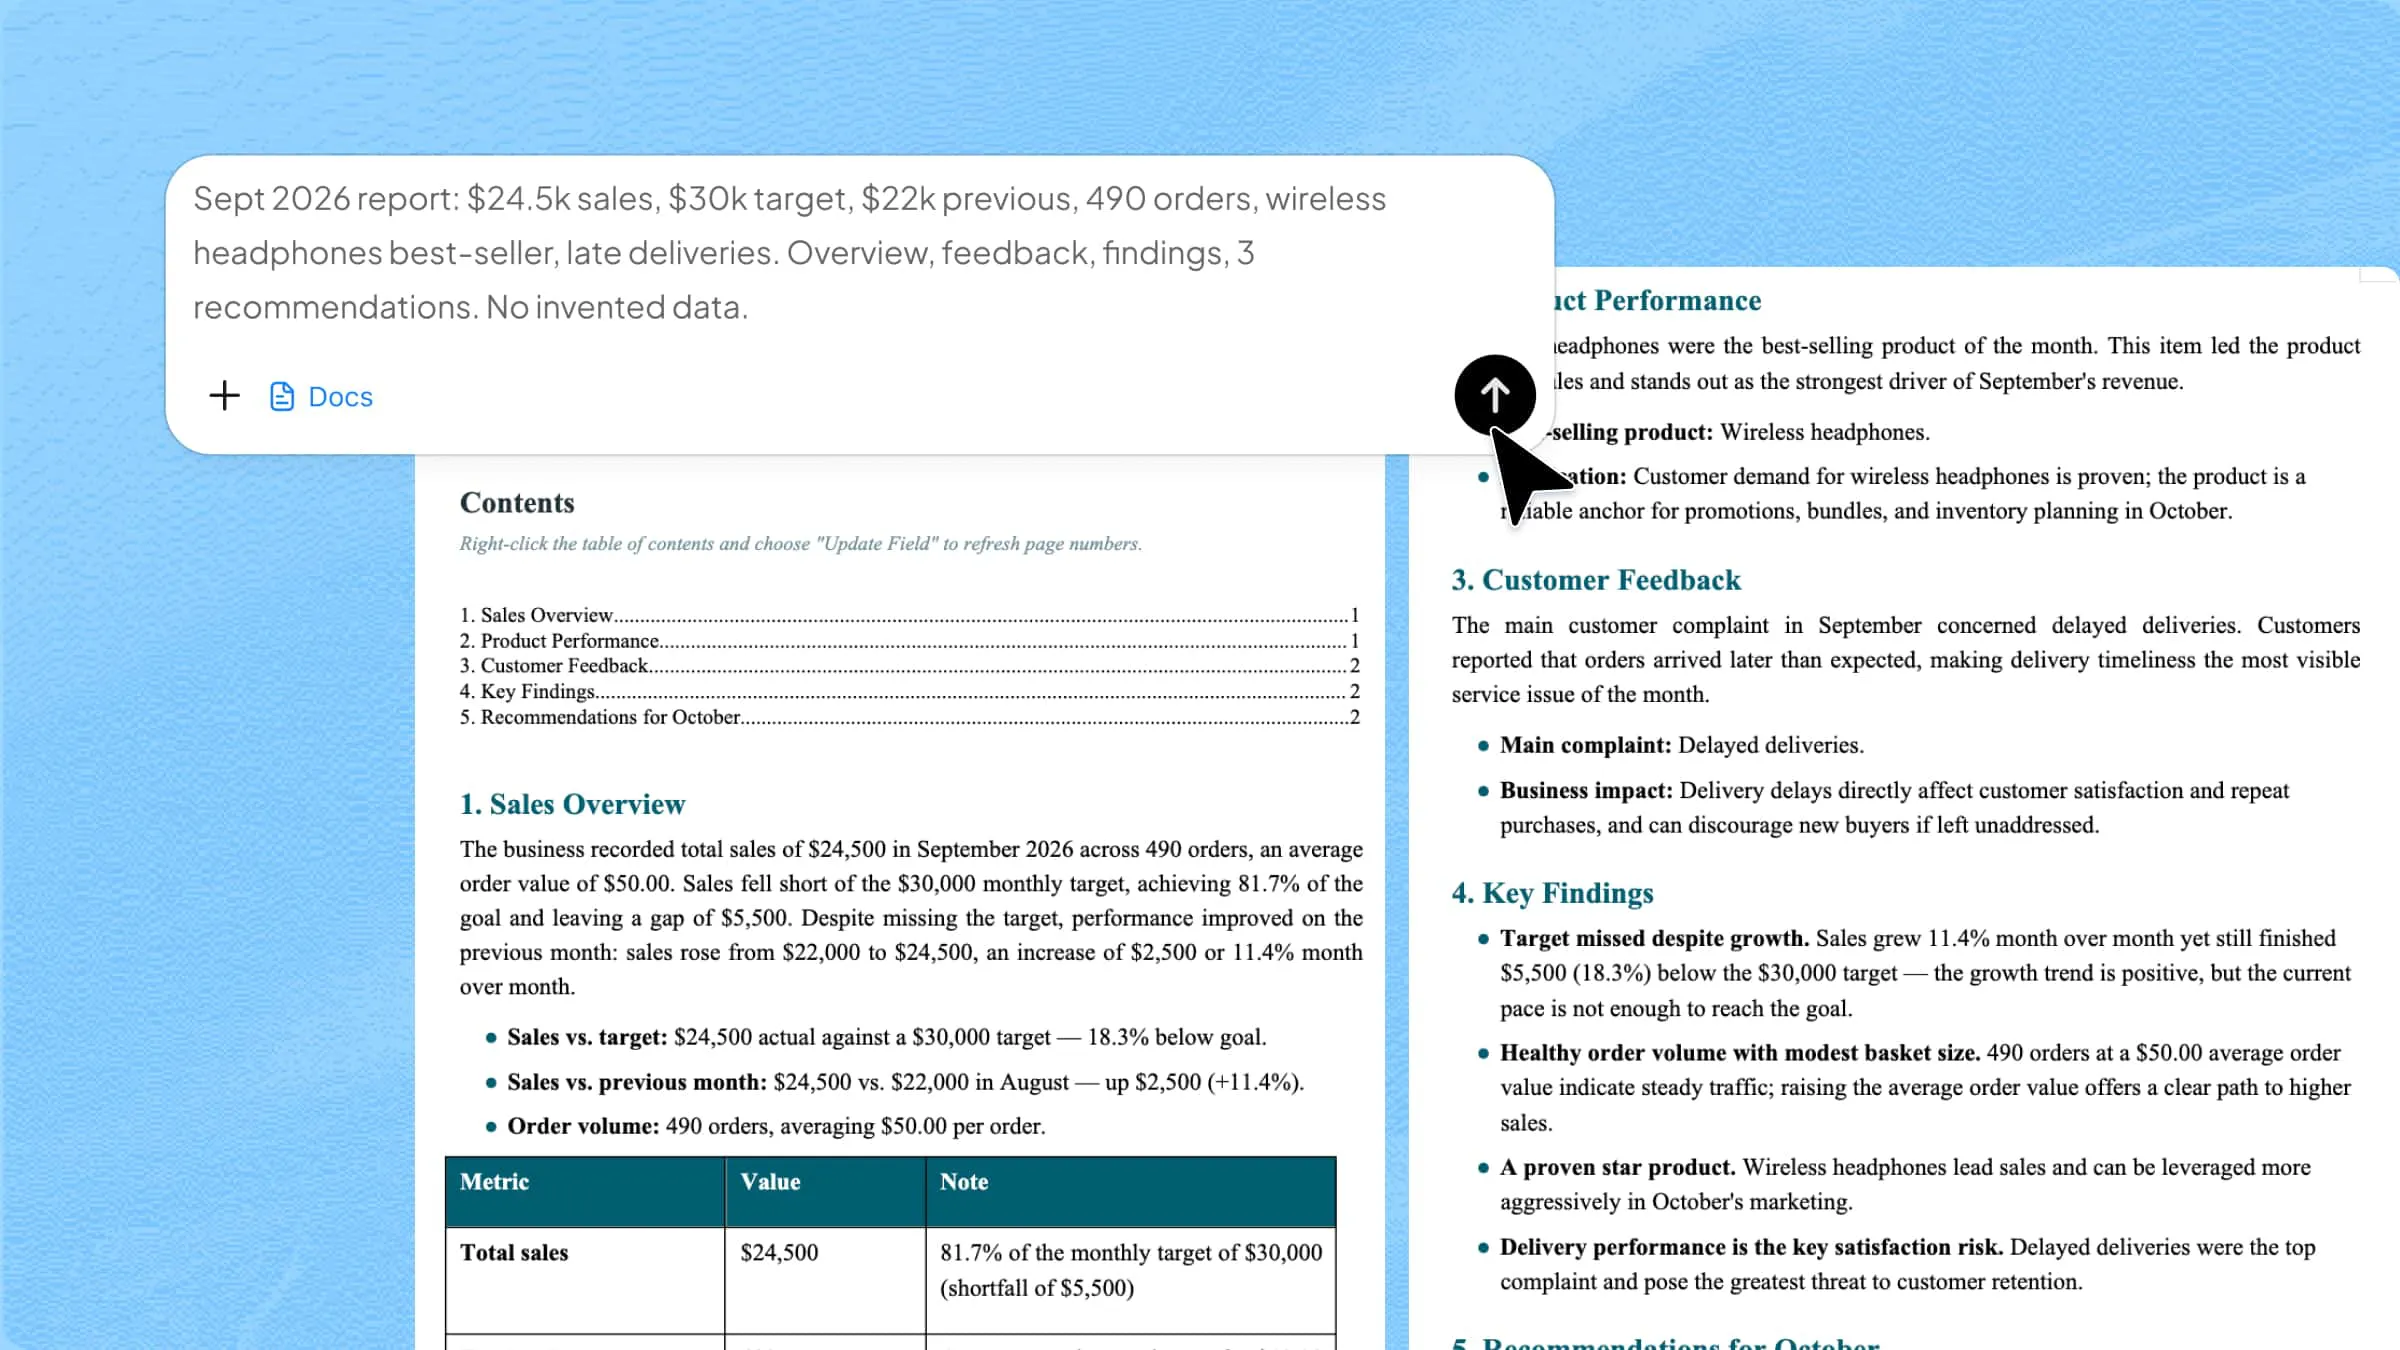
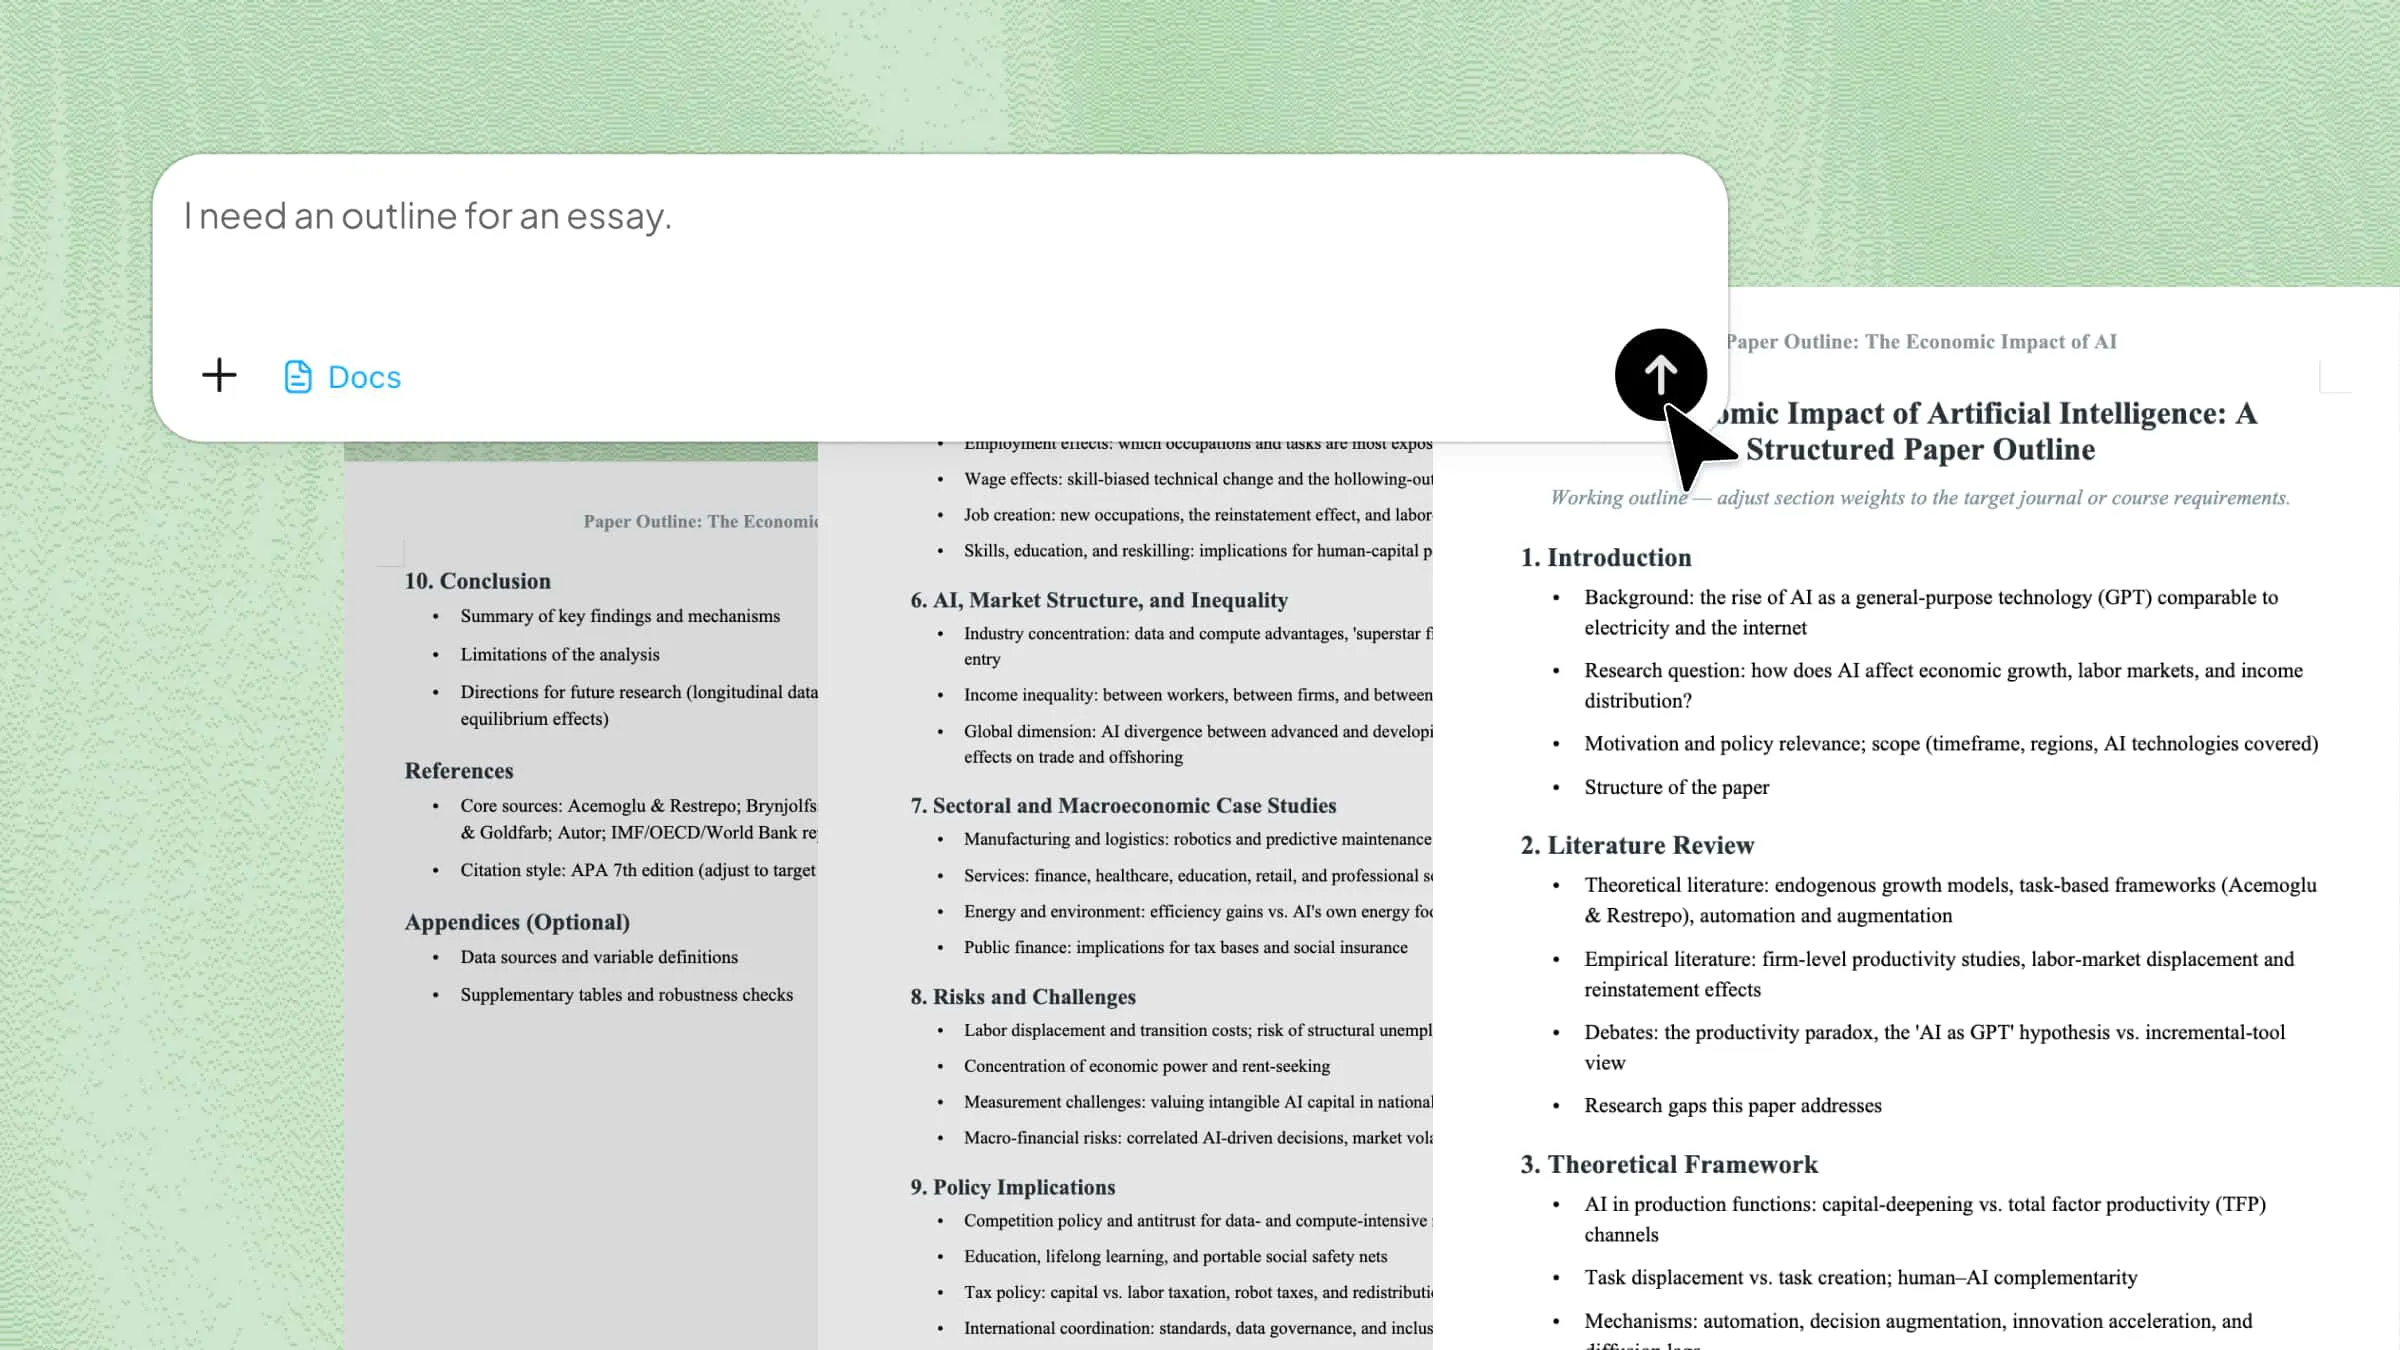
Kimi Docs functions as an intelligent AI document agent that handles the cleanup from a simple description, removing unwanted page breaks across the entire document and addressing other formatting layout problems in the exact same step.
Step 1: Upload your document to Kimi Docs
Upload the Word file you want to clean up.
Step 2: Describe what you want removed
Tell Kimi which page breaks to remove or what formatting to clean up alongside them.
Example prompt:
Step 3: Download the cleaned file
Kimi processes the document and returns the cleaned version, ready to download.
Key features of Kimi Docs
Handle multiple formatting issues at once: Page breaks, section breaks, spacing inconsistencies, heading alignment, and uneven styles can all be addressed in a single prompt. There's no need to fix each issue separately or run through the document more than once.
Fast and effortless cleanup: Kimi scans the entire file regardless of length, so you don't have to find and remove every break manually before you can start.
Keep text intact: Removing page breaks or section breaks doesn't shift or lose the surrounding content. The text stays in place while only the structural elements are cleaned up.
No complex menus required: Simply describe what needs fixing in plain English and Kimi handles it. There's no need to hunt down hidden layout settings, figure out which specific type of break is causing the issue, or navigate deep menus to fix it.
Conclusion
Perfecting a document's layout in Word is tricky when unexpected page breaks disrupt you. Instead of fighting hidden formatting markers or scrolling through a lengthy file page by page, you can streamline the entire process with Kimi Docs. By allowing you to clear out unwanted breaks and fix alignment issues through a simple description, it eliminates the guesswork. Skip the manual menu navigation and let Kimi Docs instantly restore your document's ideal layout.