Section breaks in Word are hidden by default, making them easy to miss. Deleting one without checking first can instantly scramble your margins, headers, or page orientation because it forces different parts of your document to merge under a single format. This guide covers how to remove a section break in Word safely, how to clear all of them at once, and what to do when a stubborn break won't delete..
Understanding document formatting behavior after section break deletion
When you delete a section break, the two sections on either side merge into one. However, Word handles the formatting of this newly merged section in a specific way: the preceding text immediately loses its formatting and adopts the settings of the section that follows it.
To visualize how this works, consider this scenario:
Before deletion:
Section 1 (Above the break): Landscape orientation with a unique header.
Section 2 (Below the break): Portrait orientation with a standard header.
After deleting the break:
Section 1 merges into Section 2.
The entire combined document instantly becomes Portrait with the standard header. The unique landscape layout and header of the first section are completely lost.
Key takeaway: In Word, formatting rules are stored in the section break below the text. Removing that break deletes the formatting instructions for everything above it.
How to remove a section break in Word manually
The most direct approach for dealing with a single section break is to delete the section break manually. It works the same way on Windows and Mac without any menu navigation.
Step 1: Show hidden formatting marks
To find and delete a section break, you first need to make it visible.
Using the Ribbon: Go to the Home tab and click the Show/Hide (¶) button in the Paragraph group.
Using a Shortcut: Press Ctrl + * (or Ctrl + Shift + 8) on Windows. If you are on a Mac, use Cmd + 8.
Once activated, section breaks will appear on your page as distinct double-dotted lines labeled by their specific type, such as Section Break (Next Page) or Section Break (Continuous).
Step 2: Select the section break
Click the section break line to place your cursor on it. Double-click to select the whole line, or click at the start and drag across it.
Step 3: Press Delete or Backspace
Press Delete to remove the section break. The two sections merge and the content before the break adopts the formatting of the section after it. If the formatting shifted in a way you didn't want, press Ctrl+Z immediately to undo.
For Mac users, the process is virtually identical. Use the Cmd + 8 shortcut to reveal hidden formatting marks, then use the Delete or Backspace key to remove the section break.
For how to delete section break next page in Word specifically, the Next Page type appears labeled "Section Break (Next Page)"once Show/Hide is on. It deletes exactly the same way as any other type.
How to remove all section breaks in Word at once
When a document has several section breaks scattered through it, Find & Replace clears them all in one step. This is useful for cleaning up a heavily formatted document or one inherited from someone else.
Step 1: Open Find & Replace
Press Ctrl+H on Windows or Cmd+H on Mac to open the Find & Replace dialog.
Step 2: Click More and select a Special character
Click "More" at the bottom left of the dialog to expand the options, then click "Special" and select "Section Break" from the list. The code ^b appears in the Find what field automatically.
Step 3: Leave Replace with empty and click Replace All
Make sure the "Replace with"field is completely empty, then click "Replace All."Word remove section breaks across every page at once. All sections merge into one, which may significantly change the overall formatting. Save a copy before running this if you're not certain of the result.
How to remove a section break in Word without changing formatting
When adjacent sections have different configurations, deleting the section breaker will result in the merging of two sections, and the merged section will adopt the format of the section with the later position..
To remove section breaks in Word without changing formatting, you need to make sure the page settings are the same before merging two sections..
Step 1: Note the formatting of the section before the break
Before touching anything, check the Page Setup settings for the section before the break. Go to Layout > Margins > Custom Margins and note the orientation, margins, and paper size. Also check the header and footer content for that section.
Step 2: Apply those settings to the section after the break
Click into the section after the break and open Page Setup. Match the orientation, margins, and paper size to the section before. Then double-click the header or footer in that section and update the content to match the preceding section.
Step 3: Delete the section break
With both sections now carrying identical settings, select the section break and press Delete. Since the formatting on both sides already matches, the merge produces no visible change.
What to do when a section break won't delete
Sometimes a section break cannot be deleted directly. Check these common causes and find solutions accordingly.
Track Changes is on
If Track Changes is enabled, deletions are marked as pending changes rather than applied immediately. The section break appears to still be there because the deletion hasn't been accepted yet. Go to Review > Track Changes and turn it off, then try again. You may also need to accept all existing tracked changes first.
The document is protected
If the document is in Protected mode, editing is restricted. Go to Review > Restrict Editing and click "Stop Protection"at the bottom of the pane. If the document was password-protected, you'll need that password.
Note on Word for the Web
Currently, Word for the Web does not support adding or deleting section breaks. To manage section breaks, clicking the Open in Desktop App button at the top of your screen to open the desktop Word.
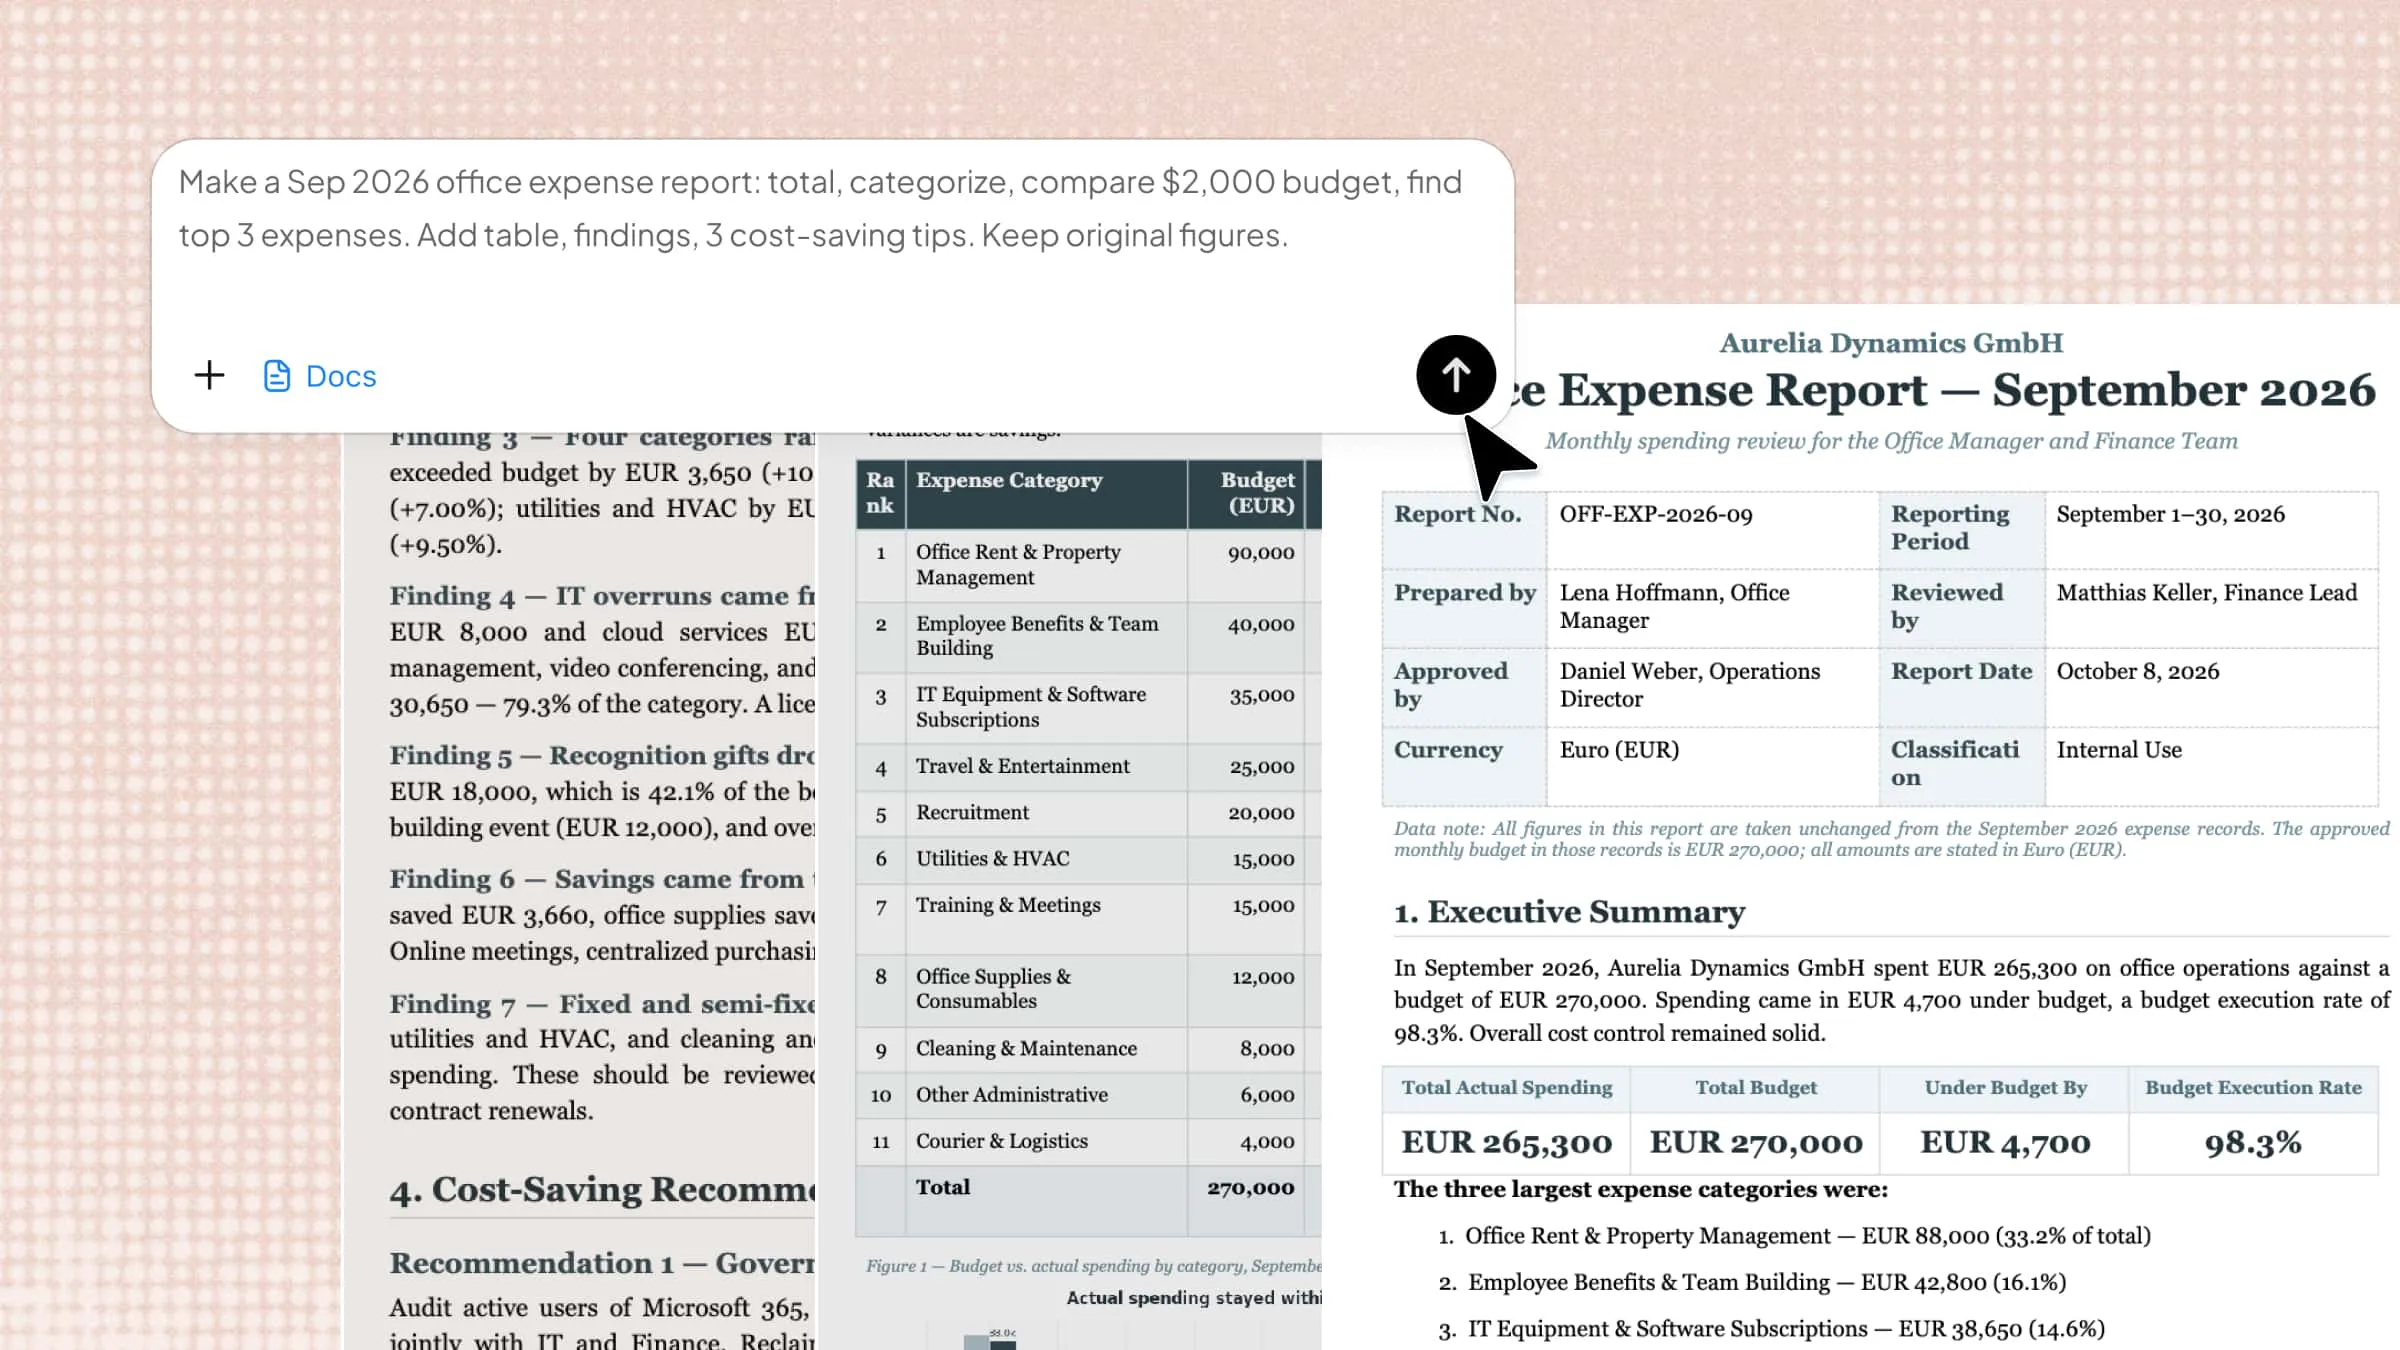
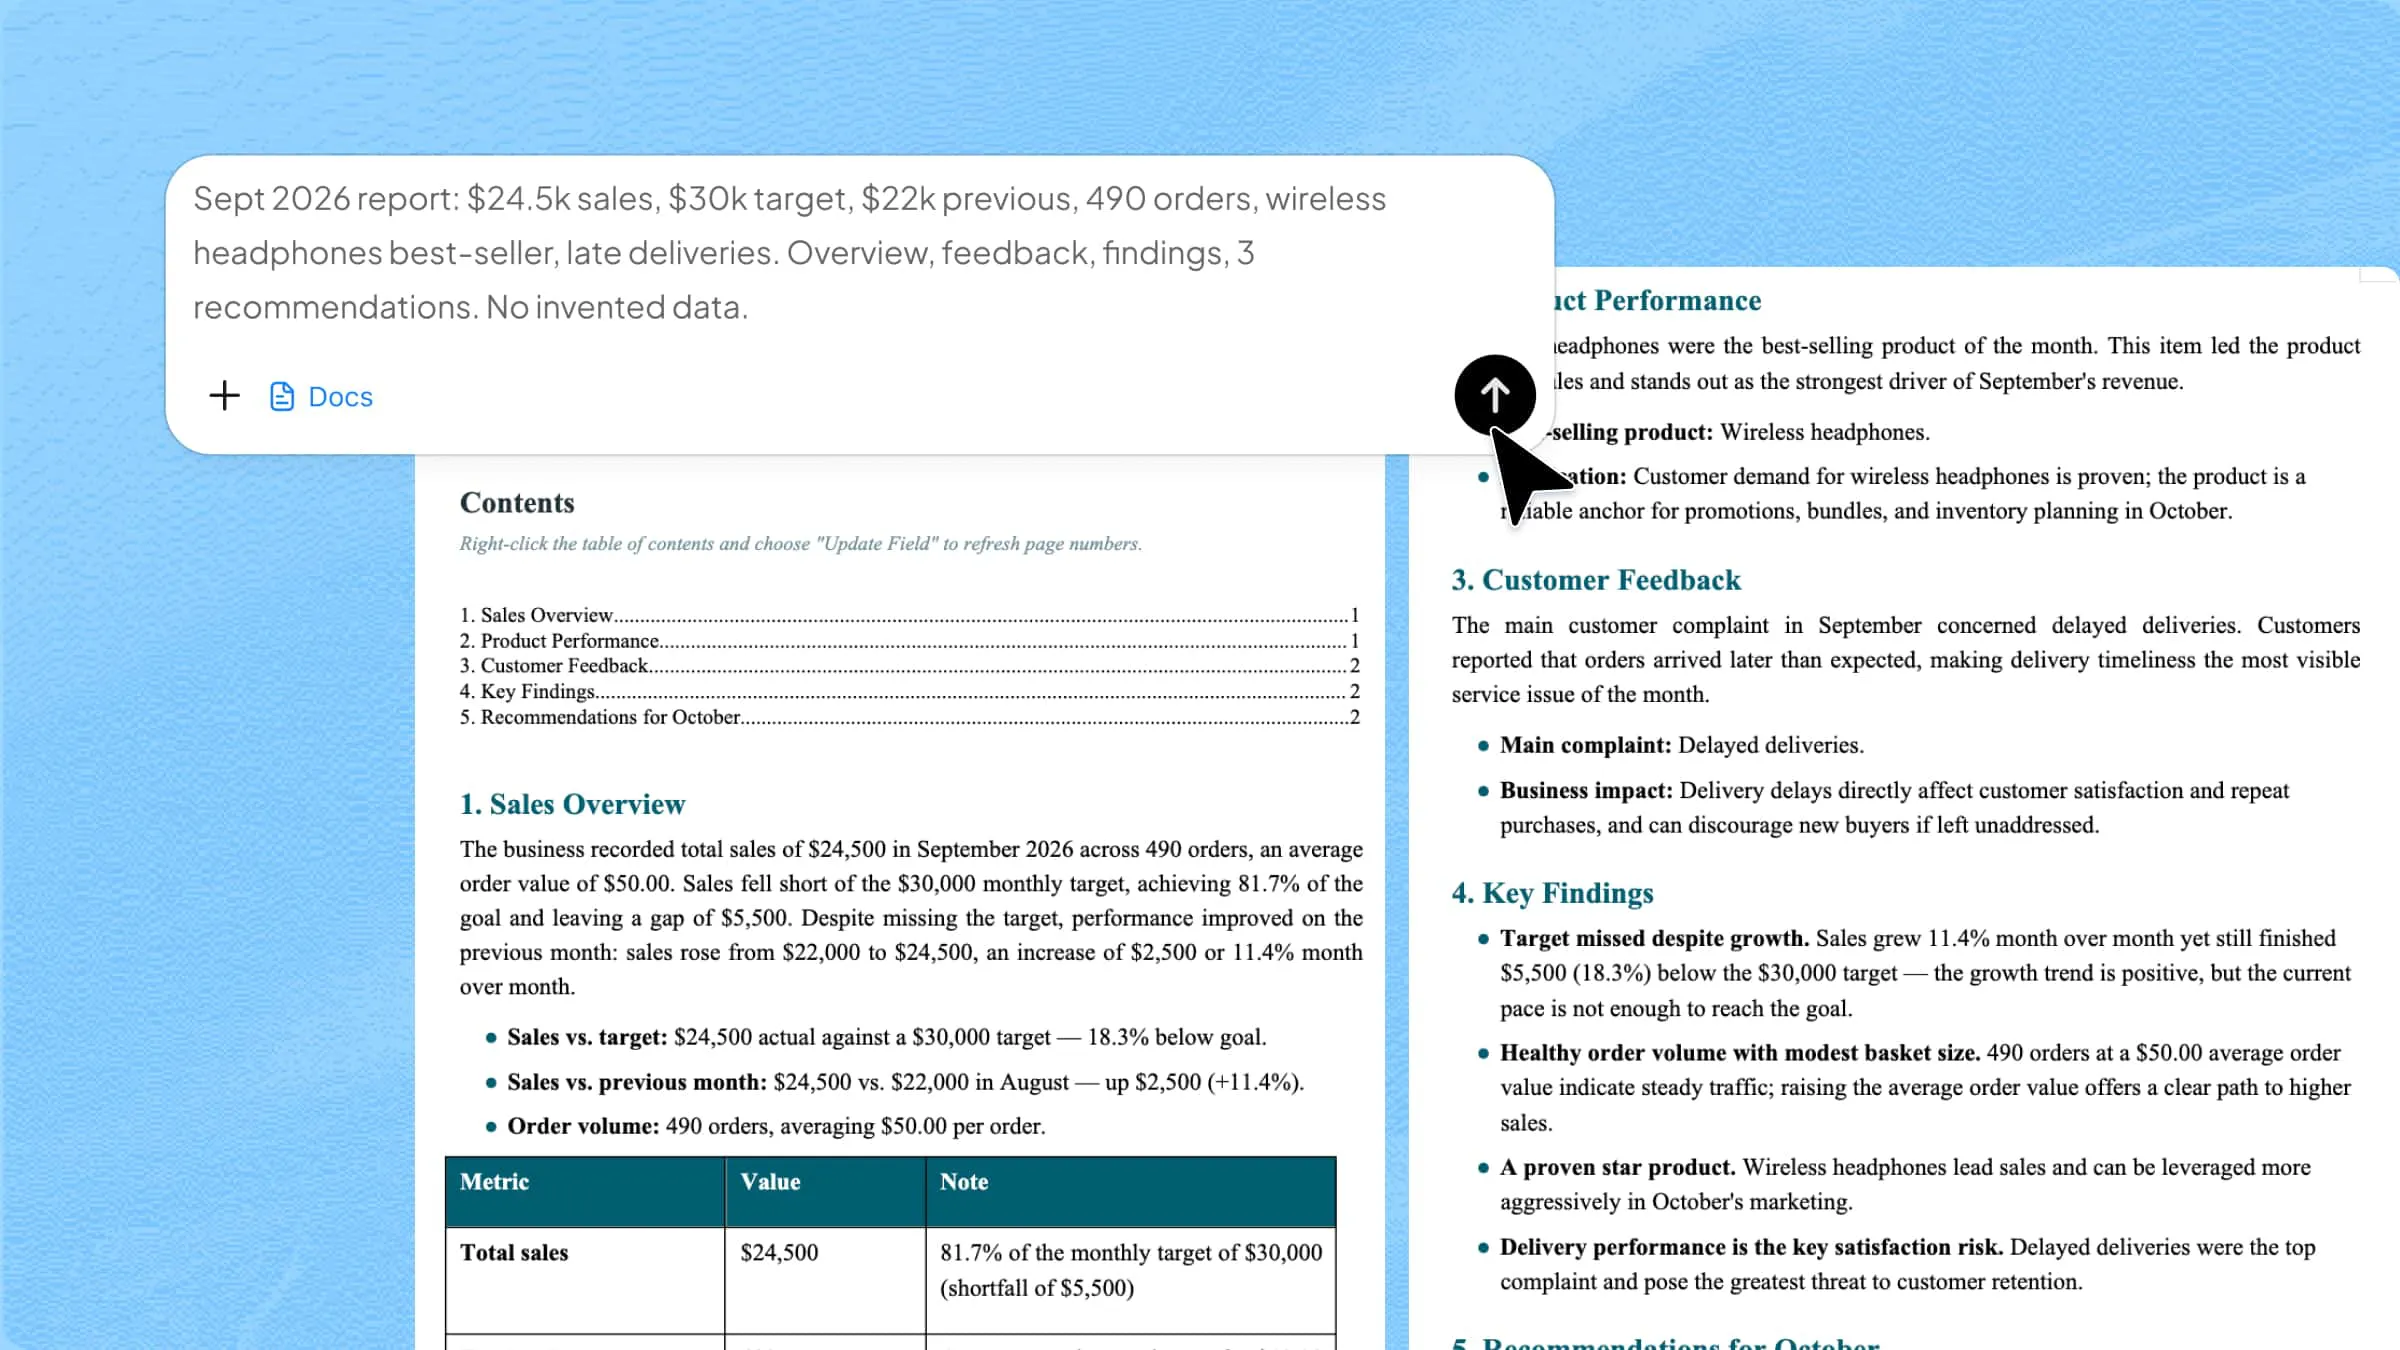
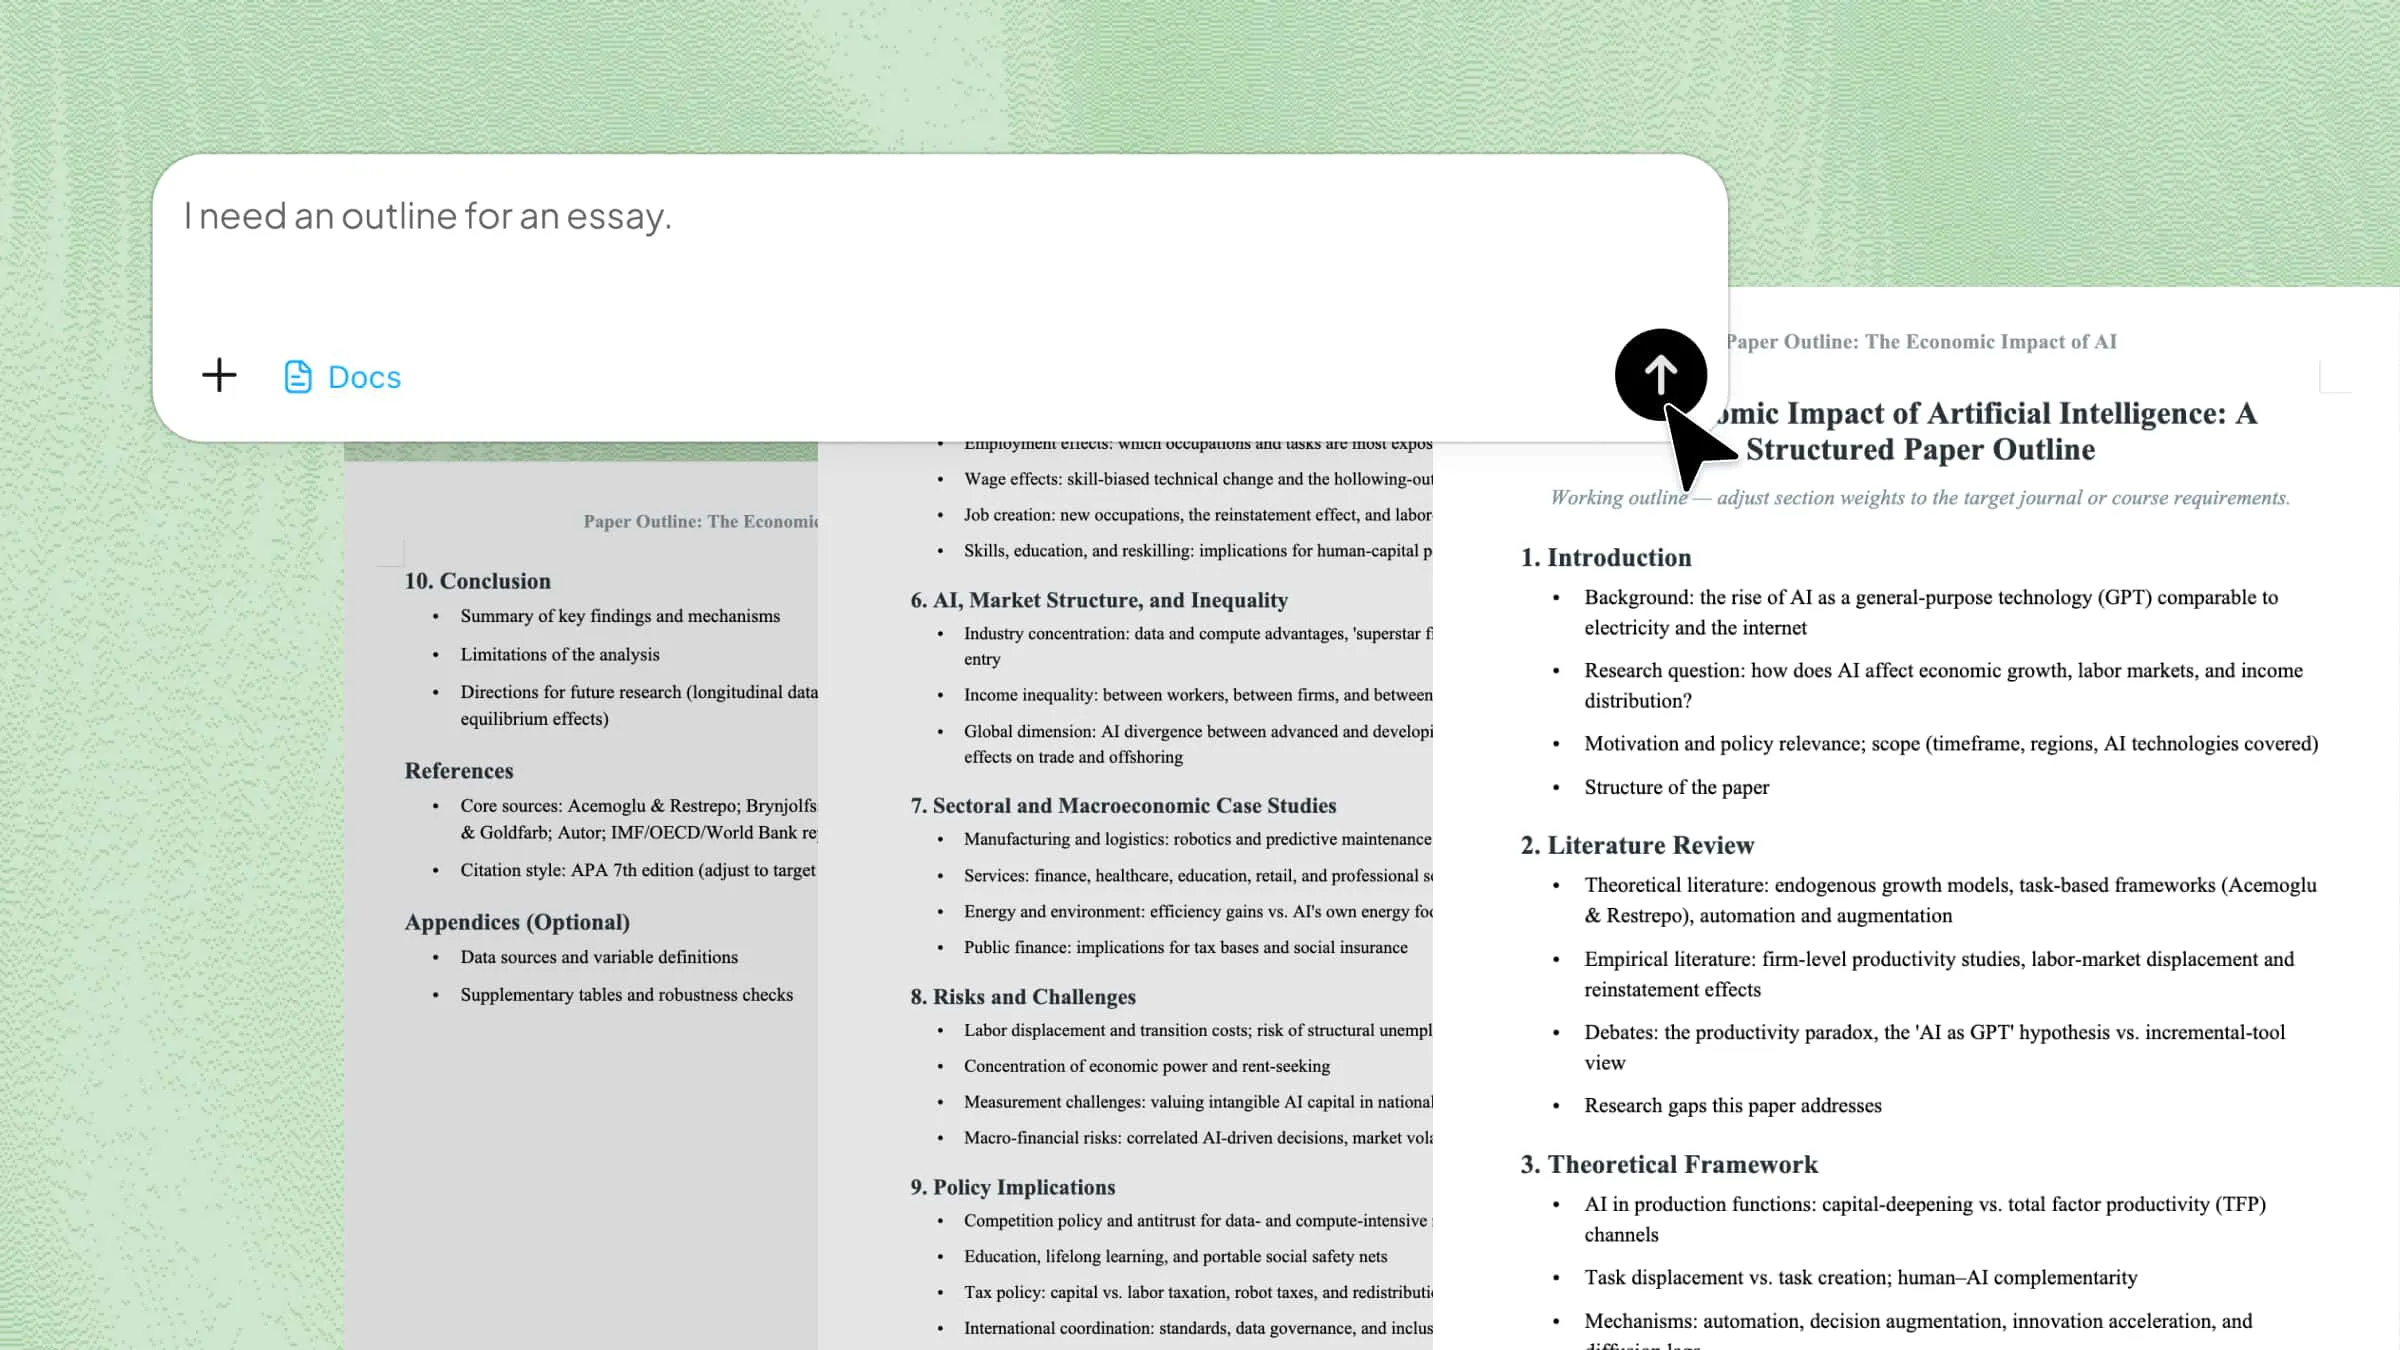
Alternative: Let AI automate document layout cleanup with Kimi Docs
For documents with several section breaks to clean up, going through them one by one takes time, especially when formatting must be carefully consolidated before each deletion to prevent layout shifts. Instead of managing this tedious process yourself, you can use Kimi Docs as an intelligent AI document agent to handle the cleanup from a simple description.
You upload the document and describe what the final layout should look like. Kimi instantly removes the section breaks and unifies the formatting across the entire file in a single step.
Step 1: Upload your document
Open Kimi Docs and upload the file.
Step 2: Describe what you want removed
Tell Kimi which section breaks to remove and what the final formatting should look like.
Step 3: Download the cleaned file
Kimi processes the document and returns the cleaned version, ready to download.
Key features of Kimi Docs
Handle the formatting consolidation step: Rather than manually matching page setup and header settings between sections before deleting, Kimi can consolidate the formatting and remove the breaks in the same request.
Preserve text content throughout: Removing section breaks doesn't affect the text itself, only the layout.
Work from a plain description: Describe the end result you want rather than specifying which type of break or which page to start on.
Handle all segmentation symbols at once: No need to scroll and delete each one manually, useful for long documents with many section breaks. A document with a mix of Next Page, Continuous, and other section break types can all be addressed in the same request.
Conclusion
Managing section breaks in Word is straightforward once they are visible, but manual cleanup remains tedious and easily disrupts layouts. While Find & Replace works, it requires manual formatting fixes afterward. Kimi Docs automates this process, instantly removing section breaks and unifying your document's style in one intelligent step.