Microsoft Word's Track Changes feature records all modifications while preserving the original content, enabling collaborative editing with full revision transparency. This guide outlines the procedures for enabling the feature, navigating markup views, and accepting or rejecting changes to maintain document integrity throughout the editorial workflow.
Overview of different Track Changes function
Word's Track Changes tools are all in the Review tab, but each one does something different. Here's a quick overview before the steps.
| Function | Location | |
|---|---|---|
| Turn on / use Track Changes | Records edits as you type, with author-colored markup | Review tab > Tracking group |
| Accept or reject changes | Apply or discard tracked edits individually or all at once | Review tab > Changes group |
| Turn off / remove Track Changes | Stops recording new edits, or clears existing markup | Review tab > Tracking group |
| Change Track Changes color | Customizes markup colors for insertions, deletions, and more | Review tab > Tracking dialog > Advanced Options |
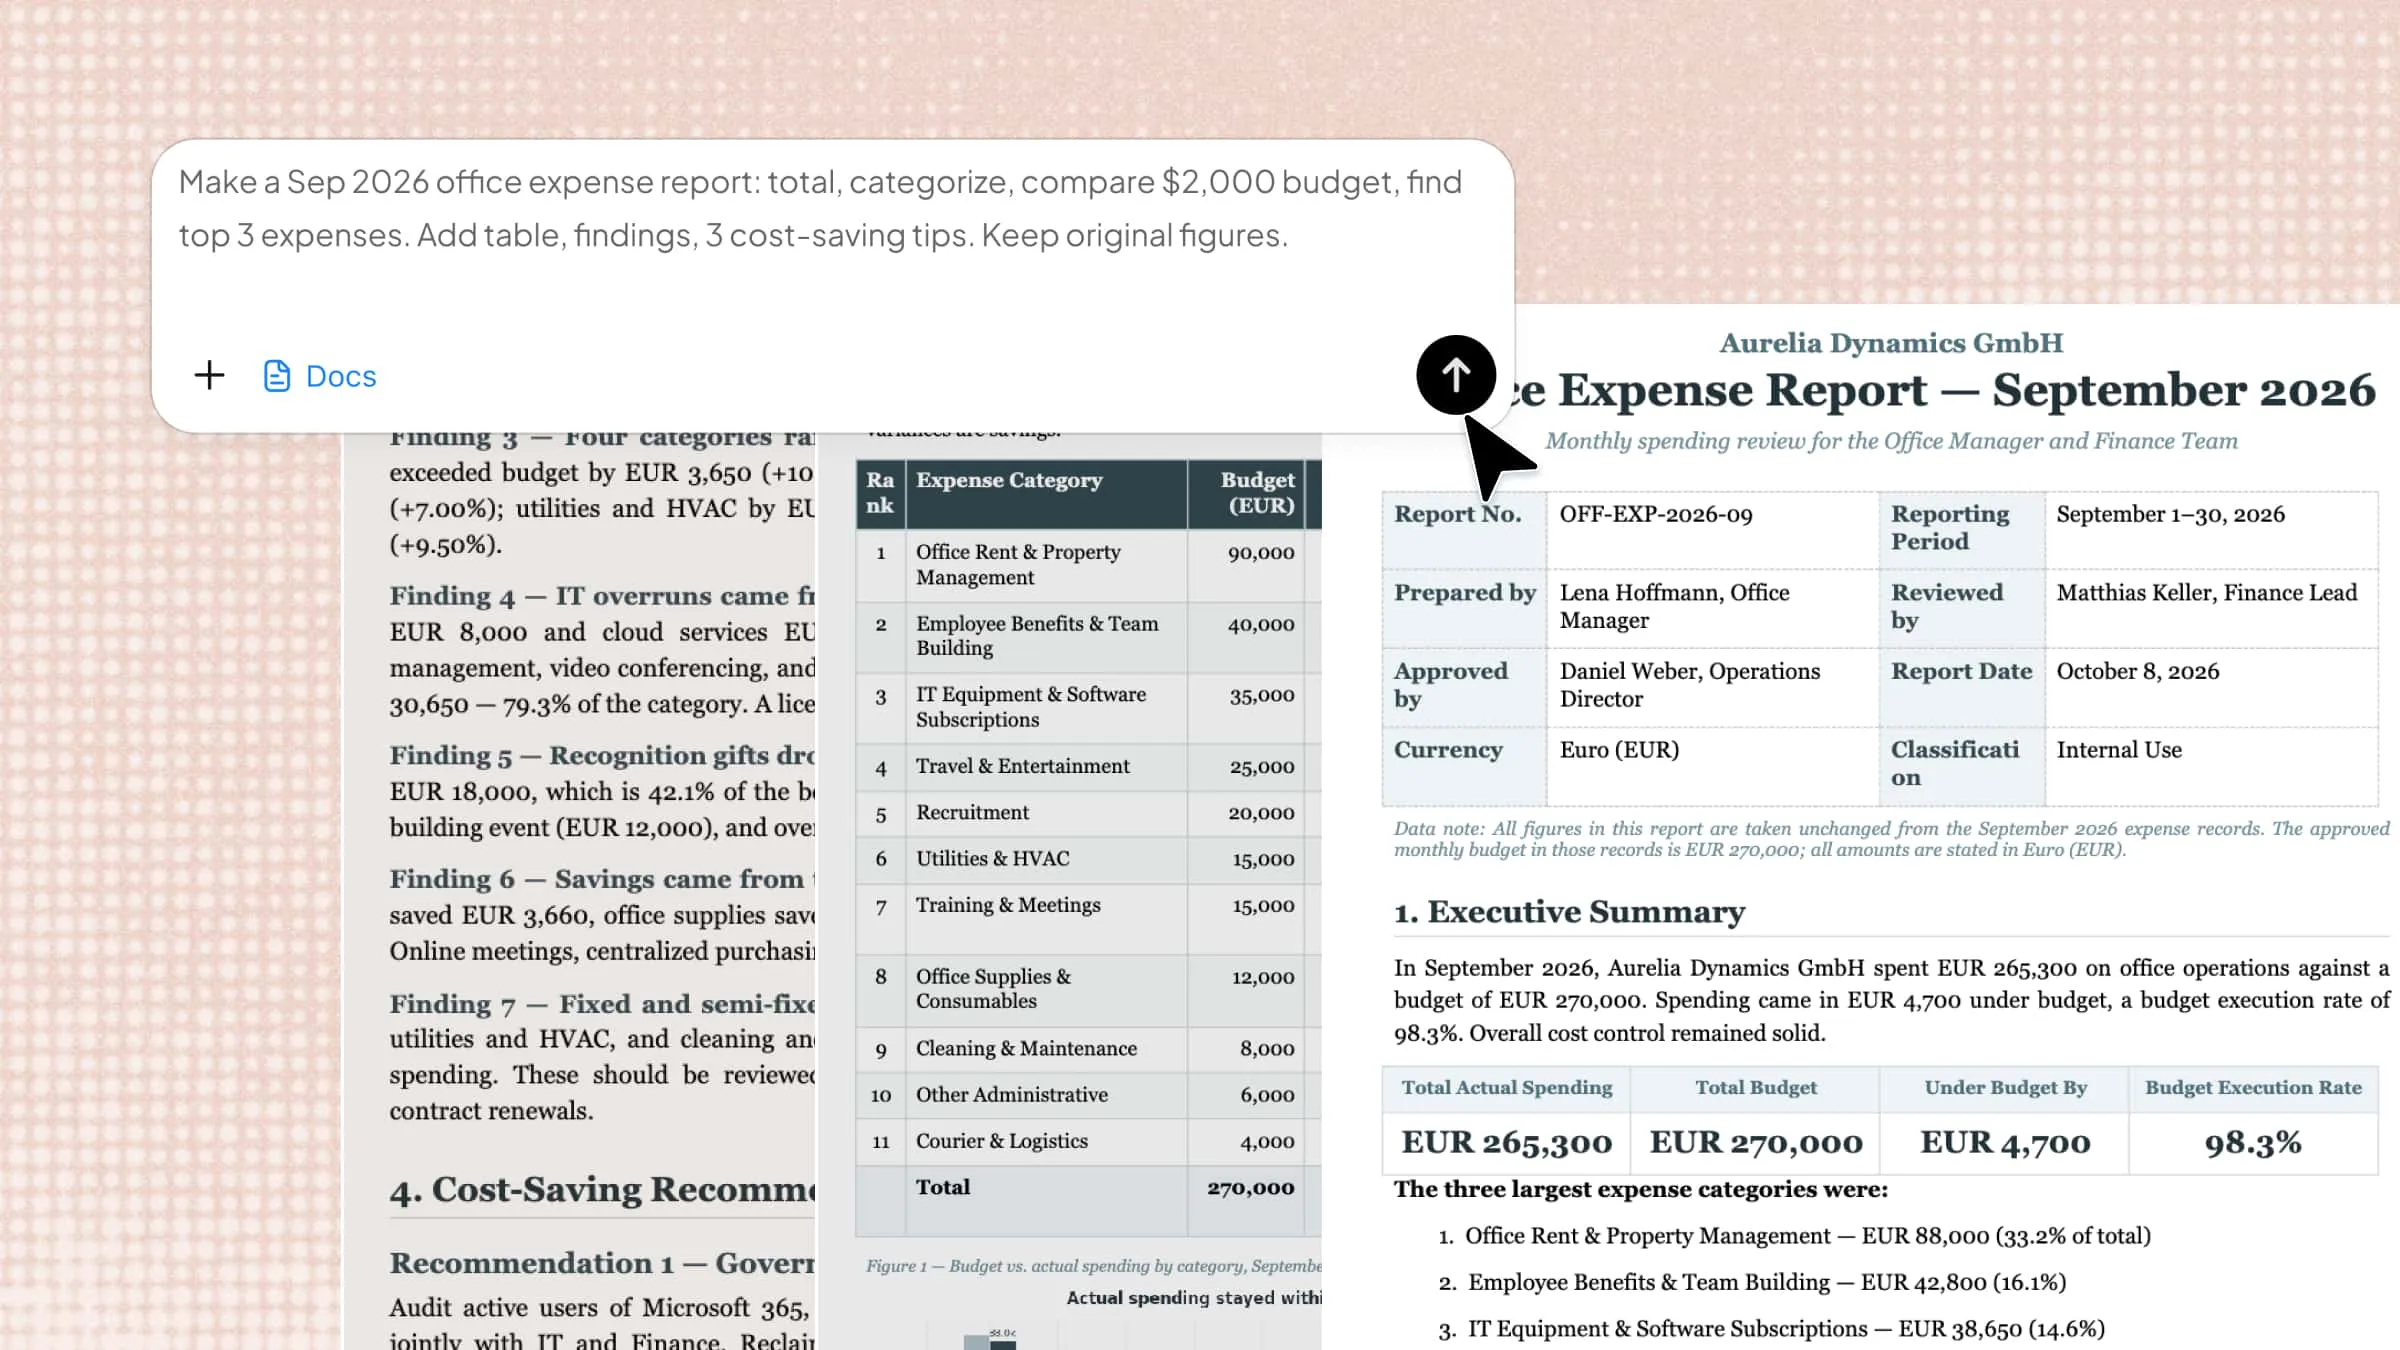
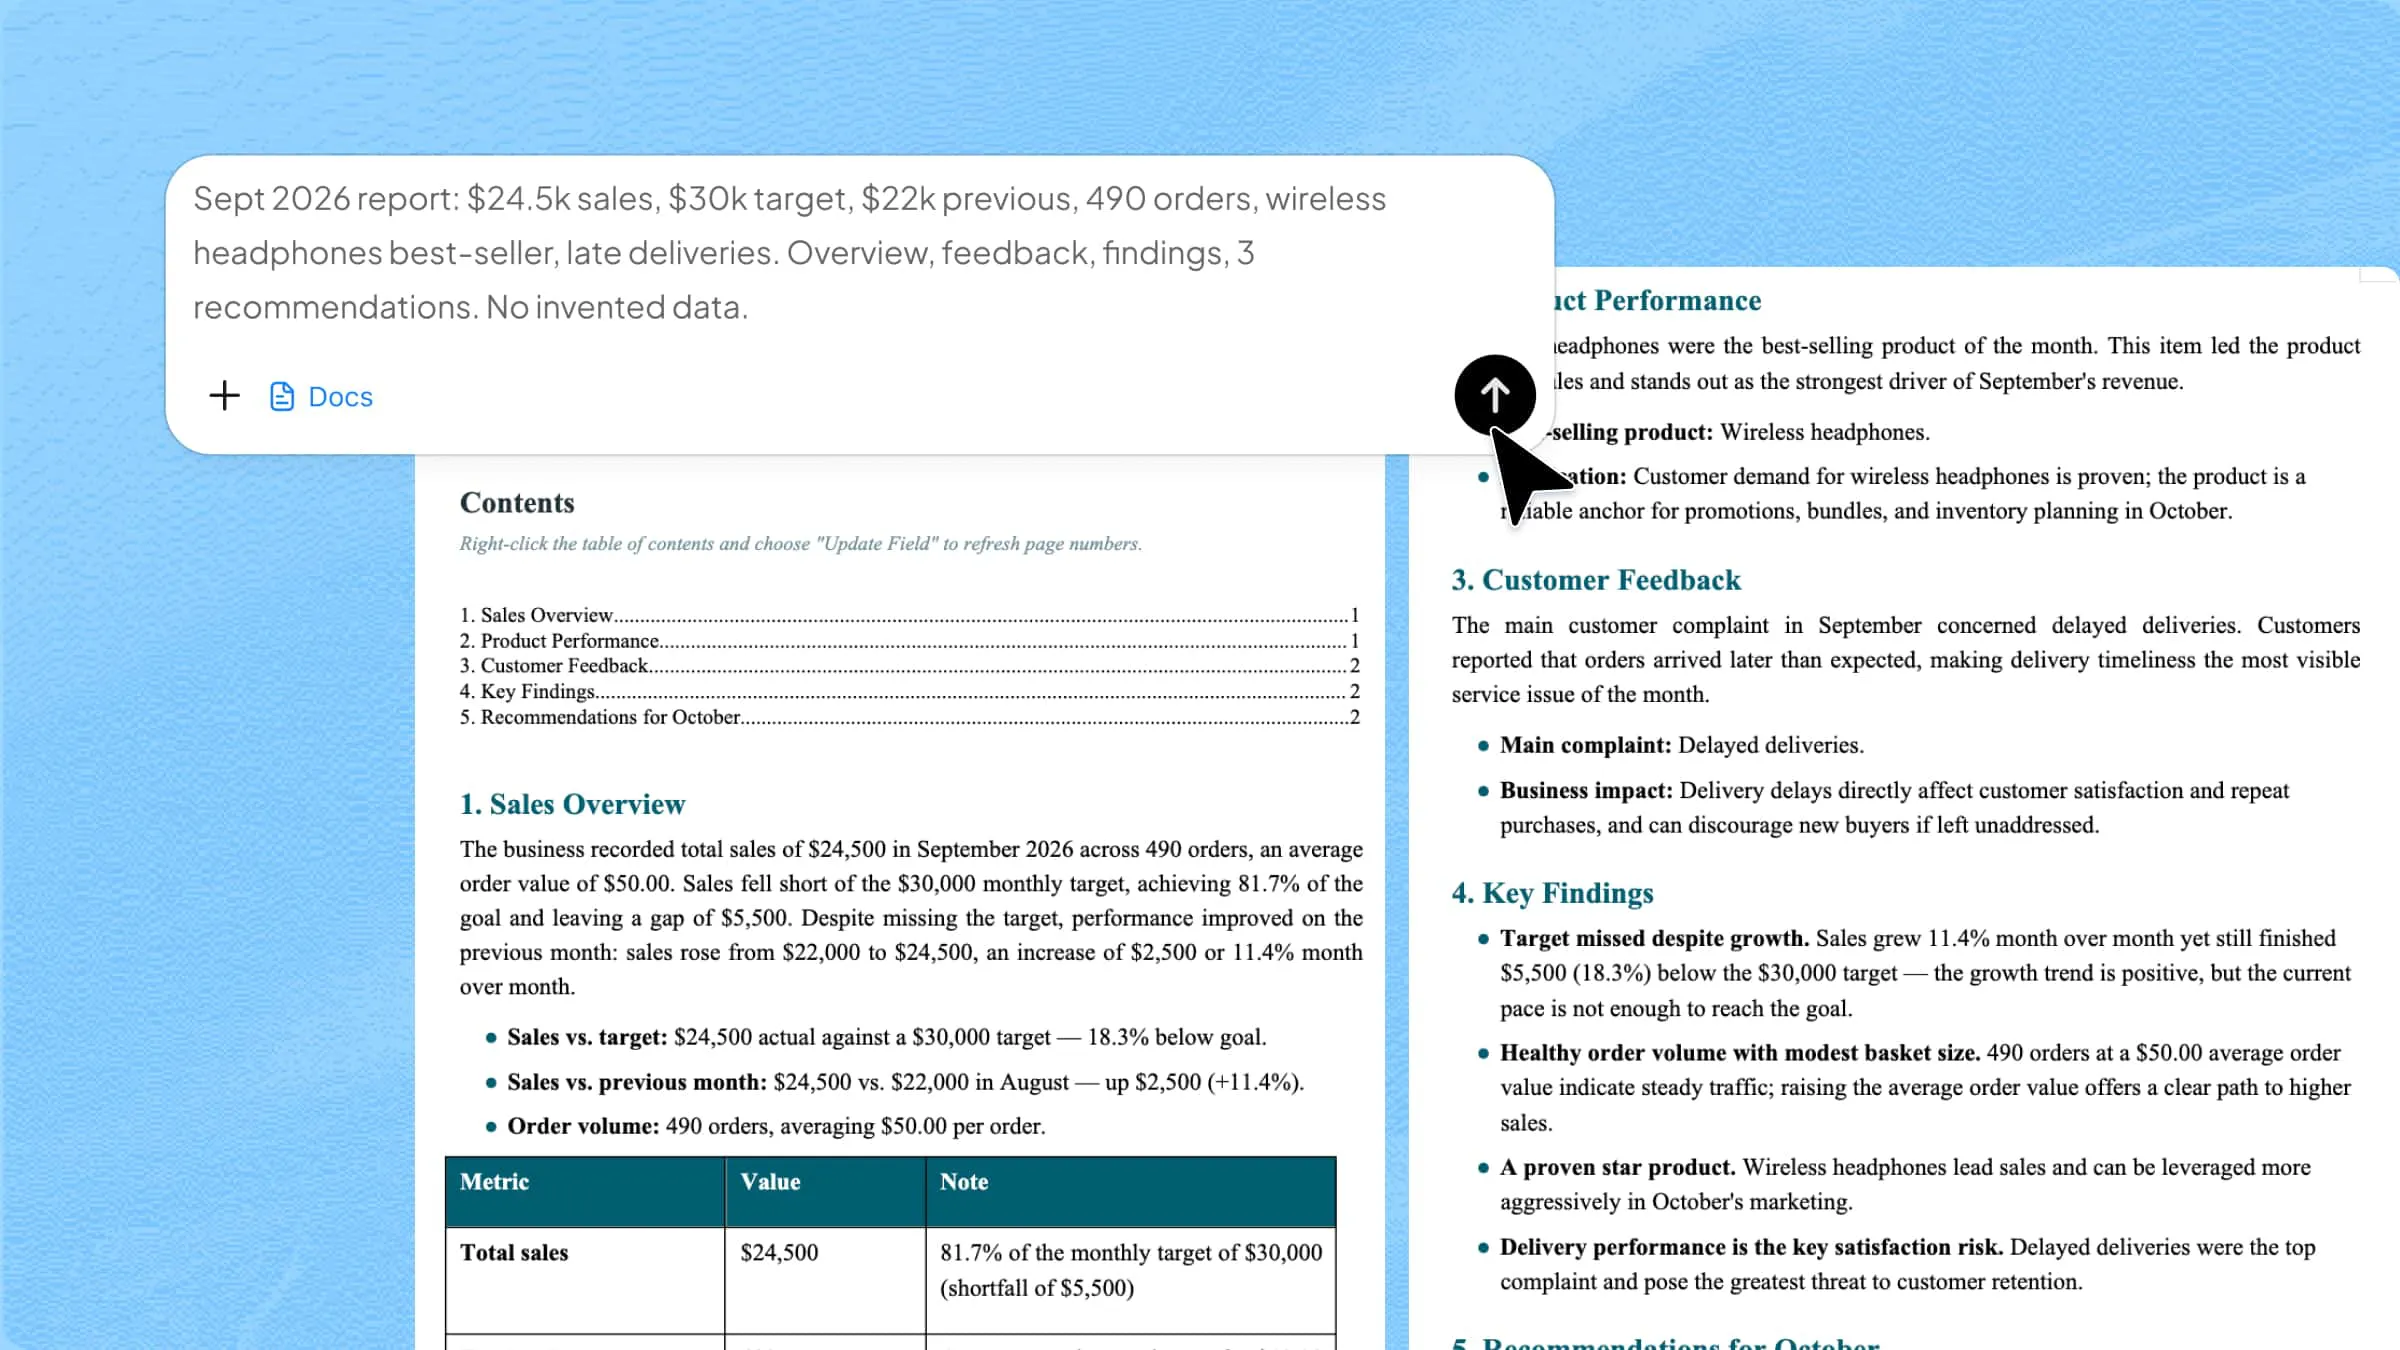
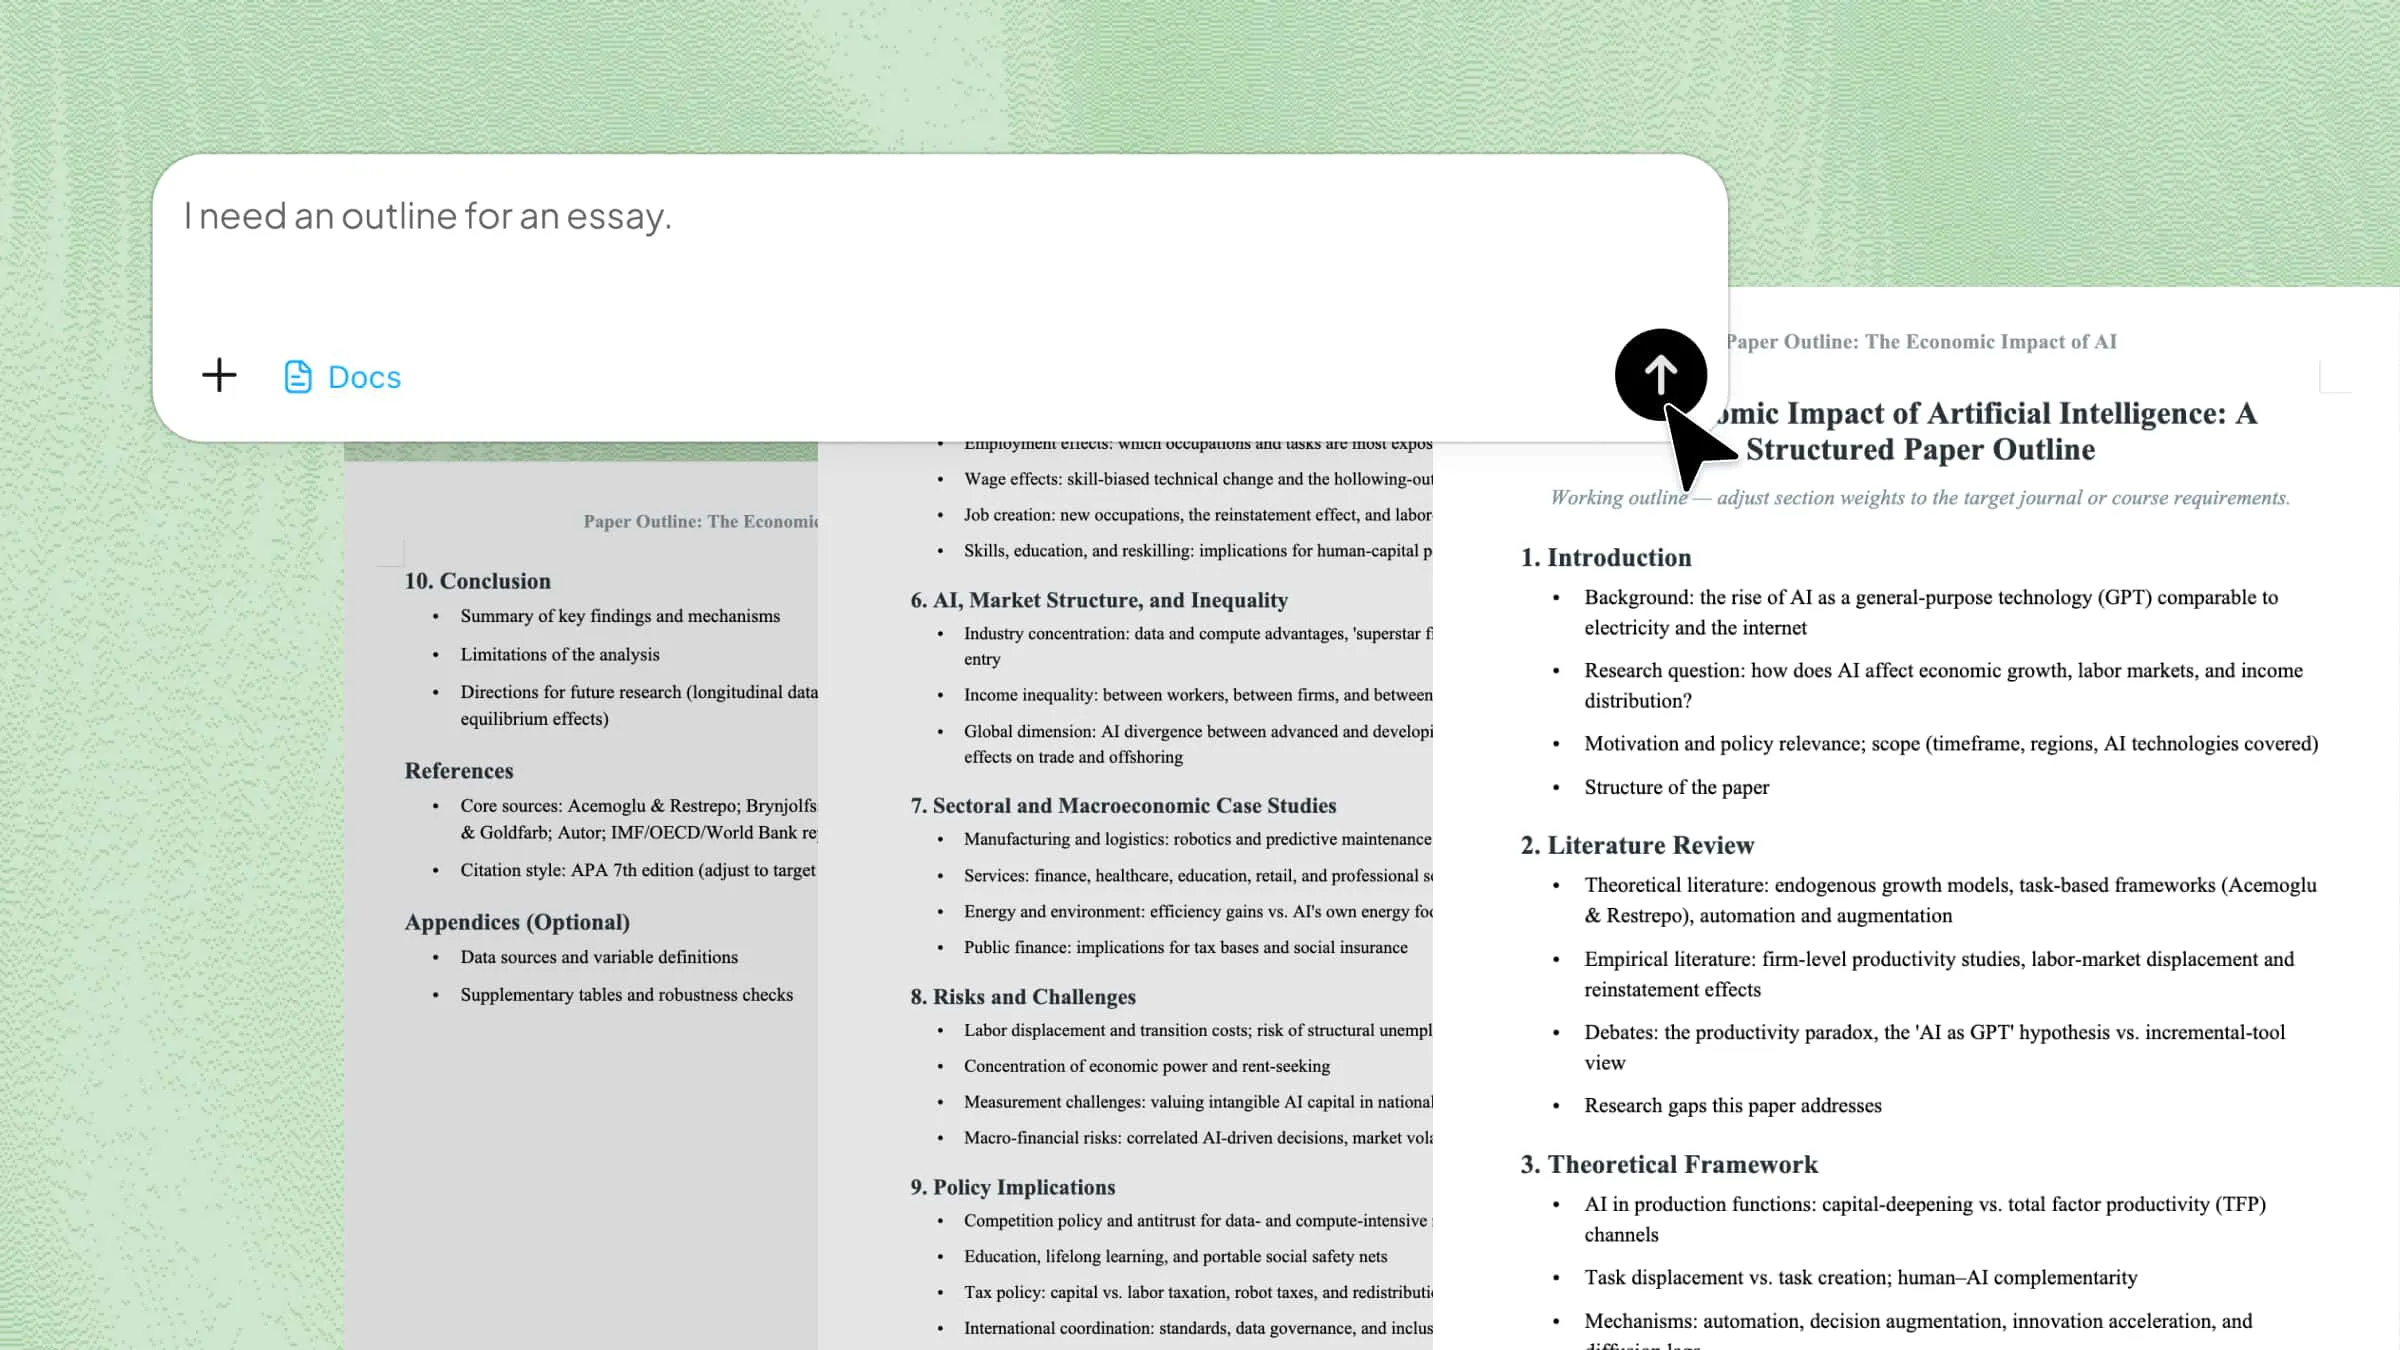
| Review smarter with Kimi Docs | AI-assisted annotation, comparison, and document review | Kimi Docs |
How to turn on and use Track Changes in Word
Turning on Track Changes is the first step to recording edits in a shared Word document. Once it's active, every addition, deletion, and formatting change gets marked automatically with colored markup. Word shows you who made each change and what was altered, so nothing gets lost between review rounds.
Step 1: Open the Review tab
With your document open, click the "Review" tab on the ribbon.
Step 2: Turn on Track Changes
In the Tracking group, click "Track Changes" to activate it. The button highlights to show it's on. You can also press Ctrl+Shift+E on Windows or Cmd+Shift+E on Mac to toggle it. The same steps apply in Microsoft Word across all current desktop versions.
Step 3: Make your edits
Type, delete, move, or format text as needed. Word marks insertions with underlines and deletions with strikethroughs. Each author's edits appear in a different color so you can tell who made which change.
Step 4: Choose how to view changes
Use the "Display for Review" dropdown to switch between views. "All Markup" shows every edit inline. "Simple Markup" gives a cleaner look with change indicators in the margin. "No Markup" lets you preview how the final document will read. "Original" shows the text before any edits were made.
How to accept or reject tracked changes in Word
Once edits have been tracked, you can go through them one by one or clear the whole document in a single step. The Review tab's Changes group handles both.
Step 1: Go to the beginning of the document
Click at the very start of the document so Word reviews changes in order from the top.
Step 2: Review changes individually
On the Review tab, use "Next" or "Previous" to move between tracked changes. Select "Accept" or "Reject" for each one to apply or remove it.
Step 3: Accept or reject all changes at once
Click the dropdown arrow under "Accept" or "Reject" and select "Accept All Changes" or "Reject All Changes." This clears all markup from the document in one step.
How to turn off and remove track changes in Word
Turning off Track Changes stops new edits from being recorded. Any markup that's already in the document stays until you accept, reject, or clear it separately.
Step 1: Turn off Track Changes
Go to the Review tab and click "Track Changes" again to deselect it. The button stops highlighting. New edits will no longer be marked, but existing markup stays visible.
Step 2: Remove existing tracked changes
To clear all existing markup, click the dropdown under "Accept" and choose "Accept All Changes," or click under "Reject" and choose "Reject All Changes." This removes all colored edit marks from the document.
Step 3: Confirm the document is clean
Switch the "Display for Review" setting to "No Markup" to confirm no tracked changes remain visible before sharing the final version.
How to change the track changes color in Word
Word automatically assigns a different color to each reviewer. If those defaults aren't working for your team, you can customize the colors for insertions, deletions, and other markup types through the Advanced Options dialog.
Step 1: Open the Tracking dialog
On the Review tab, click the small arrow in the bottom-right corner of the Tracking group. This opens the Track Changes Options dialog.
Step 2: Open Advanced Options
Select "Advanced Options" in the dialog box to access detailed color and formatting settings.
Step 3: Choose colors for each markup type
Use the dropdowns next to "Insertions," "Deletions," "Changed lines," and other types to pick a specific color. If you leave it set to "By author," Word assigns colors automatically based on who made each edit.
A smarter way to review documents with Kimi Docs
Word's Track Changes records what changed and who changed it. That's useful, but working through a long document with hundreds of edits still takes time. Kimi Docs goes a step further. Powered by an intelligent AI document agent, it can read a document with tracked changes or comments and help you review, annotate, and finalize it more efficiently than going line by line in Word..
Step 1: Upload your document and type of review you need
Start by uploading the Word file to Kimi Docs. Once it's there, Kimi reads the tracked changes and comments alongside the document content, so you don't need to summarize what's already been marked up. From there, describe the kind of review you want.
Step 2: Review Kimi's annotations and revise
If the document already has tracked changes or comments from a previous round, Kimi reads those too and builds on them. You don't have to start fresh. It can pick up where a human reviewer left off, or add a second layer of feedback on top of an existing AI pass.
Step 3: Download the annotated document
Once Kimi finishes, download the file as a Word document. The comments and suggestions sit inline in the document, the same way a colleague's markup would. From there you can accept, reject, or respond to each one directly in Word.
Key features of Kimi Docs
Expert-level inline annotation: Rather than returning a summary, Kimi places its feedback directly inside the Word document as inline comments. You can tell it the review angle upfront where it is legal, editorial, academic, and it applies consistently across the whole document.
Work from existing markup: If a document already has tracked changes or comments from a previous round, Kimi reads those and builds on them. This matters for multi-round reviews where you don't want to start from scratch after every pass.
Side-by-side version comparison: Upload two drafts of the same document and ask Kimi to compare them. It identifies what changed between versions and gives you a summary, so you're not manually searching for differences.
Handle various document type: Legal contracts, research papers, business reports, student essays, the workflow is the same regardless of what the document is. Upload it, say what you need, and get the annotated version back.
Track changes vs. comments in Word
Track Changes and Comments do different things, and knowing which one to reach for depends on what kind of feedback you're leaving. Use them at the same time when necessary.
| Feature | Track Changes | Comments |
|---|---|---|
| Purpose | Records edits to text and formatting | Adds notes or feedback without altering text |
| Visibility | Shown inline as underlines/strikethroughs | Shown in a side margin balloon |
| Effect on content | Can be accepted to apply edits permanently | Doesn't change the document content |
| Best for | Suggesting specific wording or formatting changes | Asking questions, giving feedback, or flagging issues |
Using both together gives reviewers a complete picture, Track Changes shows exactly what changed, while Comments explain why.
Tips for managing track changes effectively
Track Changes is straightforward when one person is editing, but gets harder to manage across a team. These habits help.
Agree on settings before the review starts. Colors and display preferences are saved on each person's machine, not in the file. Two people looking at the same document can see it very differently if one is on "All Markup" and the other is on "Simple Markup." A quick agreement upfront avoids that.
Lock Tracking if you need a complete record. The regular Track Changes toggle can be turned off by anyone, which means edits can slip through unrecorded. If that's a problem, enable Lock Tracking under Review > Track Changes. It ties the toggle to a password so the history stays intact.
Switch to "No Markup" before you share. It's easy to send a document that still has unresolved edits sitting inside it. A quick check in the "No Markup" view shows you what the recipient will see, and whether there's still markup that needs resolving first.
Run the Document Inspector before sending files externally. Go to File > Info > Check for Issues > Inspect Document. This finds and removes tracked changes, comments, and reviewer names that you might not want to go outside your organization.
Conclusion
Word track changes give every person on a review team a clear record of what was edited, who edited it, and when. The tools for turning it on, accepting changes, adjusting colors, and cleaning up the final document are all in the Review tab. For more complex review work, Kimi Docs can annotate, compare, and build on the existing markup, so the document moves from draft to final faster.