A page break is perfect for jumping to the next page, but it falls short if you need to rotate a single page or use unique headers. For structural changes, you need a section break instead. This guide clarifies the page break vs section break distinction in Word, covers the four section break types, and helps you choose the right one for your layout..
Page break vs section break: Quick comparison
The core difference in one table, before going into detail.
| Page Break | Section Break | |
|---|---|---|
| What it does | Forces content to start on a new page | Divides the document into independently formatted sections |
| Changes page layout | No | Yes, margins, orientation, columns |
| Changes headers and footers | No | Yes, each section can have its own |
| Changes page numbering | No | Yes, can restart or reformat per section |
| Types available | One type | Four types: Next page, Continuous, Even page, Odd page |
| Where to insert | Insert > Page Break or Ctrl+Enter | Layout > Breaks > Section Breaks |
| Available in Word for the web | Yes | No, desktop only |
What is a page break in Word?
A page break is a marker that ends the current page and forces any content that follows to start at the top of the next page. The formatting stays exactly the same across the break: the same margins, headers and footers, page numbering style, and column layout. Only the position changes.
Page breaks are best for:
Starting a new chapter or major section without changing any formatting
Keeping a table or image on its own page
Separating content that should always begin at the top of a page regardless of what comes before it
Word uses two kinds of page breaks. A manual page break is one you insert yourself, and it stays fixed in place until you remove it. An automatic page break is added by Word when the current page fills up, and it moves as you edit the document.
What is a section break in Word?
A section break also starts a new page in most cases, but its main purpose is different. It divides the document into independently formatted parts called sections. Each section can have its own page orientation, margins, header and footer content, page numbering format, and column layout, without affecting the rest of the document.
Section breaks are best for:
Changing page orientation mid-document (portrait to landscape and back)
Using different headers or footers on different pages
Restarting or reformatting page numbers at a specific point
Mixing single-column and multi-column layouts in the same document
Starting chapters on a specific page type (odd or even)
The four types of section break in Word
This is where the section break vs page break distinction gets more specific. Section breaks come in four subtypes, each with a different effect on where the new section starts.
| Type | Effect |
|---|---|
| Next page | Starts the new section at the top of the next page. Most commonly used when you need a formatting change that also starts a new page. |
| Continuous | Starts the new section on the same page. Used for layout changes that don’t require a new page, such as switching from one column to two columns mid-page. |
| Even page | Starts the new section on the next even-numbered page. If the current page is already even, Word inserts a blank odd page first. |
| Odd page | Starts the new section on the next odd-numbered page. If the current page is already odd, Word inserts a blank even page first. |
All four are found under Layout > Breaks > Section Breaks.
When to use a page break vs section break in Word
To decide between a page break and a section break, ask one question: Does the formatting or layout need to change after the break?
If the layout stays the same, use a page break. It simply pushes text to the top of the next page, which is ideal for starting a new chapter or keeping a table on a single page.
If the layout must change, use a section break. This splits your document into independent parts, allowing you to change settings for a specific section without affecting the rest of the file. You need a section break to flip a single page to landscape, use different headers, restart page numbers, or switch to a two-column layout.
Two common mistakes to avoid:
Headers changing everywhere: If you use a standard page break instead of a section break to change a header, the edit will apply to the entire document. Use a Next Page section break and unlink it from the previous section to keep them separate.
Content not moving to the next page: The Continuous section break is designed purely for same-page formatting changes, like turning a single paragraph into multiple columns. It will not push your text to a new page.
How to insert a page break or section break
Both break types are accessible from the same Layout > Breaks menu, and there is an additional shortcut for page breaks.
Inserting a page break:
Place your cursor where you want the break. Either go to Insert > Page Break, use Layout > Breaks > Page, or press Ctrl+Enter on Windows (Cmd+Return on Mac). All three produce the same result.
Inserting a section break:
Place your cursor where the new section should begin. Go to Layout > Breaks, then choose from the four section break types listed under Section Breaks. There is no keyboard shortcut for this.
To see where breaks are placed in the document, go to the Home tab and click the Show/Hide button (the paragraph symbol). Page breaks appear as dotted lines labeled "Page Break." Section breaks appear as double-dotted lines with a label showing the section break type.
Note: Word for the web supports page breaks but does not support inserting section breaks. Section breaks require the Word desktop application.
How Kimi Docs can help with page and section breaks
Setting up section breaks across long documents is highly repetitive, requiring you to manually insert breaks, unlink headers, and adjust page numbering for every single chapter.
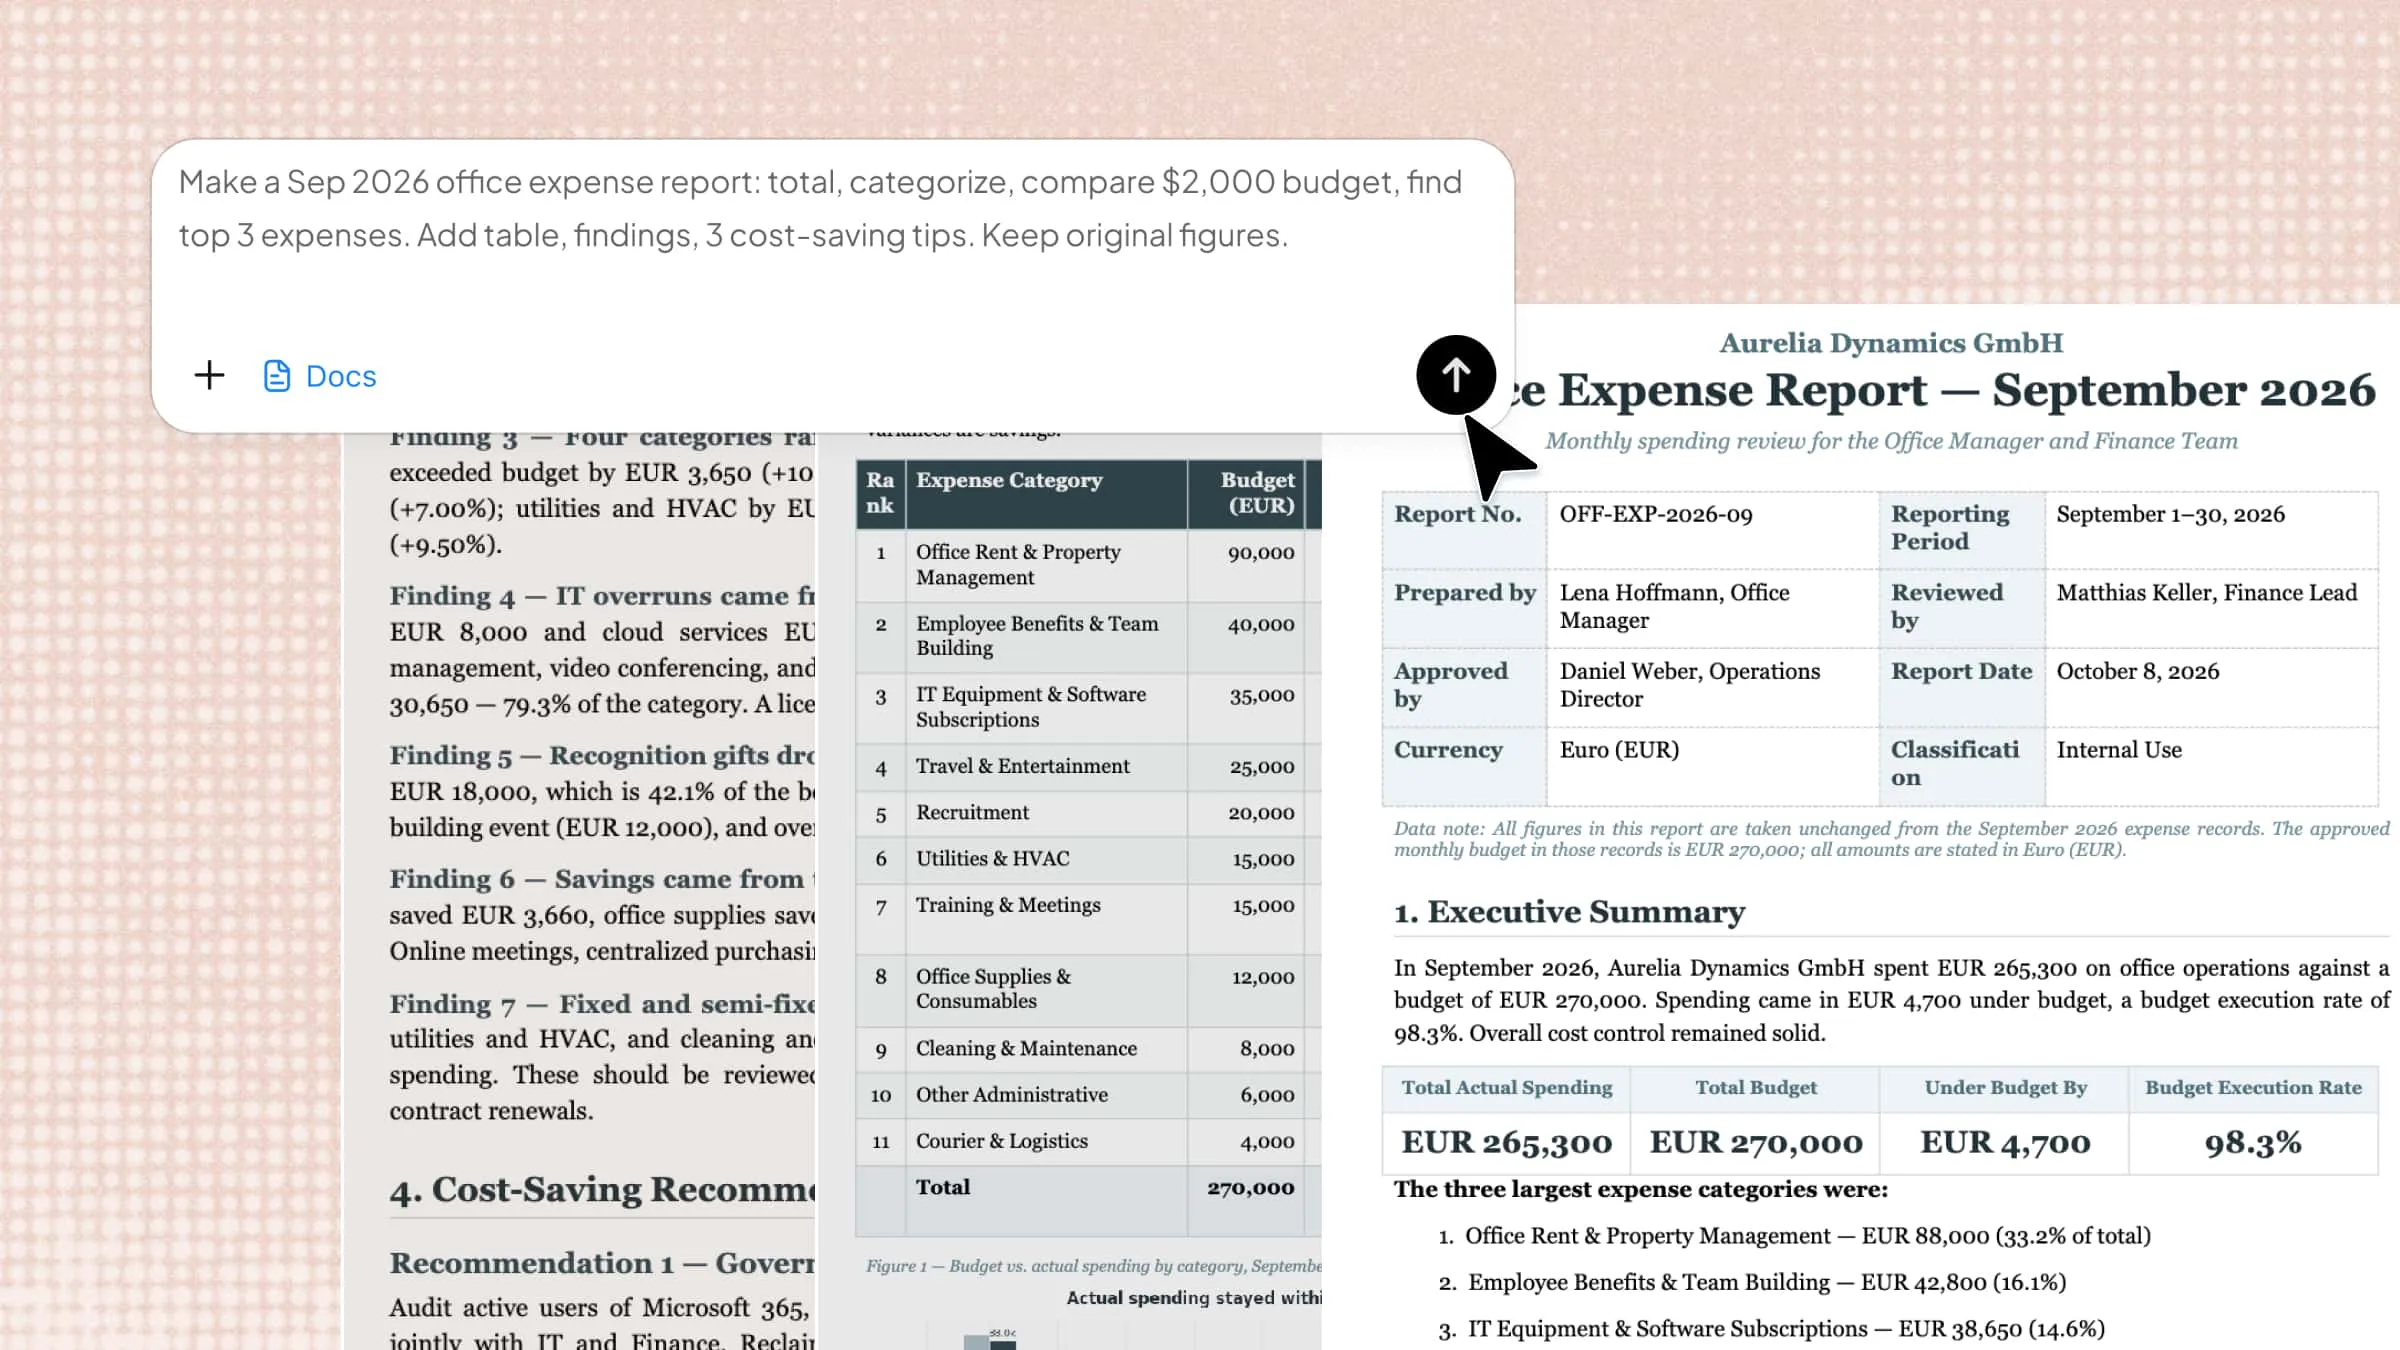
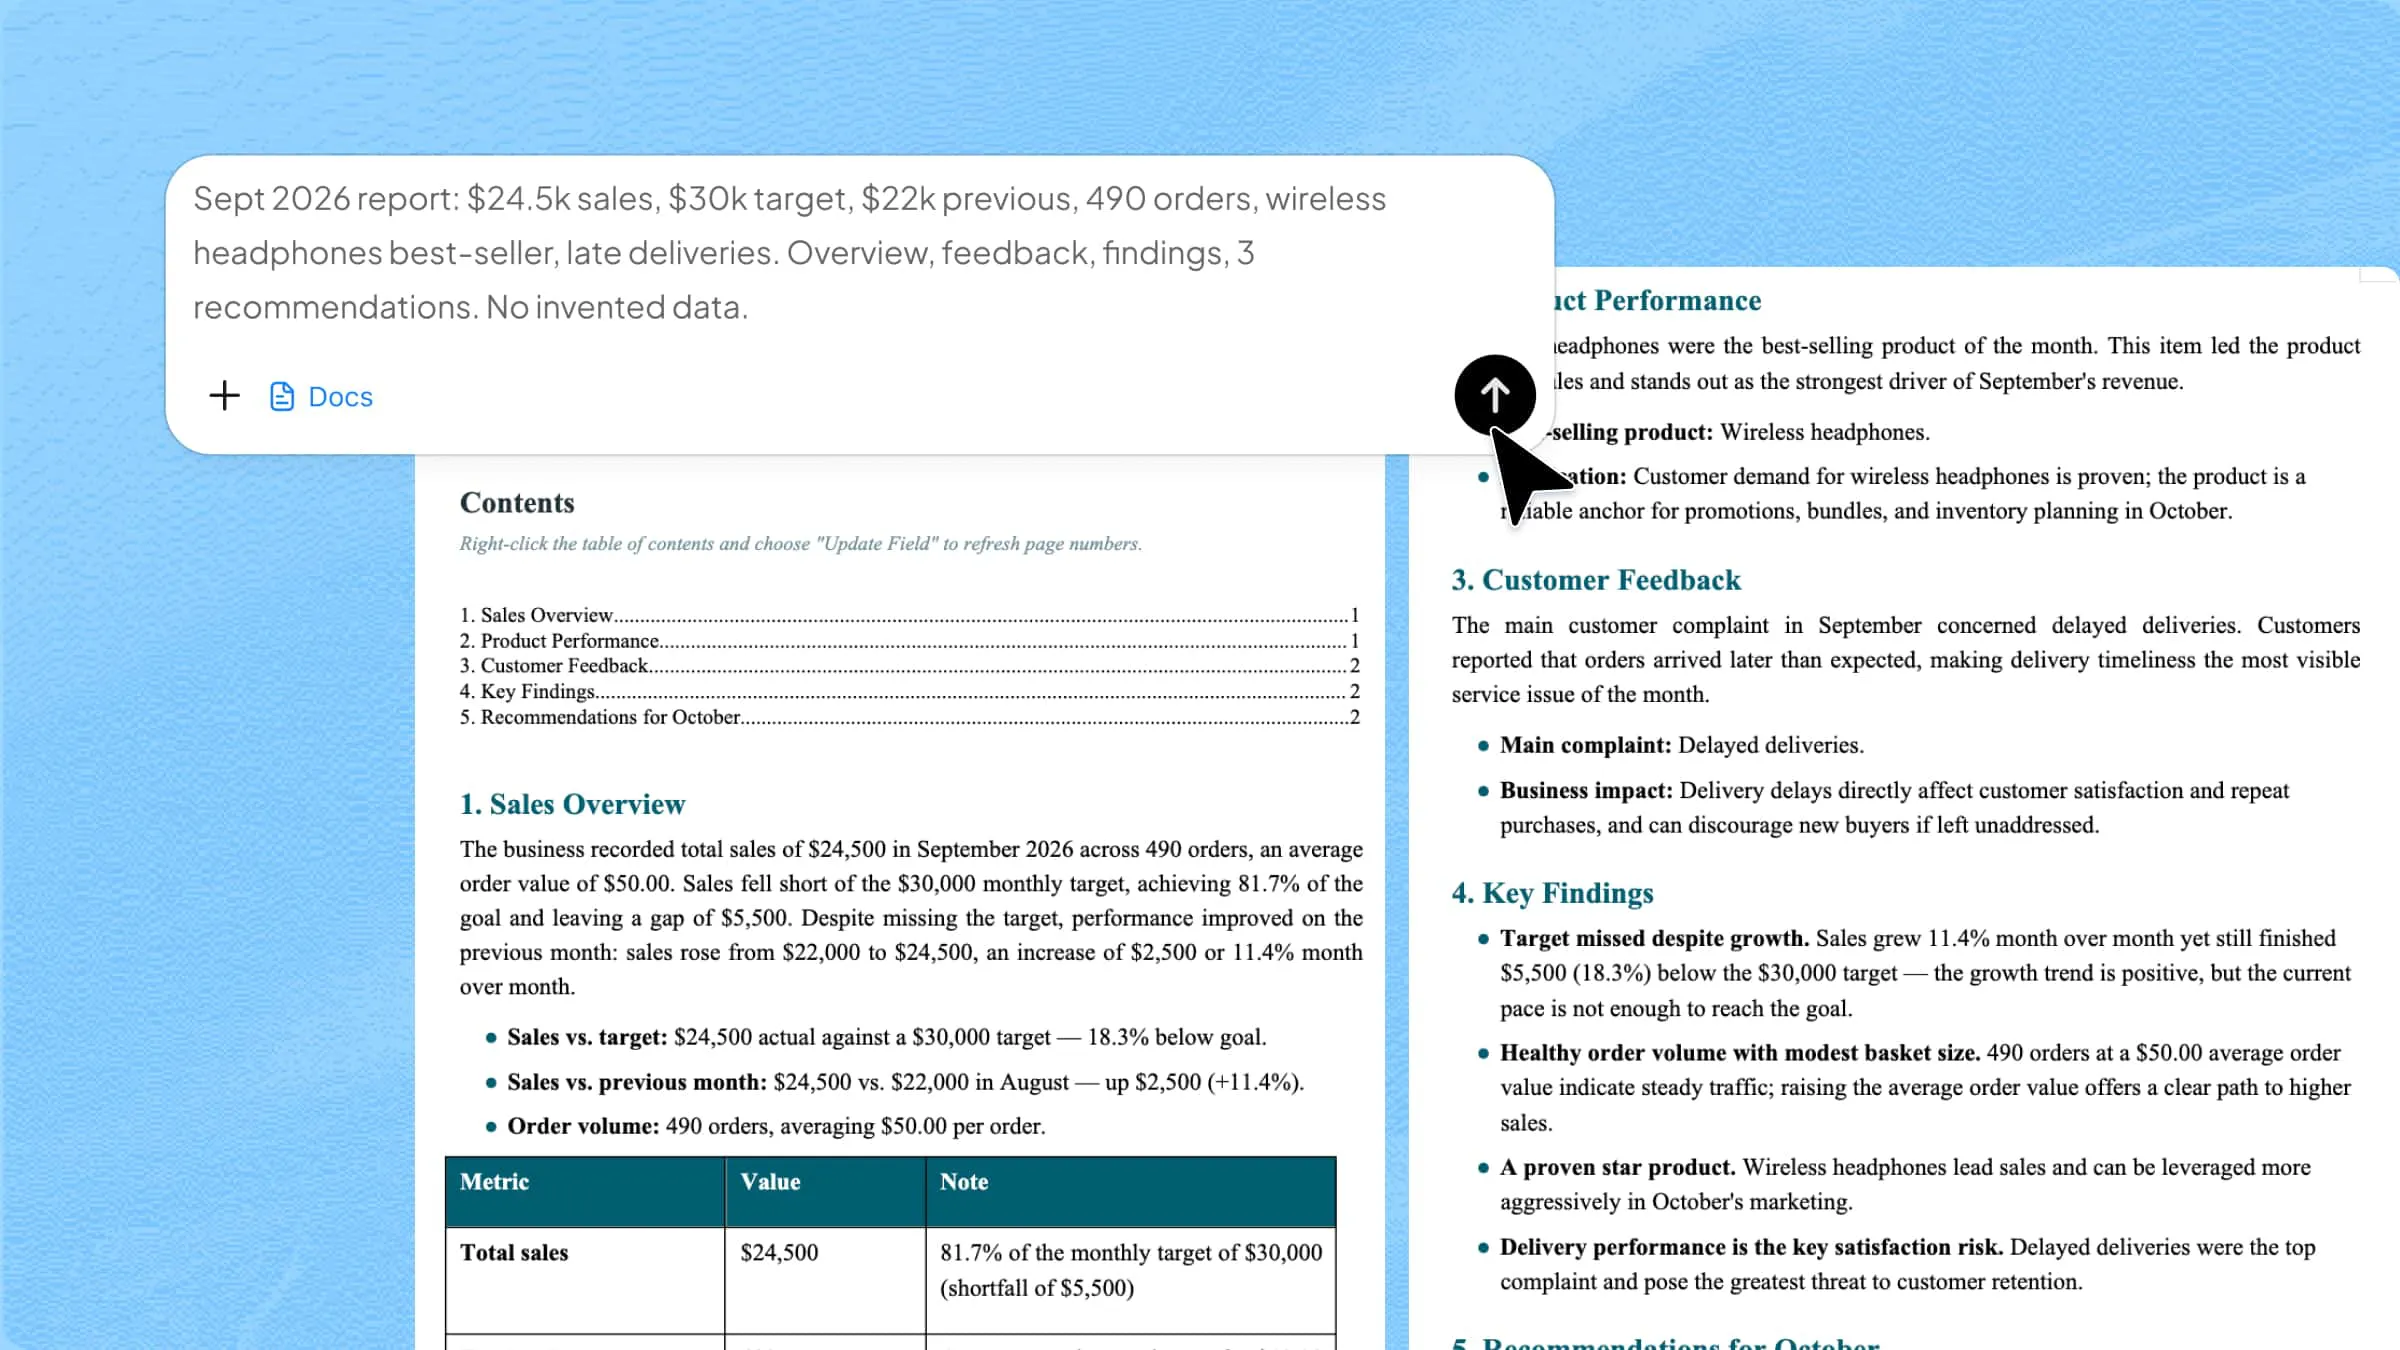
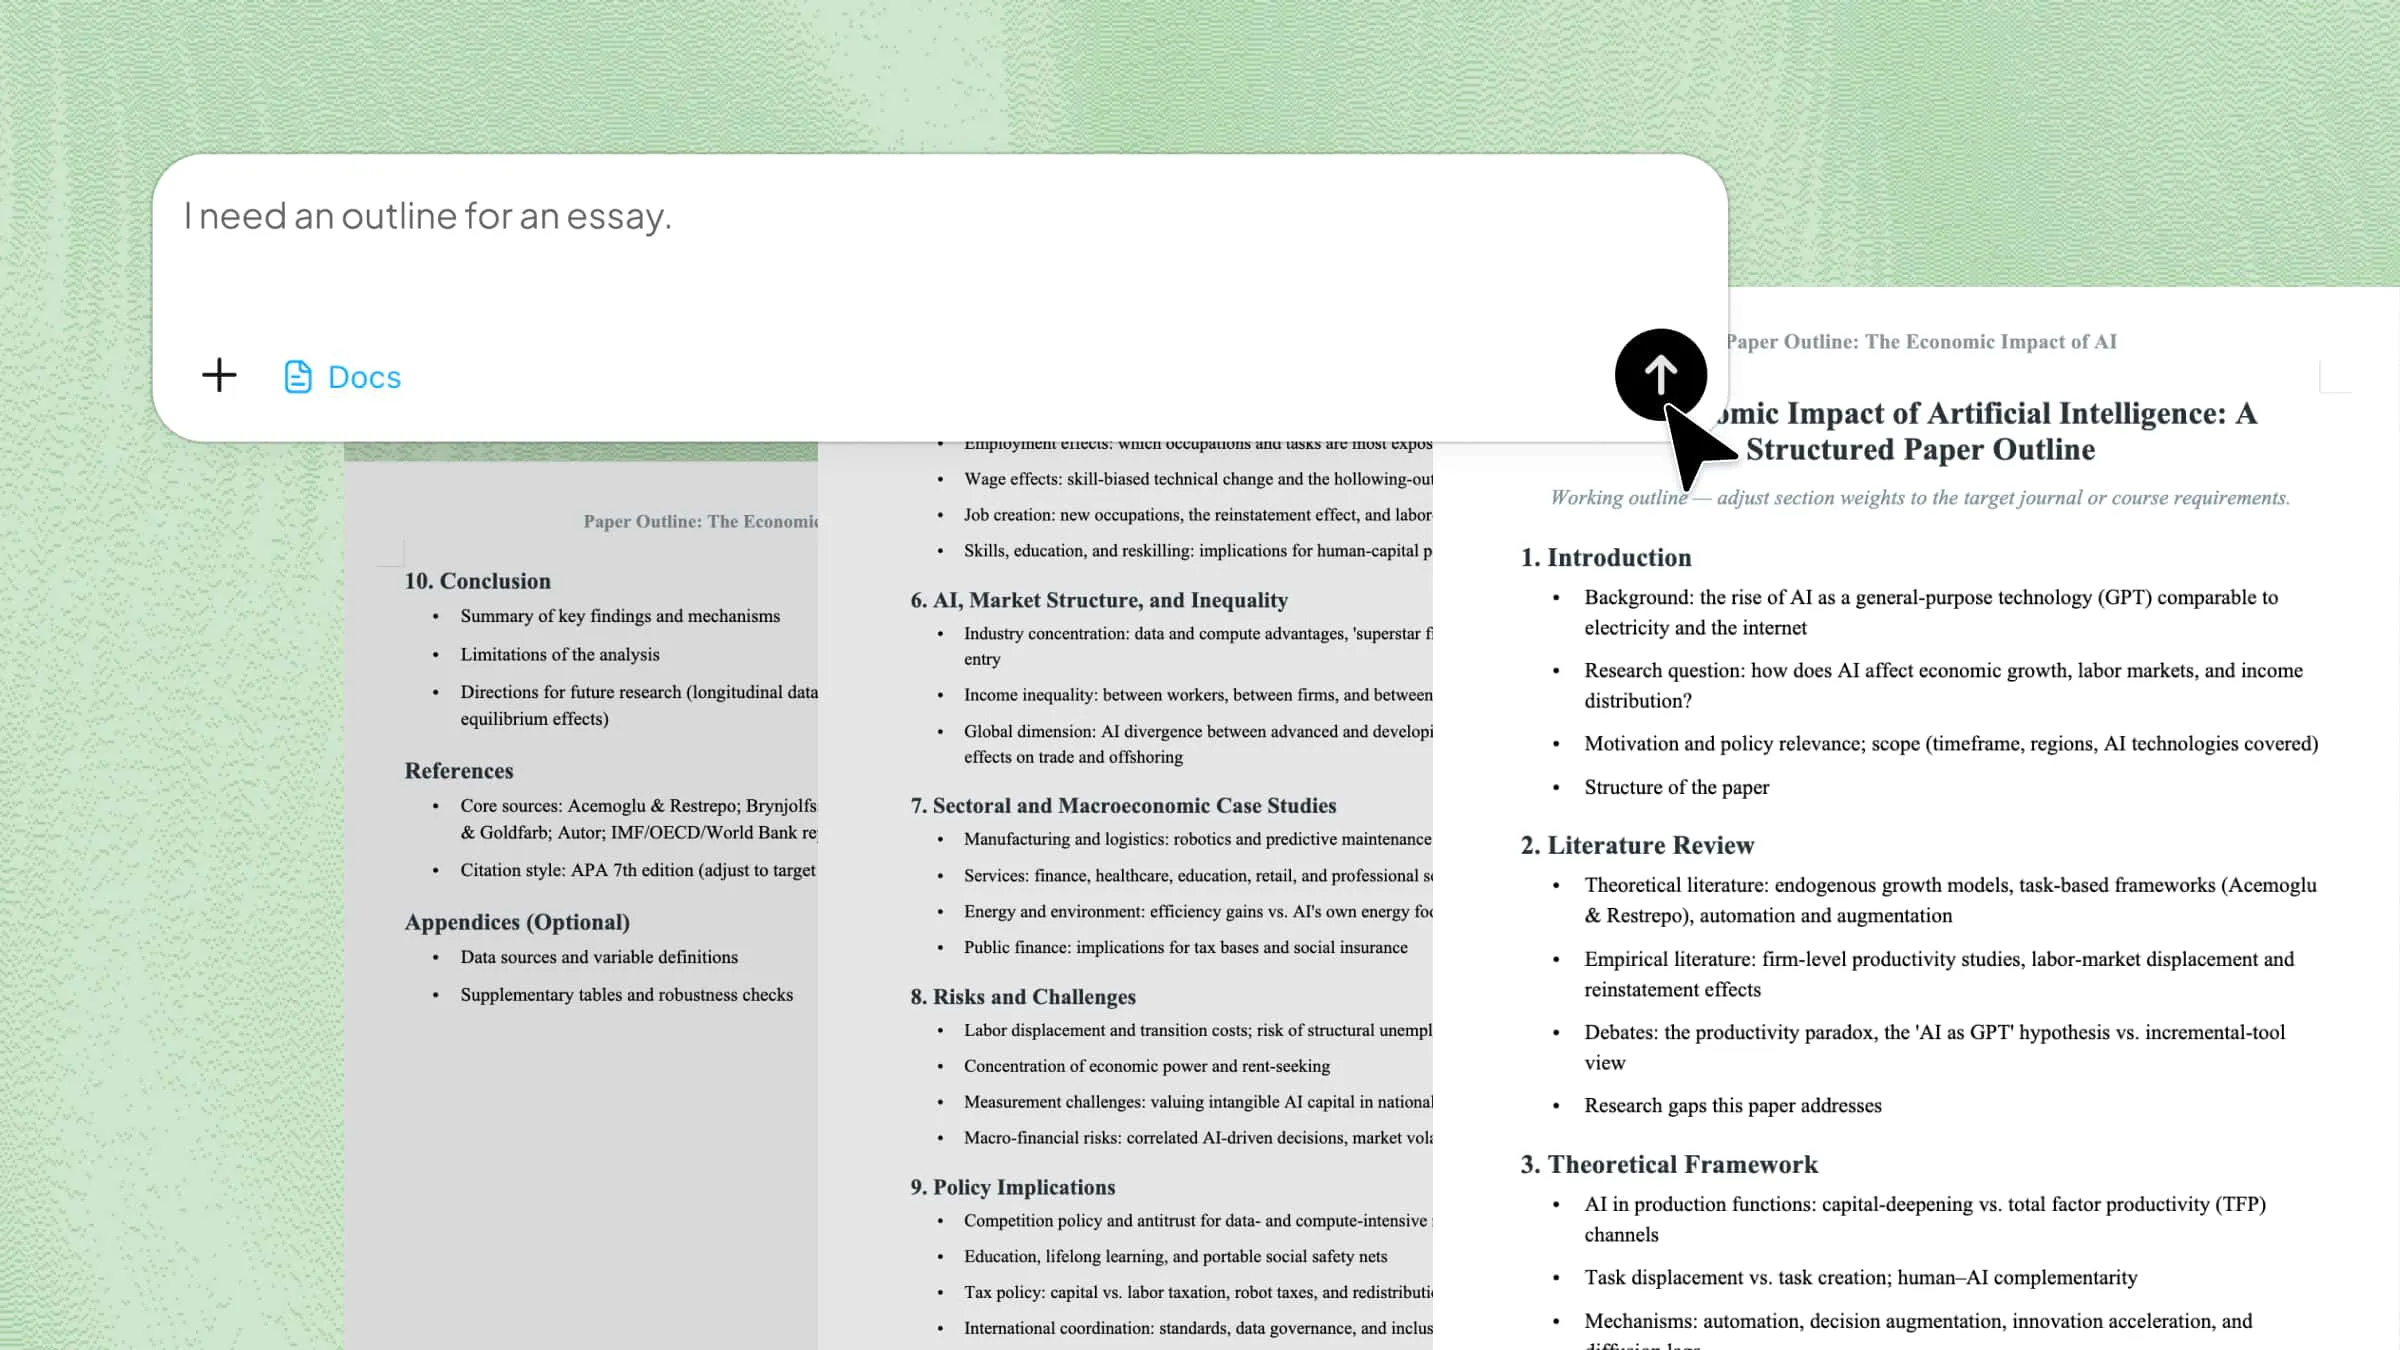
Instead of dealing with these deep layout settings, you can use Kimi Docs as an advanced AI document agent. Simply upload your file and describe your desired layout. Kimi instantly applies the correct page and section breaks, configures headers, and unifies your formatting throughout the document in one step.
Step 1: Upload your document
Open Kimi Docs, and upload the Word file that needs page or section breaks added or reorganized.
Step 2: Describe the break structure you need
Tell Kimi where breaks should go and what formatting should change at each point.
Example prompt:
Step 3: Download the formatted document
Kimi applies the breaks and formatting as described and returns the finished file.
Key features of Kimi Docs
Set up section formatting across the whole document at once: Adding unique headers, restarting page numbers, and inserting section breaks at every chapter heading can all be described in one prompt.
Handle both break types together: Page breaks and section breaks can be placed alongside other formatting instructions in the same request.
No need to manage Link to Previous settings manually: Setting up independent headers per section requires unlinking each section's header from the previous one, which Kimi can handle as part of the same task.
Work from a plain description: There is no menu navigation, icon hunting, or specialized break-type selection required. You describe how you want the finished document to look in natural language, and the system translates your description into clean, professional document layout mechanics.
Conclusion
When it comes to the choice between a page break vs section break, it depends on whether the formatting needs to change after the break. Page breaks handle position only, while section breaks handle both position and formatting independently for each part of the document. Kimi Docs helps quickly and easily set document formats, allowing you to set both page breaks and section breaks in seconds.