iLovePDF doesn't have a single tool for converting Word to JPG, and it handles this by chaining two separate tools together, one to get the Word file into a PDF, and a second to turn that PDF into an image. This guide covers the actual steps involved, what the free plan limits you to, and a faster alternative for when you'd rather skip the extra file in the middle.
A step-by-step guide to how iLovePDF works
iLovePDF has no single "Word to JPG" tool. The conversion runs through two separate tools instead: "Word to PDF," then "PDF to JPG." Each is its own upload and download, so what feels like one task is actually two.
Step 1: Convert the Word file to PDF
Open iLovePDF's "Word to PDF" tool, upload your DOC or DOCX file, and click "Convert to PDF." The PDF downloads automatically once it's ready. At this point, open the PDF and check it before moving on. If anything looks off with the layout, it's much easier to fix in Word and reconvert than to correct it after it's been turned into a JPG.
Step 2: Convert the PDF to JPG
Open the "PDF to JPG" tool, upload the PDF you just downloaded, and click "Convert to JPG." Before clicking convert, you can adjust the image quality setting if it's available on your plan. Higher quality means sharper images and larger file sizes.
Step 3: Download your JPG
Download the resulting image once processing finishes. If the document has more than one page, iLovePDF packages the images into a ZIP file. Each page becomes its own numbered JPG inside that folder.
Limitations of iLovePDF Word to JPG convertor
A few things are worth knowing before committing to this route for iLovePDF Word to JPG conversions.
File size cap: The free plan limits uploads to 15MB. Image-heavy Word files can exceed this without warning, requiring you to compress images first.
Slower than a direct conversion: Two separate uploads mean connection speed affects the process twice. Minor for one file, noticeable for a batch.
Multi-file uploads get merged: Uploading several Word files at once combines them into a single PDF rather than keeping them separate, so the resulting JPGs come from one merged file.
Require an intermediate PDF conversion: The intermediate file lands in your downloads folder and needs manual deletion if you don't want it sitting there.
A faster way to convert Word to JPG with Kimi Docs
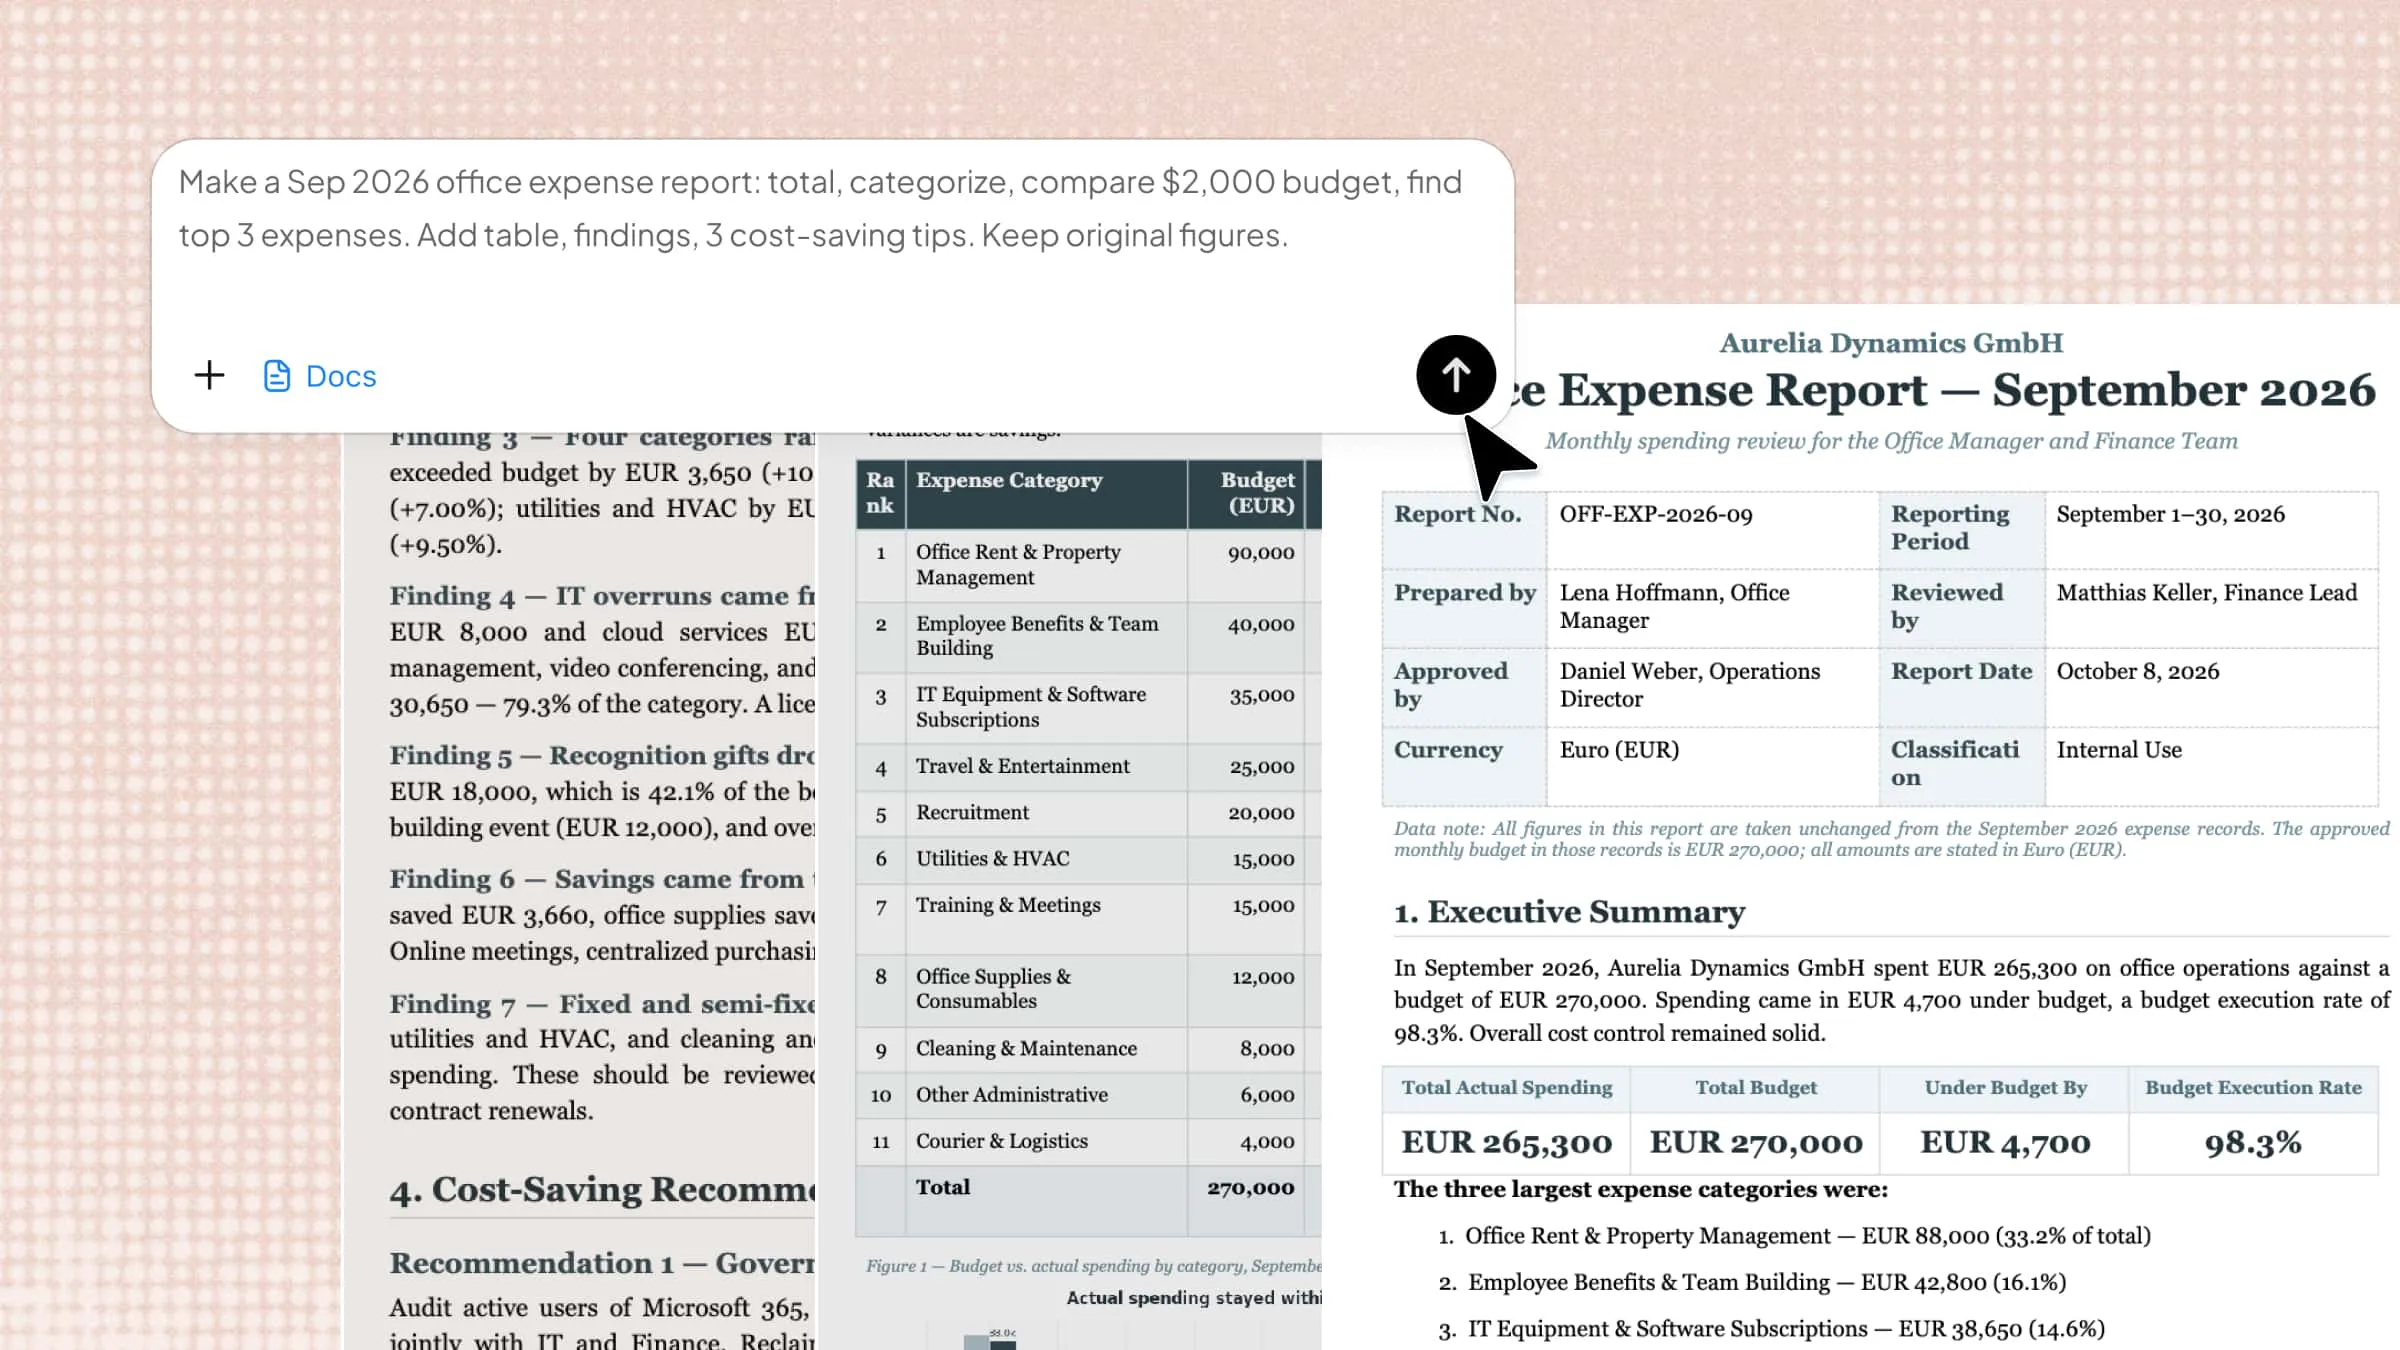
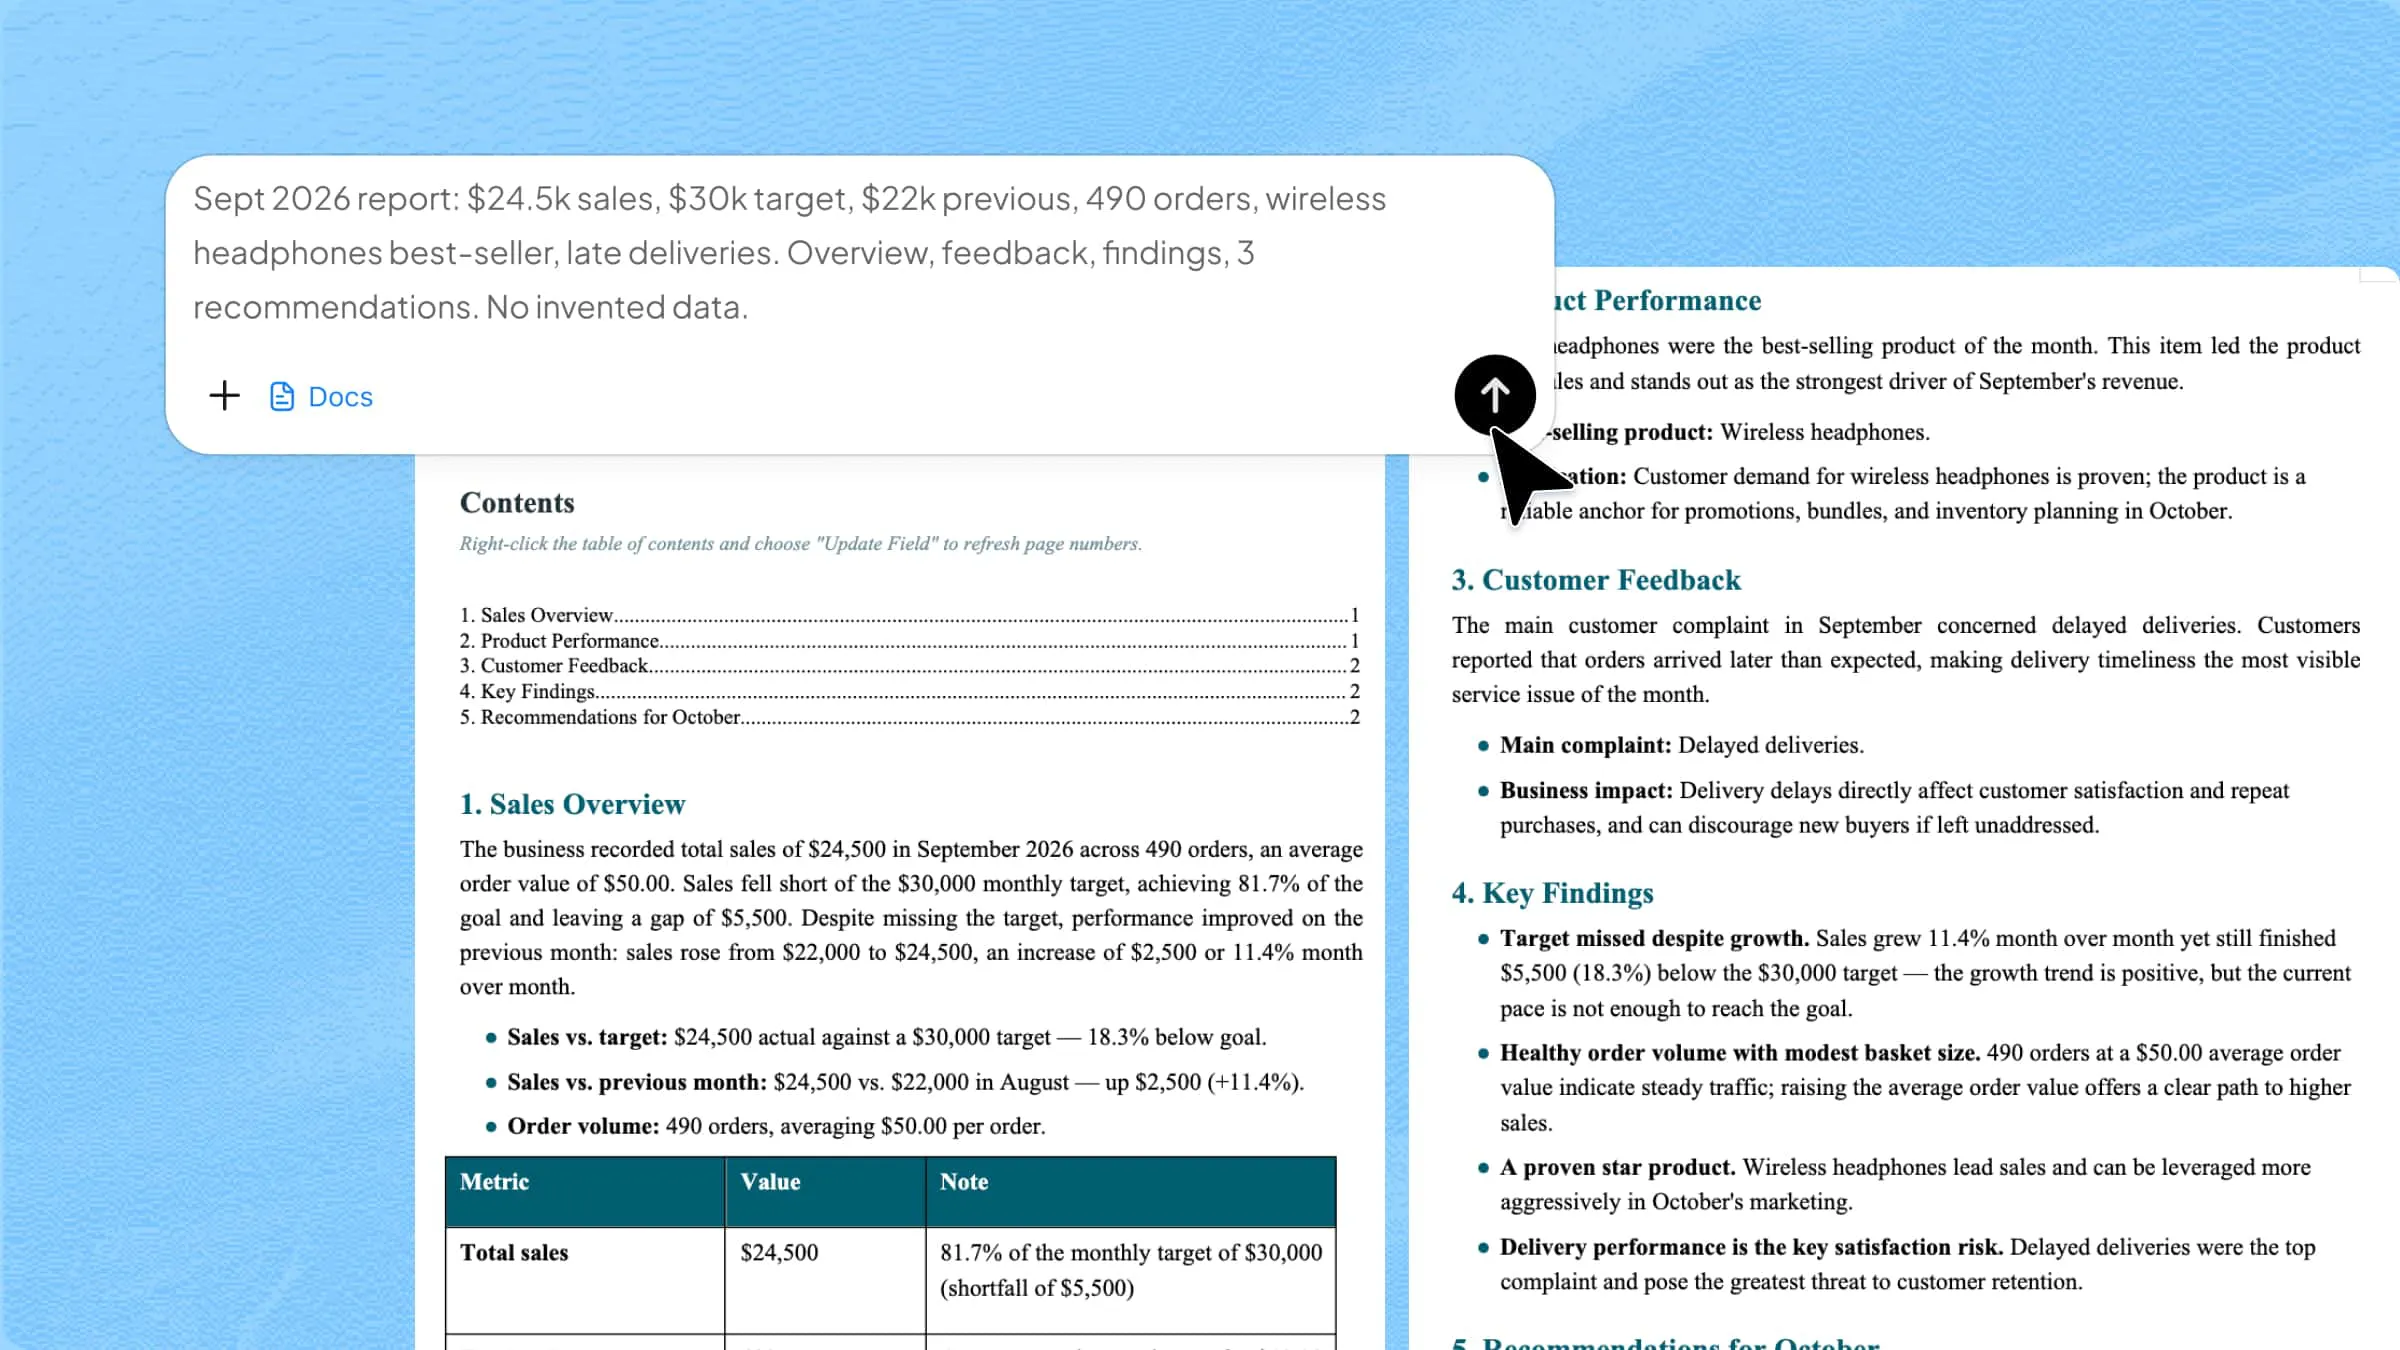
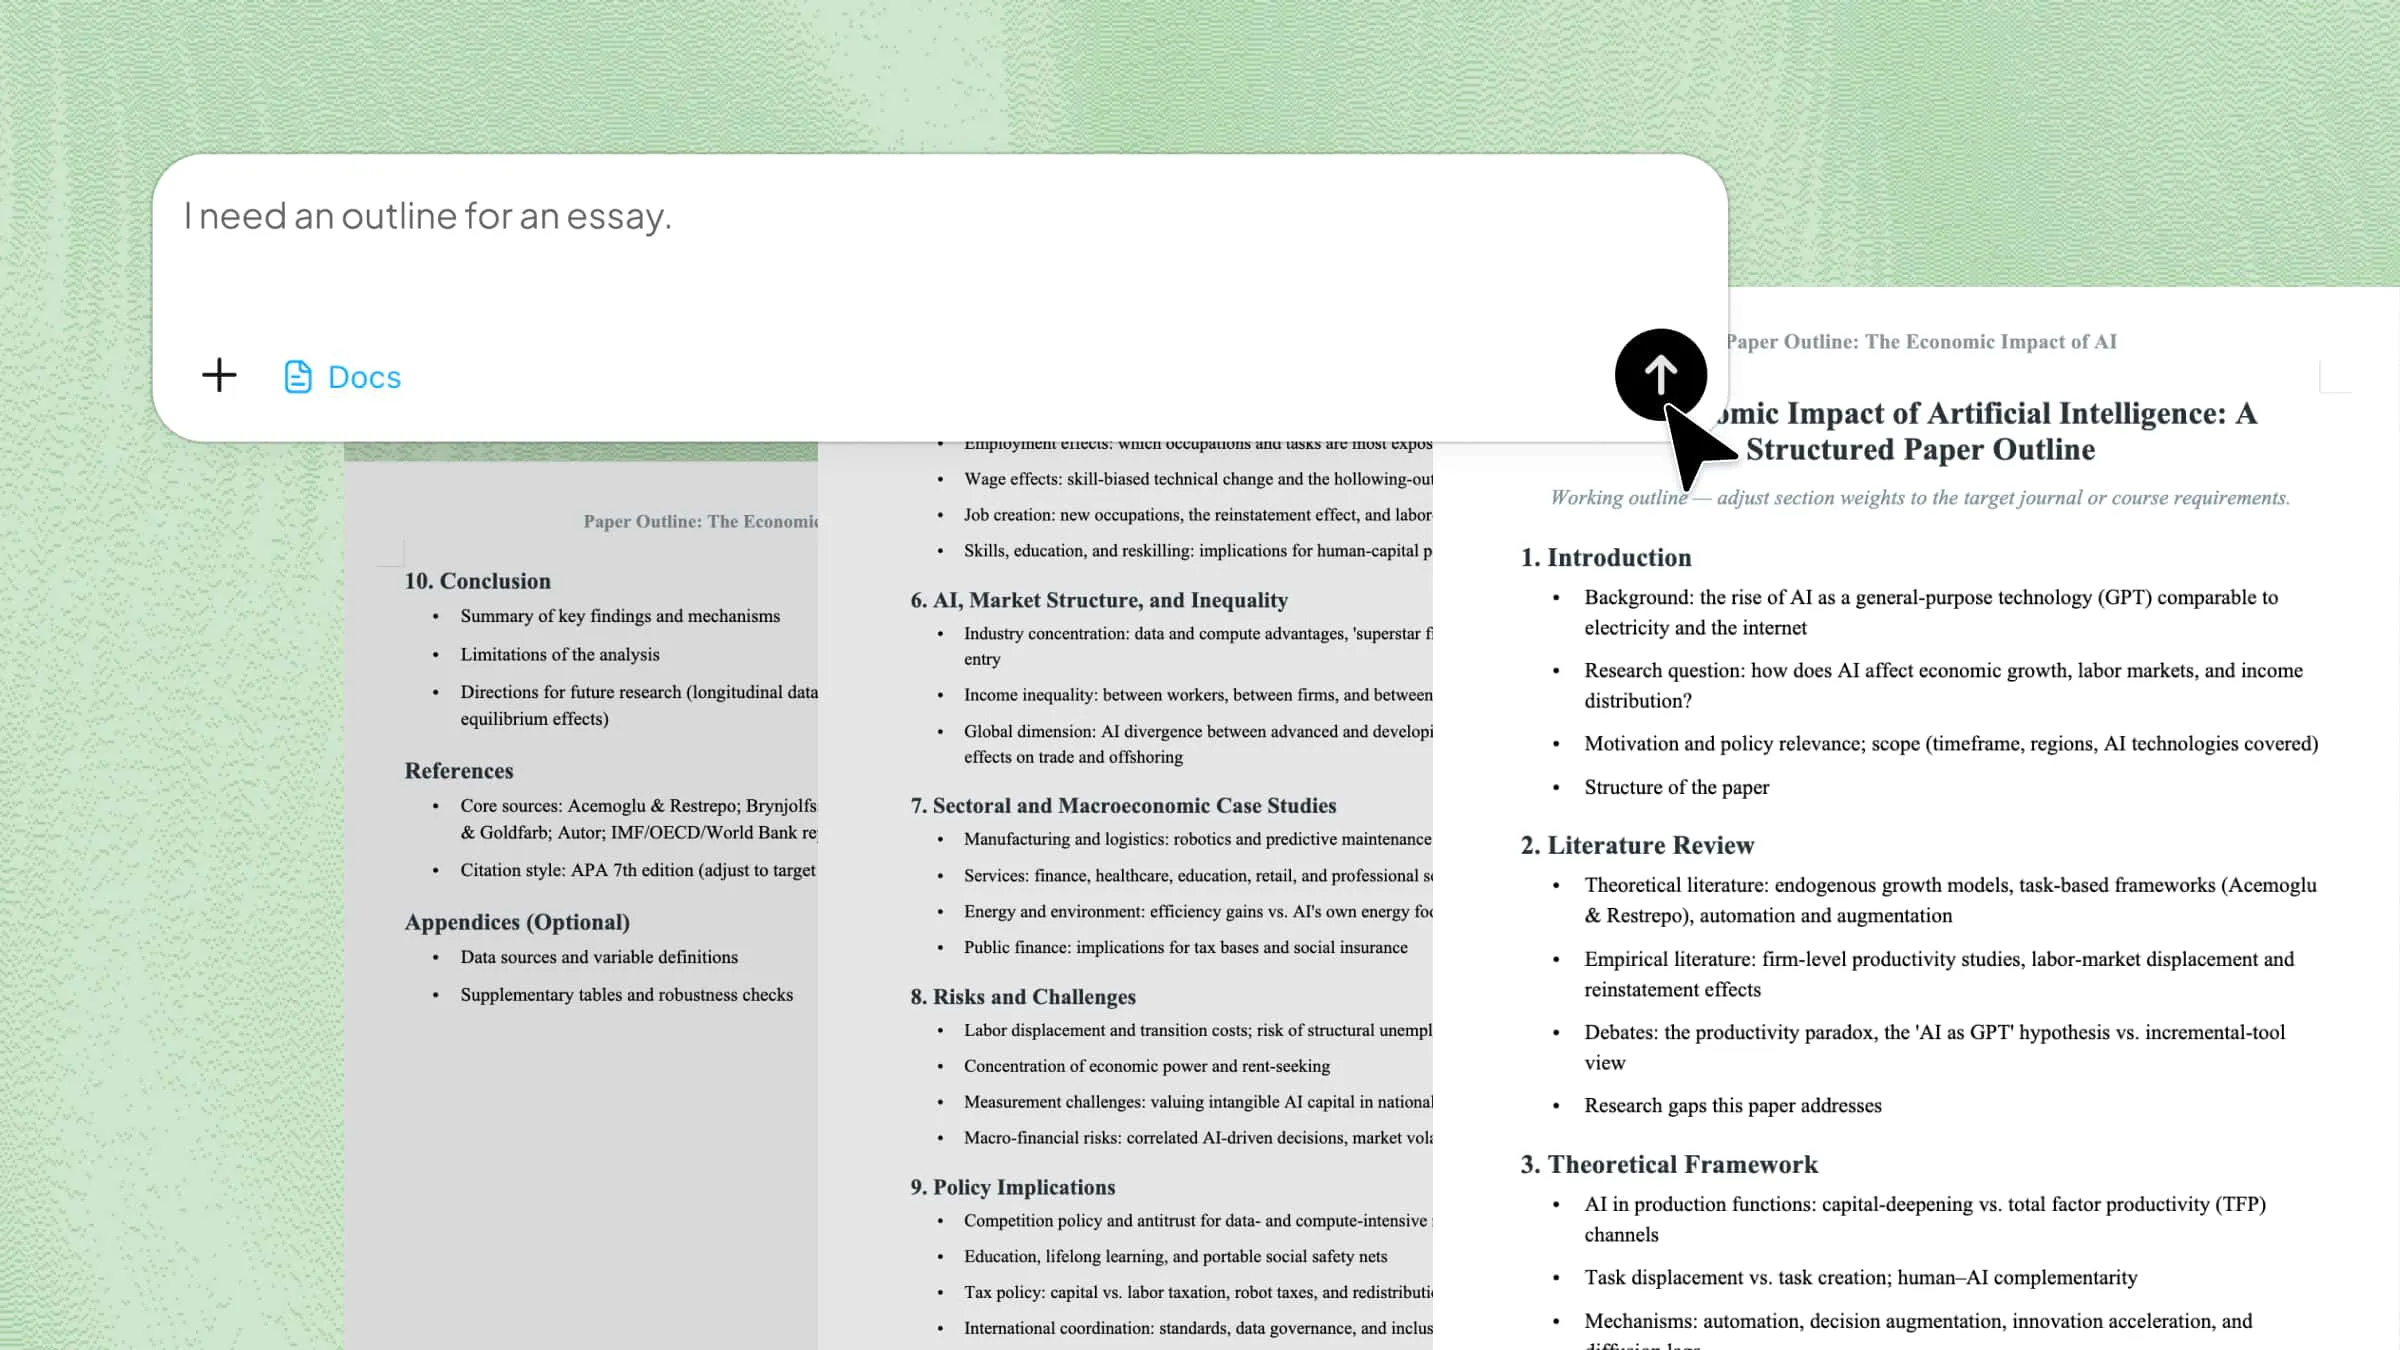
The iLovePDF workaround gets the job done, but two separate conversions mean extra time and an extra file to manage. Kimi Docs cuts that down to one step: upload the Word file, describe what you want, and download the JPG.
As a powerful AI document agent, Kimi Docs goes beyond standard file conversion to intelligently handle and transform your business files with simple prompts. You can also direct the output through the prompt itself, specifying the format, page range, or image quality, which gives you more control than a standard converter.
How to convert Word to JPG using Kimi Docs
Step 1: Upload your Word document and enter the prompt
Upload your file to Kimi Docs and describe the output you want. The more specific you are, the more closely the output matches what you need.
Step 2: Let Kimi process the file
Kimi Docs renders each page of the document directly as an image, without generating or downloading an intermediate PDF along the way.
Step 3: Download your JPG
Once processing is complete, download the image or images directly from the platform. The files are ready to share or use immediately.
Key features of Kimi Docs
Single-step conversion: The whole process happens in one run. Upload the Word file and the JPG comes back without saving intermediate files, switching tools, or repeating the upload process.
Preserve formatting through direct conversion: Kimi Docs keeps the original fonts, spacing, and layout intact when converting, since it reads the document structure directly rather than processing it through any intermediate step.
Selective page conversion: Specify the page in the prompt and Kimi Docs converts just that, instead of processing the entire document and making you sort through the output afterward.
Handle complex document layouts: Tables, financial statements, and multi-column layouts often lose structure when a basic converter flattens them. Kimi Docs reads the layout structure of the source file, so columns stay aligned and tables stay intact in the output.
Work across professional document types: The workflow is the same whether the file is a resume, a whitepaper, or a financial report. Output quality stays consistent as long as the source document is well-formatted.
iLovePDF vs Kimi Docs: A quick comparison
Both approaches get you a JPG from a Word document. Here's how they differ in practice.
| iLovePDF | Kimi Docs | |
|---|---|---|
| Steps required | 2 separate tools | 1 upload |
| Intermediate PDF created | Yes | No |
| Convert specific pages | No, whole document only | Yes, via prompt |
| Free plan file size limit | 15MB per file | 100MB per file |
| Output format options | JPG only | JPG, PNG, or other formats via prompt |
Conclusion
The Word to jpg iLovePDF route works for most standard Word documents, and both tools in the sequence are free to use at a basic level. The trade-off is the two-step workflow, the intermediate PDF, and the limitations around file size and multi-file handling. For straightforward conversions where those constraints don't matter, iLovePDF does the job reliably. When you want a single upload with more control over the output, Kimi Docs is the more direct path.