Using Kimi Code in the browser
Kimi Code Web is the browser-based graphical interface built into Kimi Code CLI: run kimi web in a terminal, and you can start sessions, chat, handle approvals, and review file changes in a browser — a friendlier interface, while sessions and data still live entirely on your machine.
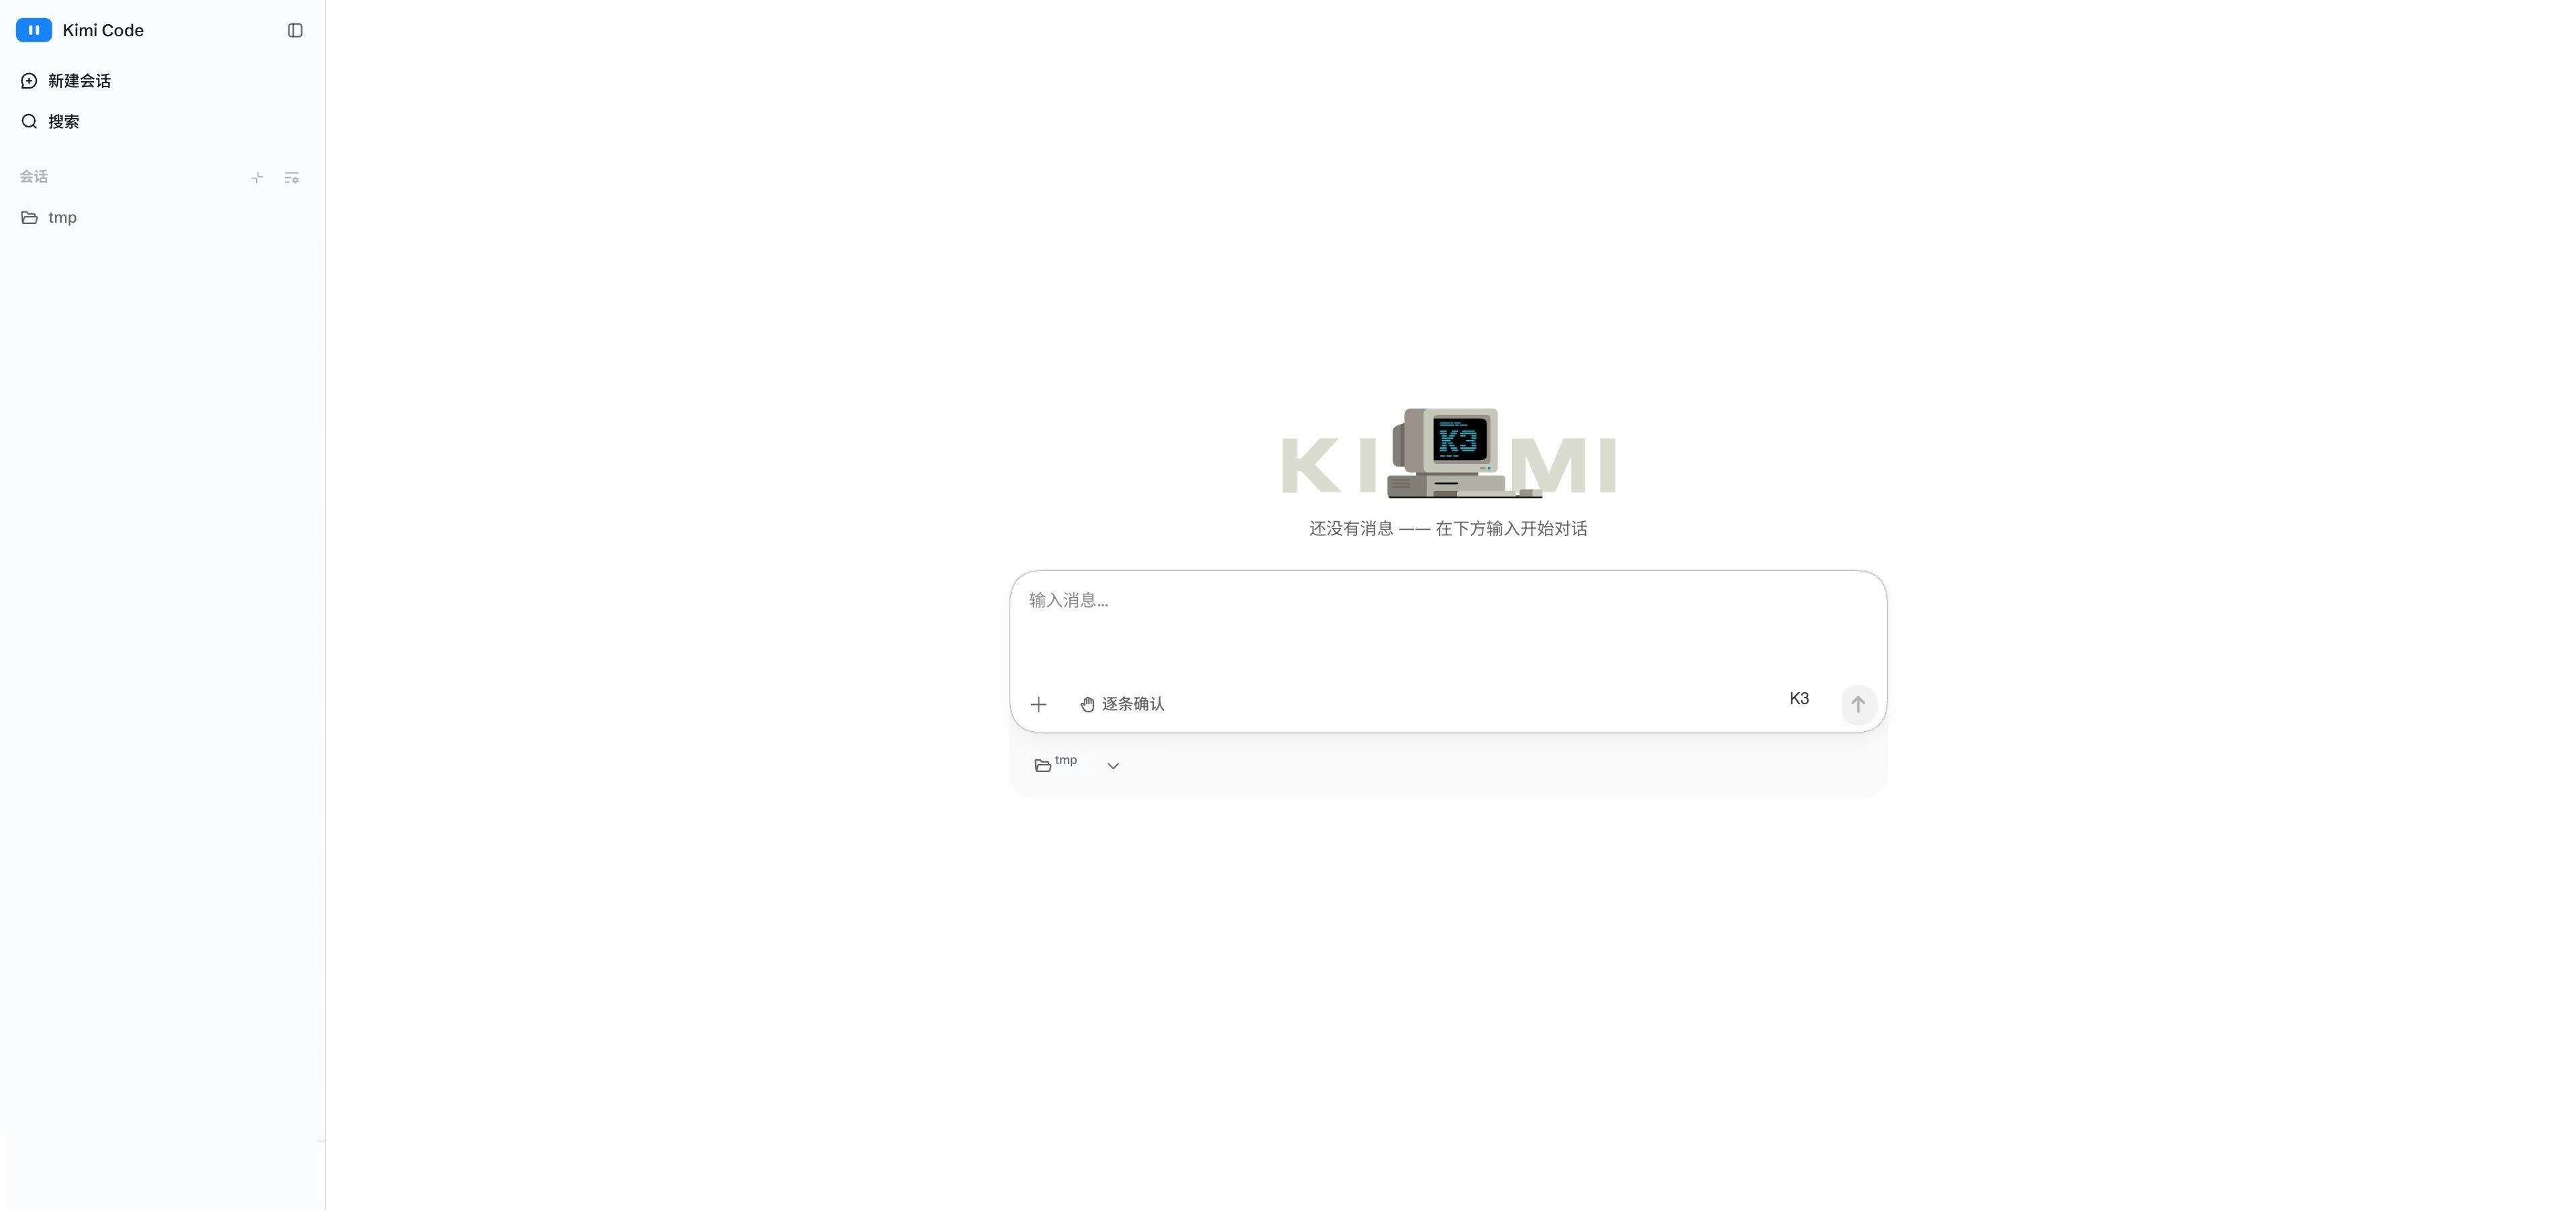
Getting started
kimi web is a built-in CLI command — it isn't available without the CLI. See Getting started for installation and login.
kimi web in a terminalIf you're already in the CLI, you can also type /web to hand the current session off to the browser.
The startup banner prints the access URL — if the browser doesn't open by itself, copy this URL and open it manually:
Local:   http://127.0.0.1:58627/#token=...
Token:   ...
Stop:    Ctrl+C
WARNING
The #token= fragment is the access credential — don't share it. Stop the server with Ctrl+C in the terminal.
Startup options
| Option | Description |
|---|---|
--port <port> | Bind port; defaults to 58627, auto-increments when taken |
--host [host] | Let phones, tablets, or other computers on the same LAN access the web address; you can also specify an IP, e.g. --host 192.168.1.10 |
--no-open | Don't open the browser when ready |
--log-level <level> | Enable server logs at the given level; off by default |
Common slash commands
| Slash command | Description |
|---|---|
/new | Start a new session |
/goal | Enter Goal mode and keep working toward the same objective across turns |
/compact | Compact the current session's context |
/tower | Tower multi-agent collaboration (experimental); /tower <base-branch> sets the base branch |
/export | Export the session content and troubleshooting logs as a ZIP |
/remote-control | Enable remote control to access the local web session remotely |
Relationship with the CLI
The web UI and the CLI share the same login state, configuration (config.toml), and session data.
The web UI supports only a subset of the CLI's slash commands — see Common slash commands above. Everything else usually has a point-and-click equivalent in the UI (the settings page, the model picker, the account menu, the task panel).
How the two sides compare:
| Feature | CLI | Web | Notes |
|---|---|---|---|
| Streaming chat | ✓ | ✓ | Web renders rich formats incrementally (tables, code highlighting, diffs, tool cards) |
| Session management | ✓ | ✓ | Web lets you archive less-used sessions away; the archive page sorts them by time and you can restore them anytime; the Open / Done / Workspaces tabs are a Lab experiment (off by default) — enable them on the settings Lab page |
| Approvals | ✓ | ✓ | Web handles them with clicks in the UI — no commands needed |
| Background tasks | ✓ | ✓ | Web shows live progress in the task panel |
| Files and changes | ✓ | ✓ | Web has a changed-files summary card and per-file diffs |
| Settings | ✓ | ✓ | Web adds a settings UI (providers, account & usage, Lab experiments) |
| Global search | — | ✓ | Web searches across sessions and workspaces |
| Mobile layout | — | ✓ | With LAN sharing on (--host), it works in phone browsers on the same network |
Security notes
- Set a parallel credential: when binding a LAN address, also set the
KIMI_CODE_PASSWORDenvironment variable; the server then rate-limits authentication failures automatically. - Don't disable authentication entirely:
--dangerous-bypass-authturns off all authentication — anyone who can reach the port can control your sessions, file system, and shell. Only use it on trusted networks or behind your own authenticating proxy. See the kimi command reference.
FAQ
The port is already taken
Nothing to do. kimi web automatically retries with the next port (58628, 58629, …) — just use the address printed in the startup banner.
The URL won't open in the browser
First check the server is still running in the terminal (it runs in the foreground there). Copy the full URL including the #token= part; opening only http://127.0.0.1:58627 lands on a token input page, where pasting the Token value from the banner also works.
How to recover from an invalid token
Run kimi web rotate-token to generate a new token, then open the new banner URL. All running instances switch to the new token automatically — no restart needed.
Other devices on the same Wi-Fi can't connect
Make sure you started with --host (bare is fine), and use the LAN URL from the banner (like http://192.168.x.x:58627/#token=...). If it still fails, check that the machine's firewall allows the port, and that both devices are really on the same network segment — guest Wi-Fi, VPNs, and switching to a 4G/5G hotspot all isolate devices.
Next steps
- Server API — REST / WebSocket APIs for scripts and third-party integrations (experimental)
- kimi command — all
kimi webcommand-line options - Remote Control — remotely view and take over local sessions from any device over the public internet