Quick Start
Kimi Code Desktop is the desktop client for Kimi Code. Open a local project, ask the Agent to read and modify code through conversation, and check the results with file previews, changes, and the built-in terminal.
This page walks you through installation, model setup, your first workspace, and your first task.
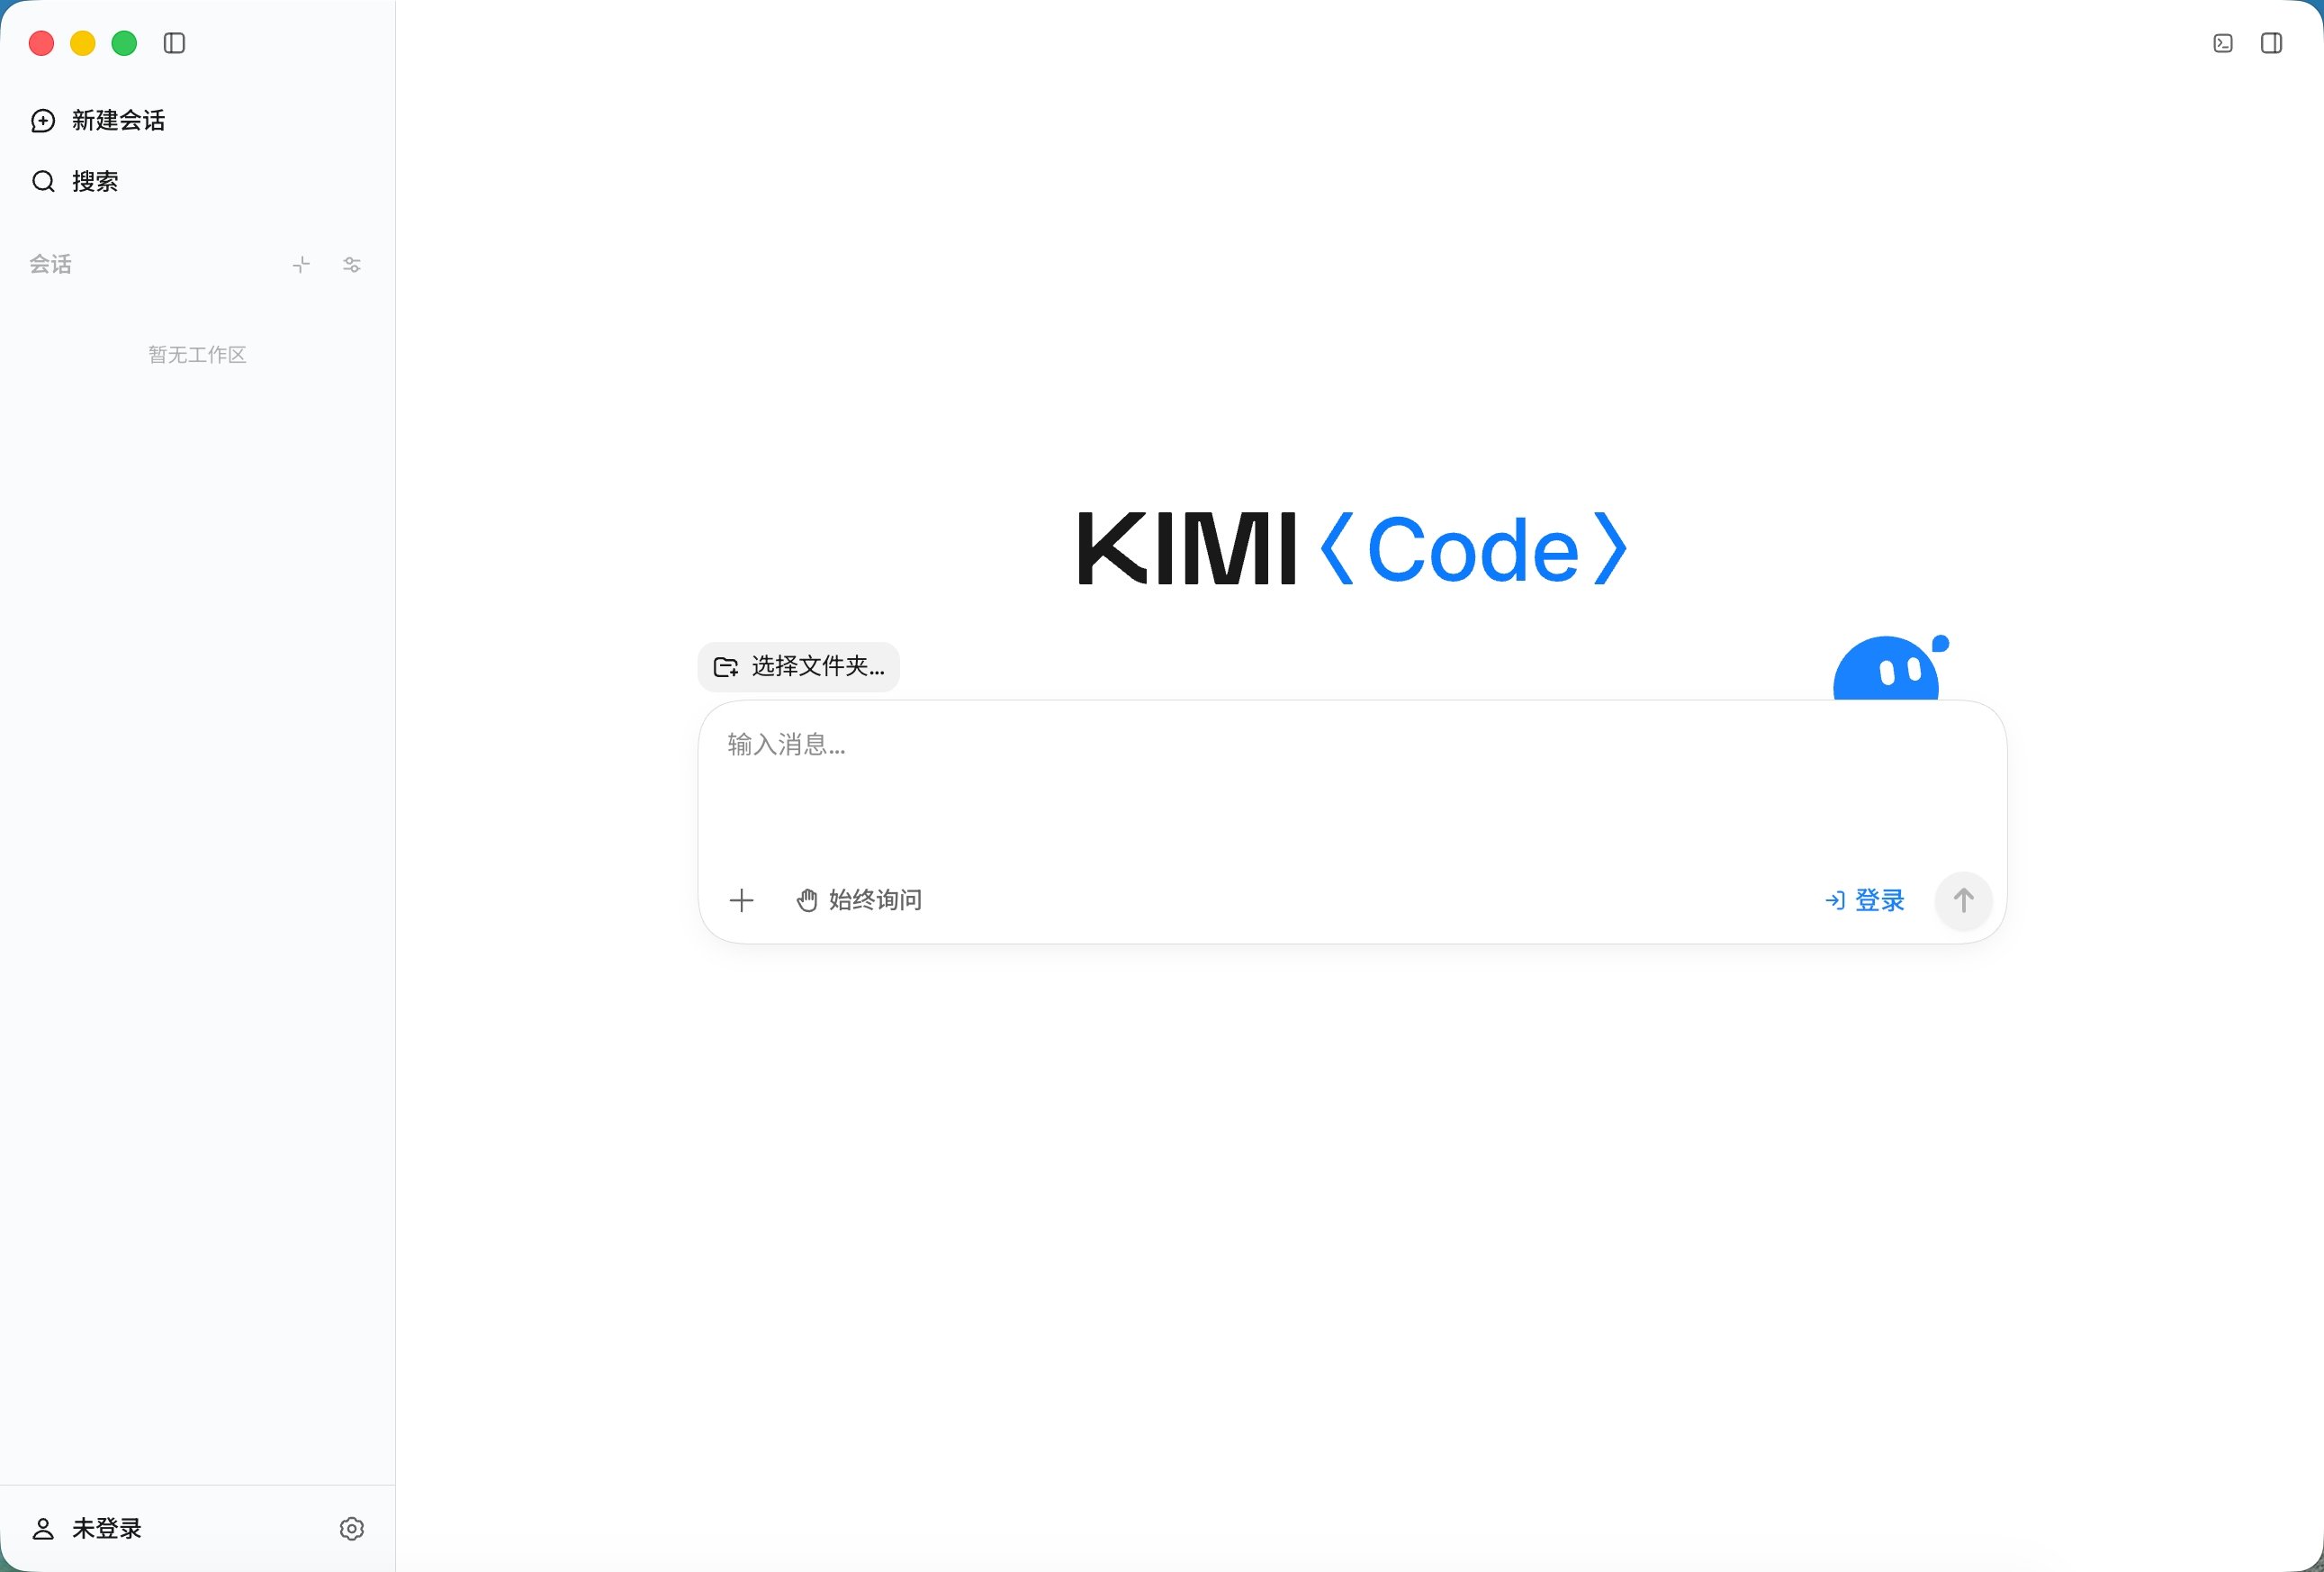
Install and launch
On first launch, choose the interface language and theme. You can adjust them later in Settings.
Sign in and connect a model
Use a Kimi account
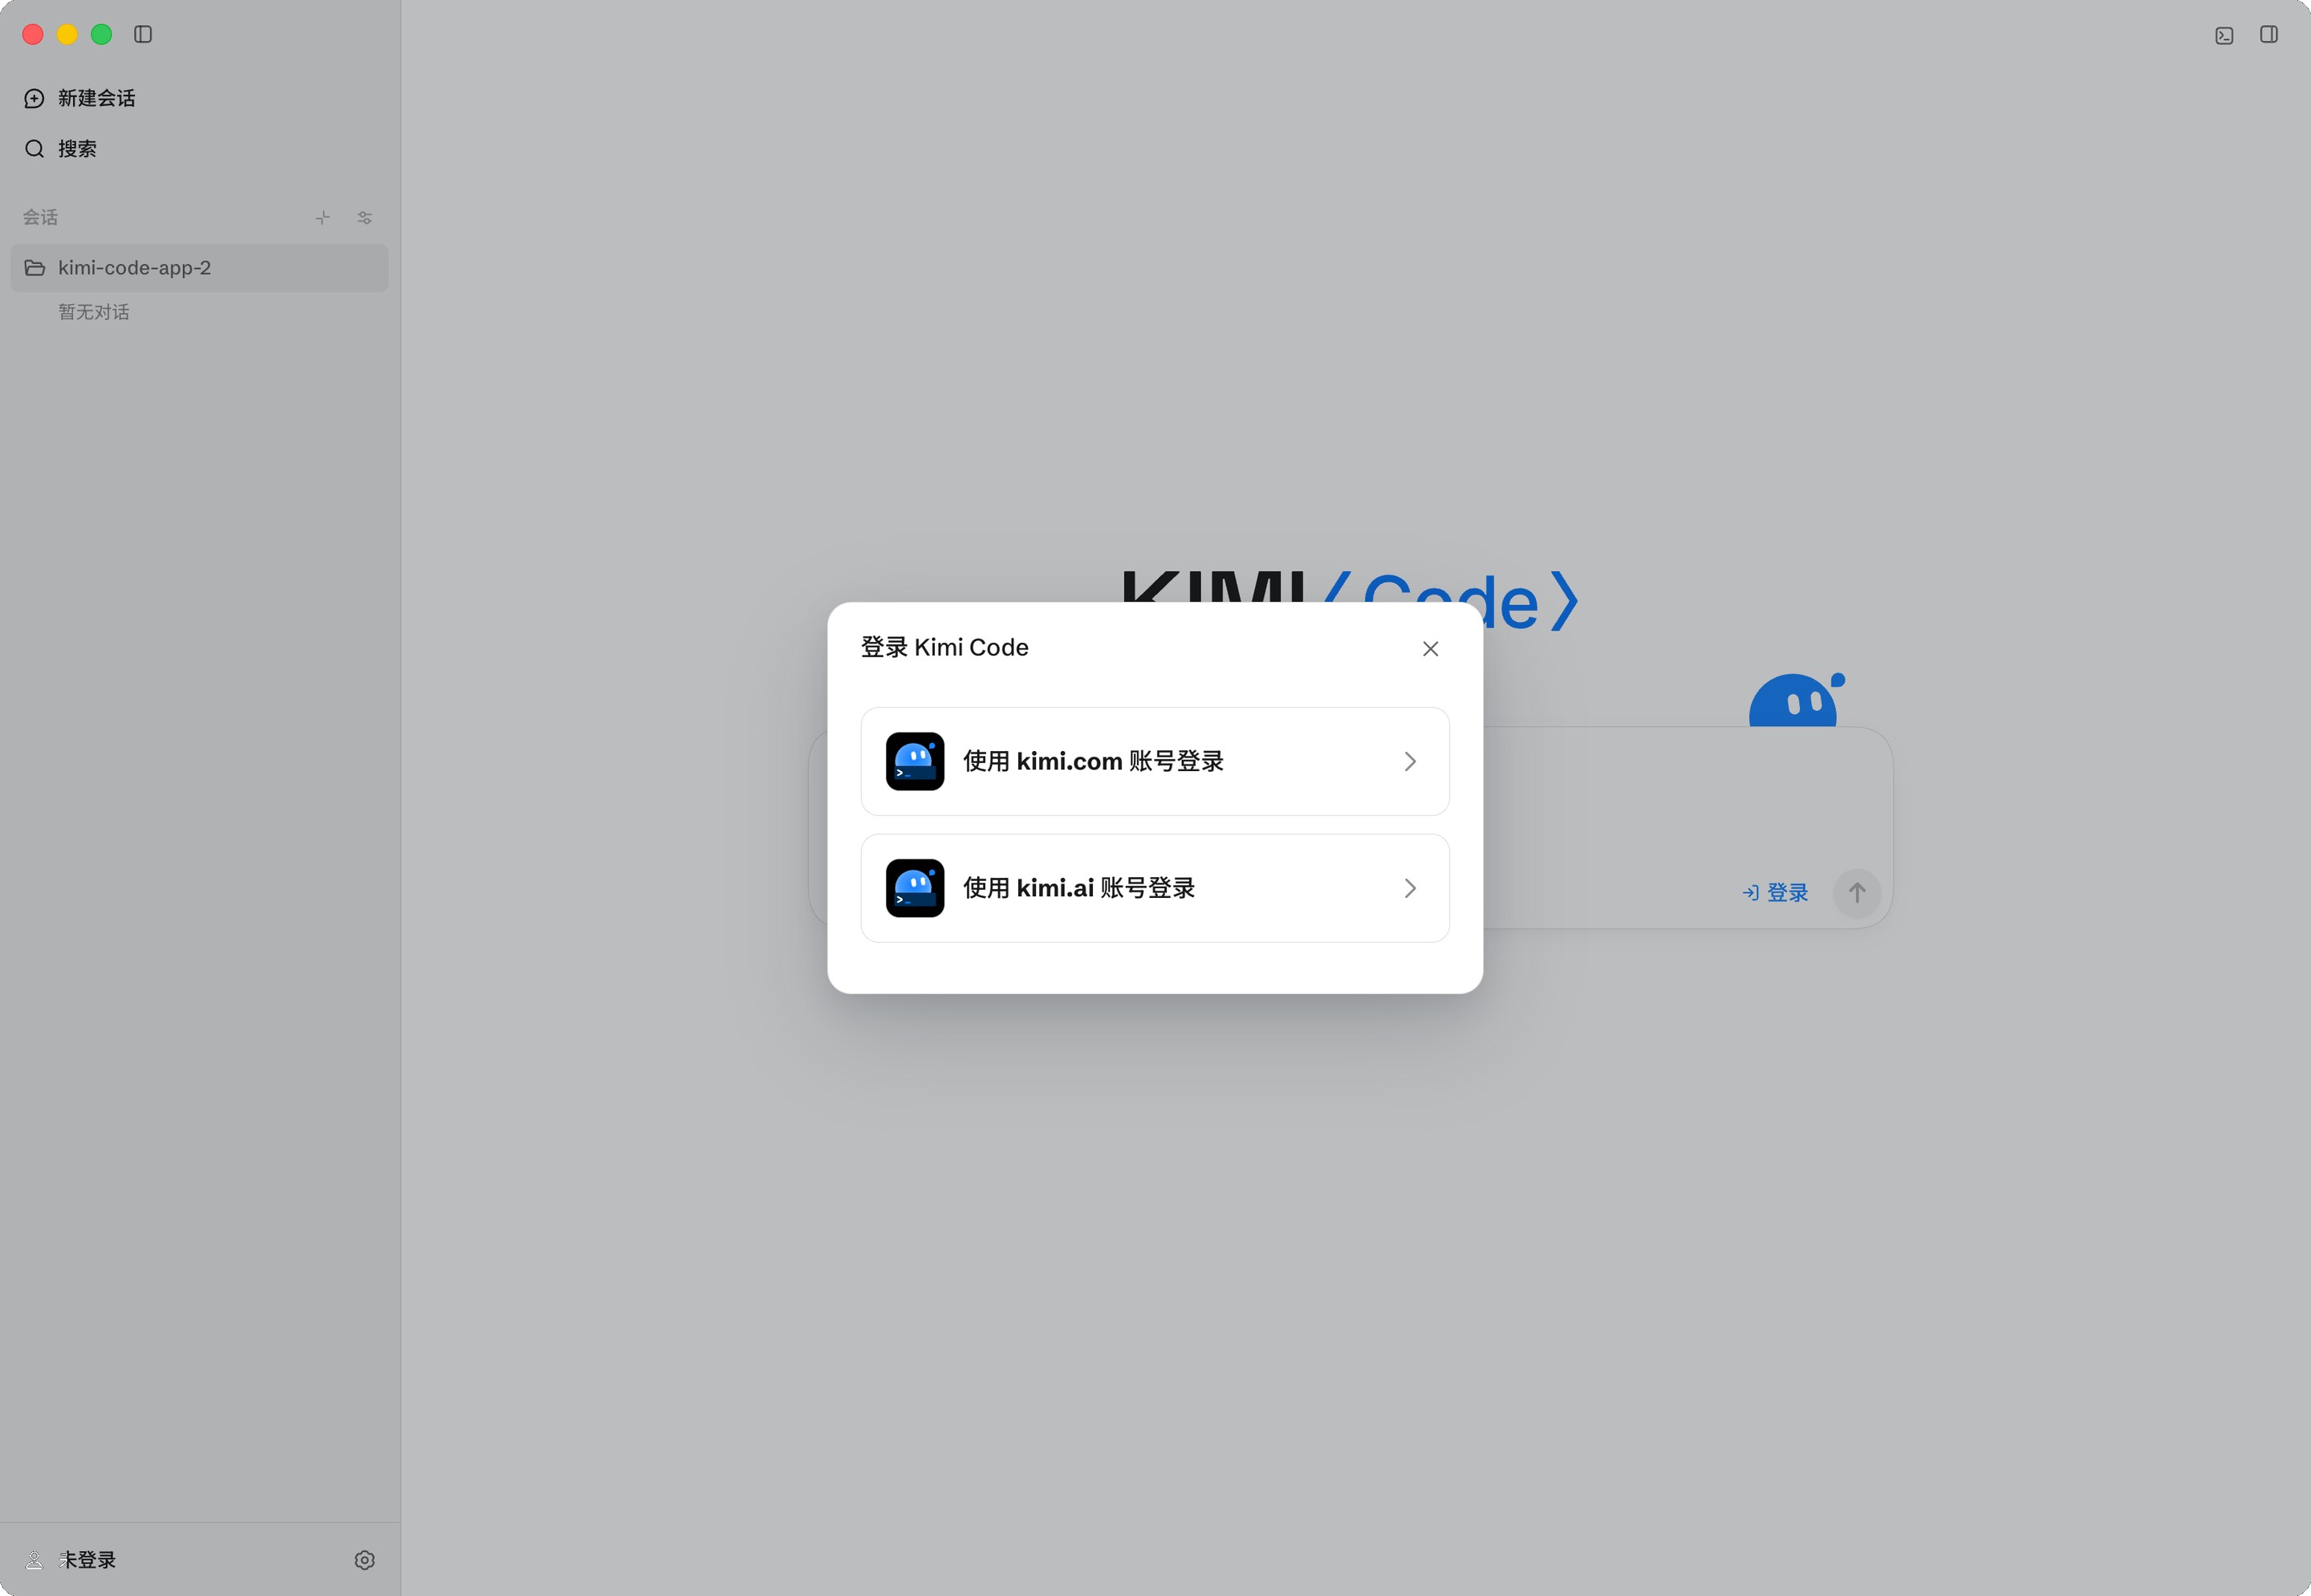
On first launch, follow the Kimi OAuth authorization flow, or skip it for now. When you need to sign in later, use the sign-in entry in the app to complete authorization. If authorization fails, retry as prompted.
Connect a third-party model provider
To use another model provider:
- Open Settings and go to the model provider area.
- Add a provider and enter its API key, base URL, and model information.
- Save the configuration and return to the session.
- Switch to the model near the Composer.
- Send a read-only task to confirm that the model works.
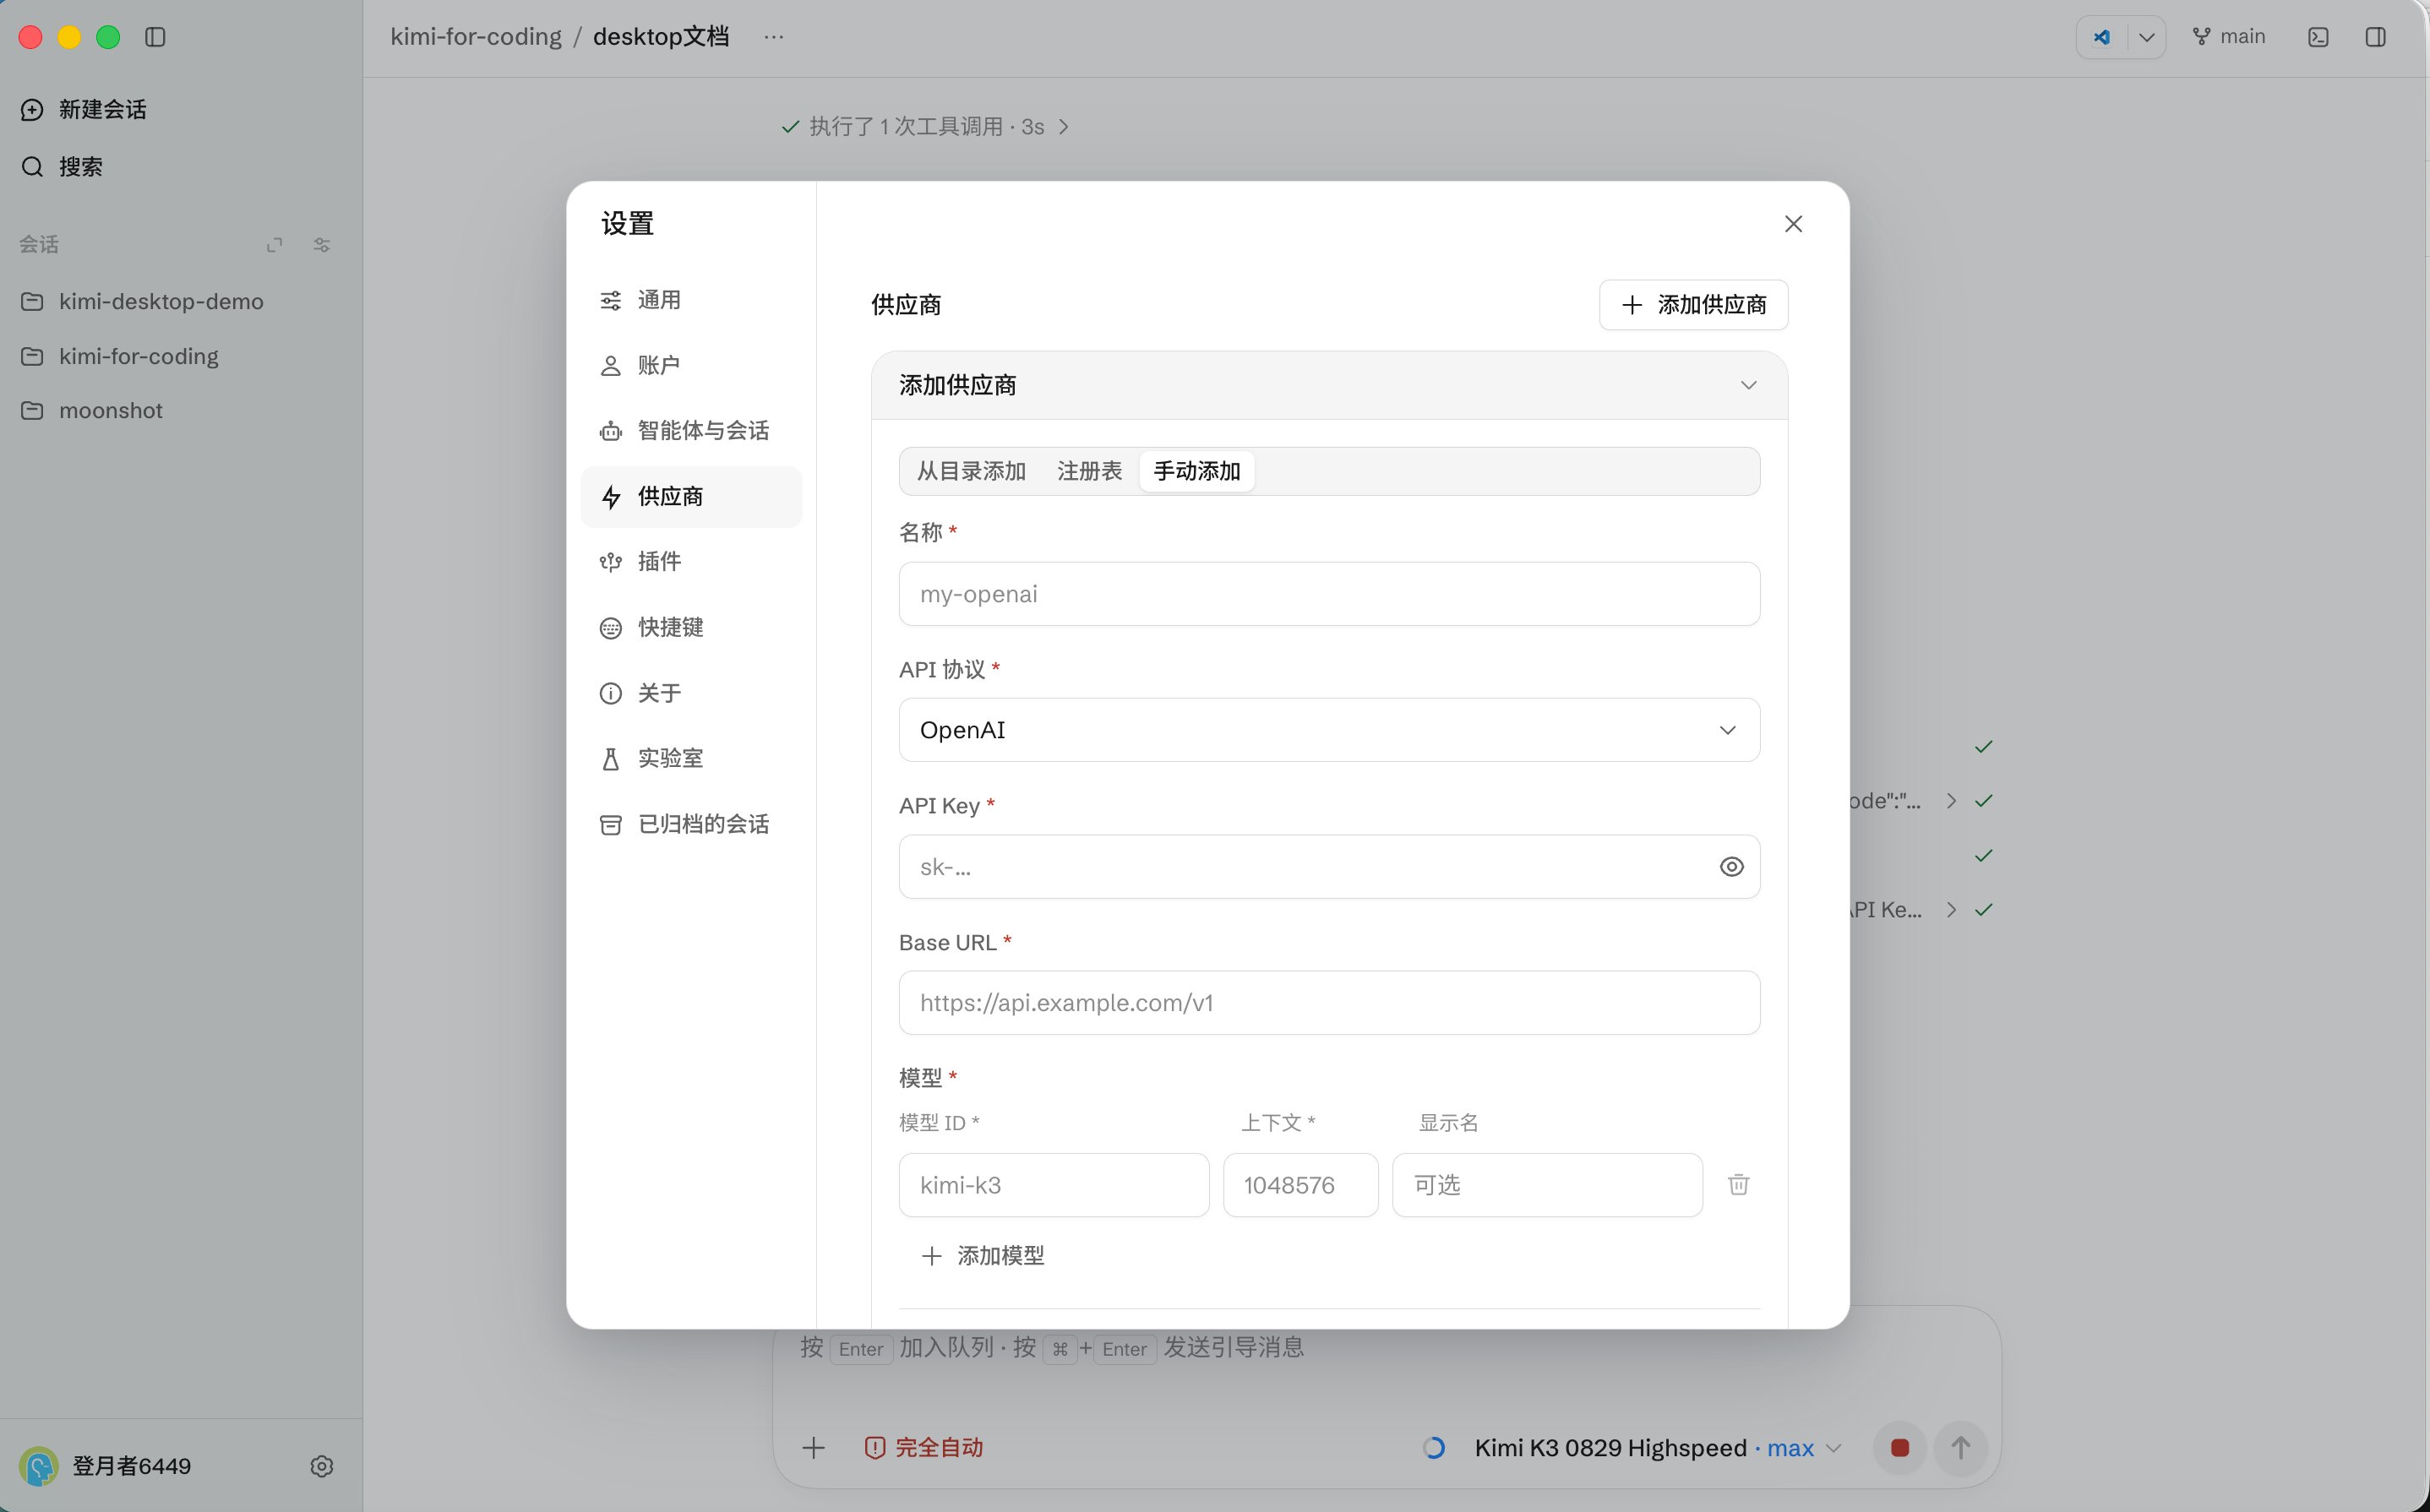
For complete model and provider details, see Model Configuration and Providers and models.
Create a session and choose a workspace
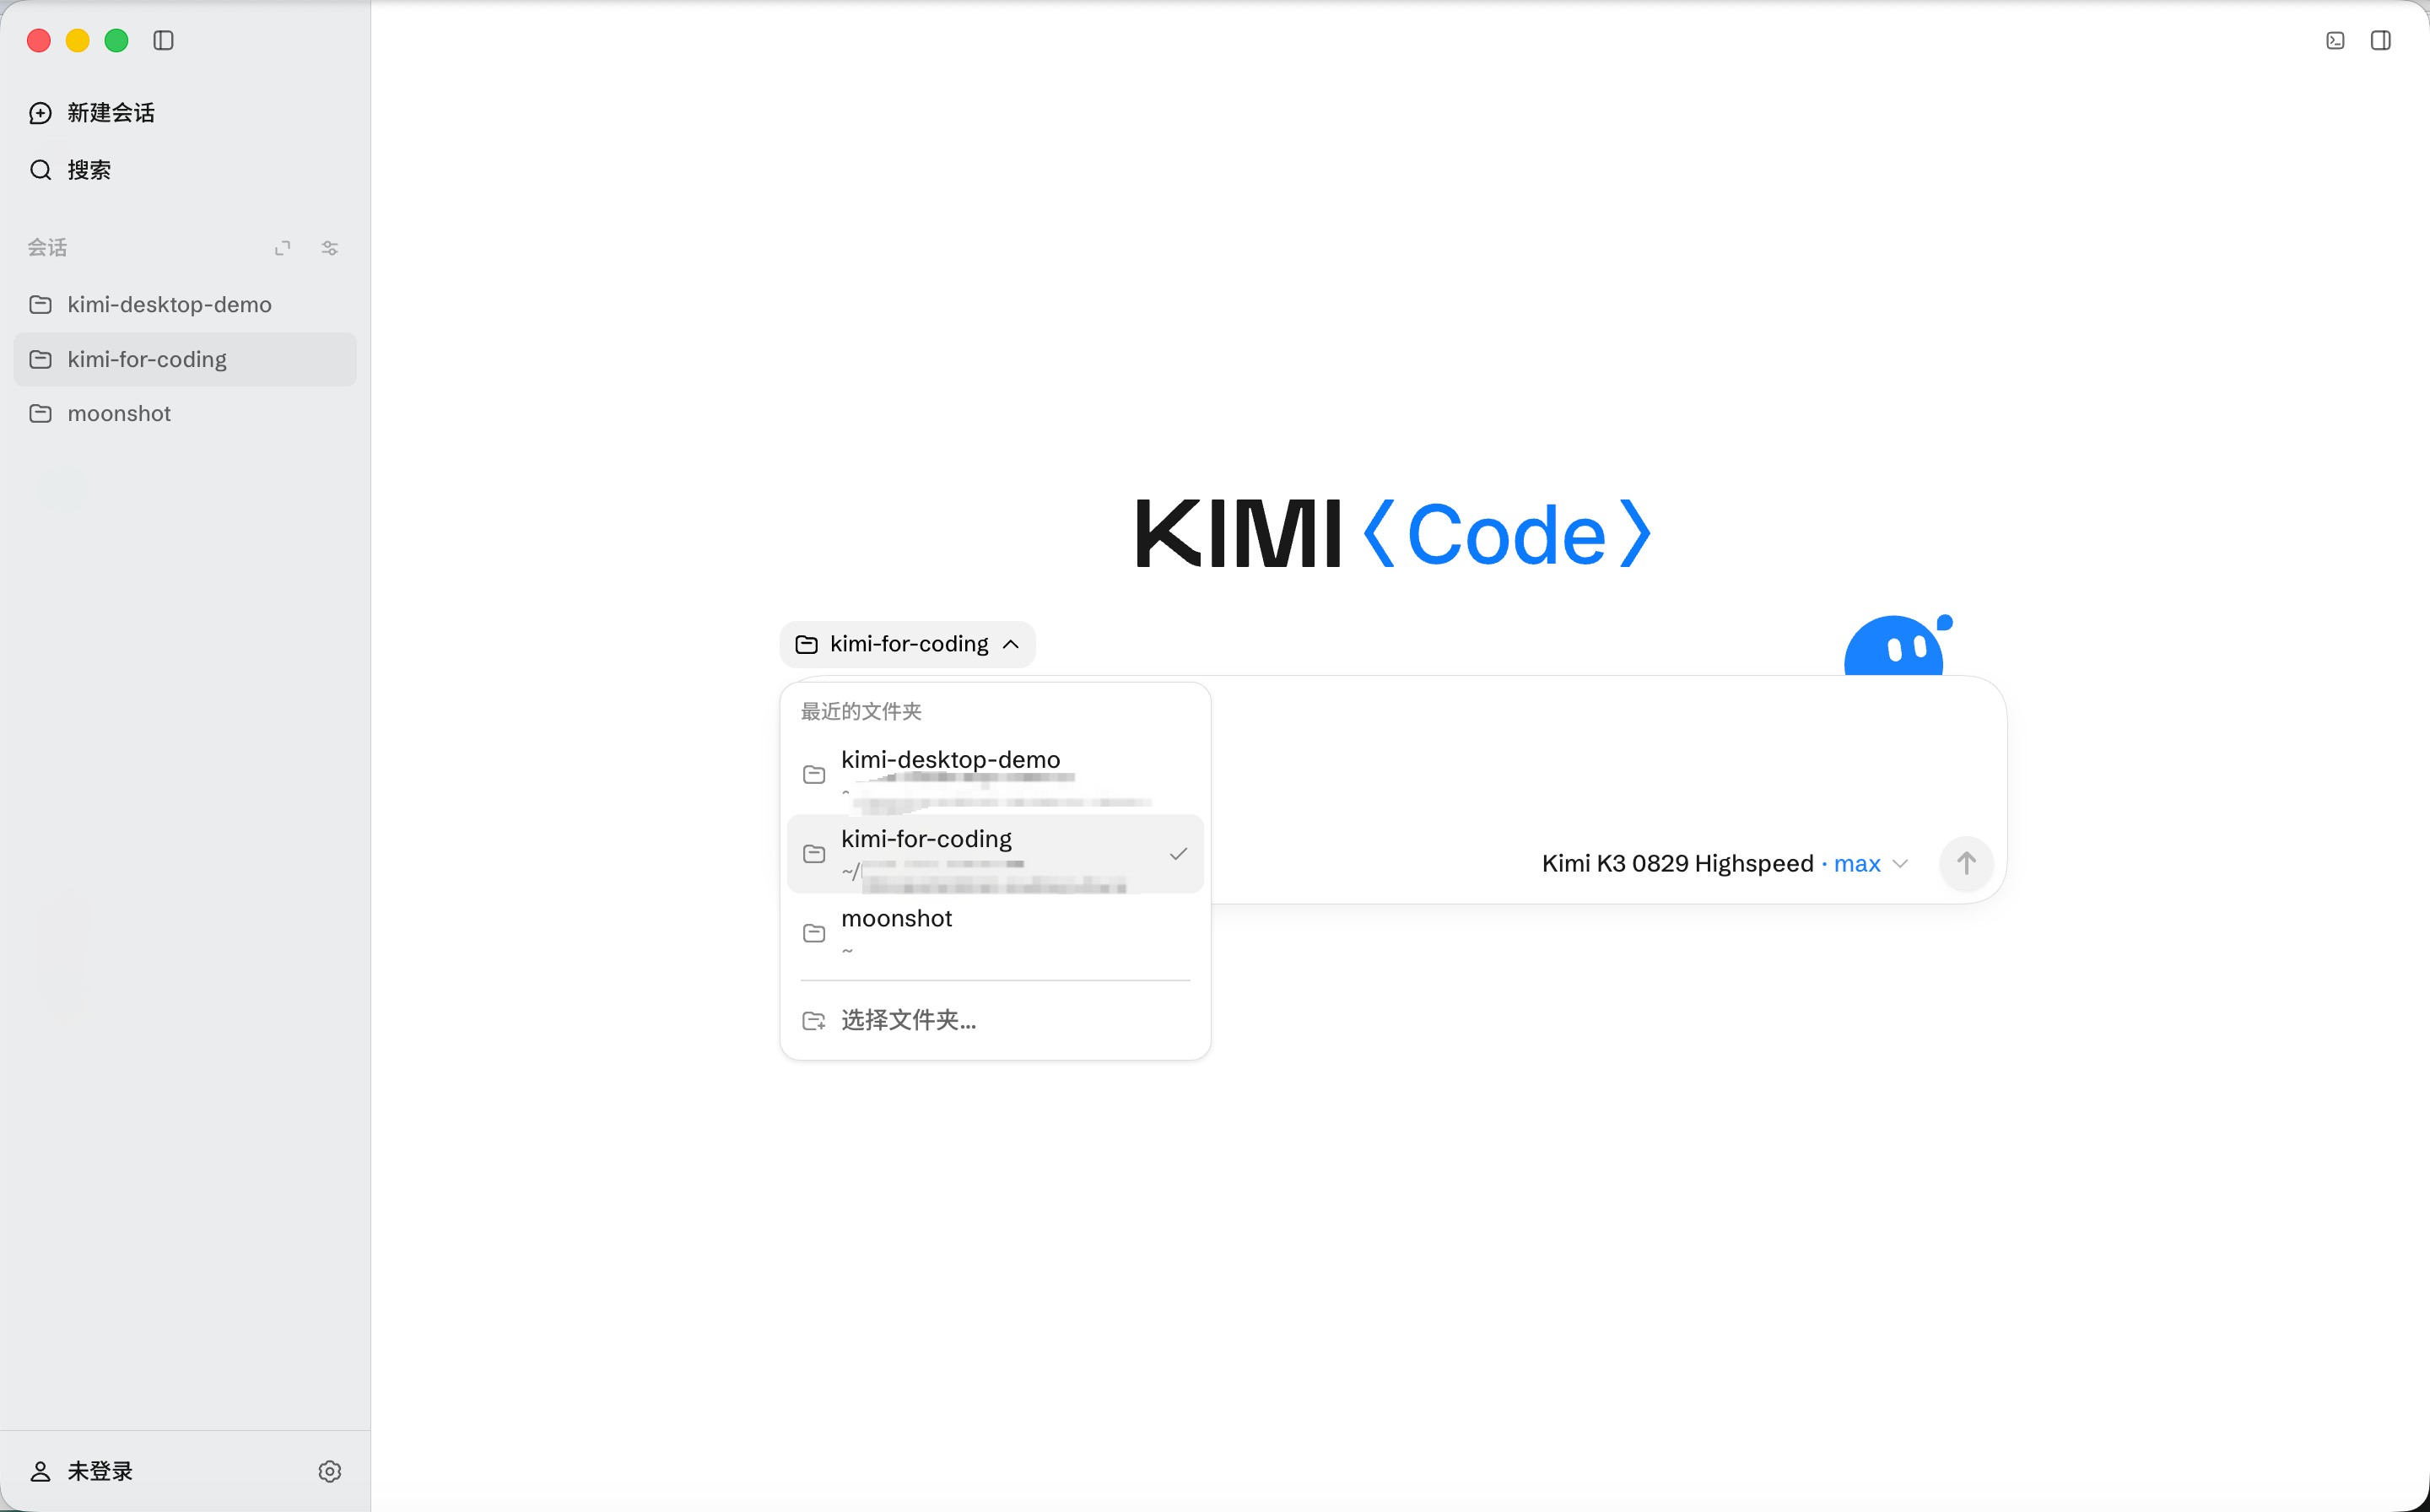
Desktop organizes sessions by workspace. After creating a session, choose the local project folder below the Composer:
- Click New session on the left.
- Click the folder name below the Composer to open the workspace picker.
- Choose a recent project folder, or click Choose folder… to add another local folder.
- Confirm that the target workspace appears below the Composer, then enter and send your task.
The selected folder becomes a desktop workspace and is added to the recent folder list. When adding one, you can also expand Enter an absolute path directly; local absolute paths are resolved as provided. An empty session must have a workspace before you can send a message. Dropping a folder from Finder or File Explorer onto the sidebar can also add it as a workspace.
The session appears in the session list for the selected workspace. You can switch between existing workspaces and sessions from the left sidebar.
Start your first task
Enter a task in the Composer, or use @ to reference files and directories. The + button in the lower-left corner of the Composer provides several task modes:
- Goal: Set an objective for a longer task that needs multiple turns and checks. The goal appears above the Composer. See Goal mode.
- Plan: Ask the Agent to analyze the task and propose a plan before changing files. See Plan mode.
- Swarm: Split independent work across multiple subagents. Progress appears in the Tasks or Subagent area. See Agents and Sub-Agents.
While the task is running, you can send follow-up input to adjust the direction, such as narrowing the scope, adding constraints, asking for an explanation, or stopping the current action. To pause or revert, interrupt the current turn or use /undo to revert the most recent change.
Handle approvals
Desktop shows operations that need your decision in approval cards. A card can contain a command, file changes, or a plan. Review the exact scope before approving or rejecting it. When the Agent needs an answer, the question card can offer single-choice, multiple-choice, and Other input.
There are three permission modes:
- Always Ask: ask for approval for each operation that requires it.
- Ask When Needed: ask only when approval is needed, reducing repeated confirmations while retaining control over key actions.
- Never Ask: do not proactively show approval prompts; use this only when you understand the risks.
For a first session or an unfamiliar project, Always Ask is a good starting point. You can change the mode after you understand the operation scope.
Review changes and verify
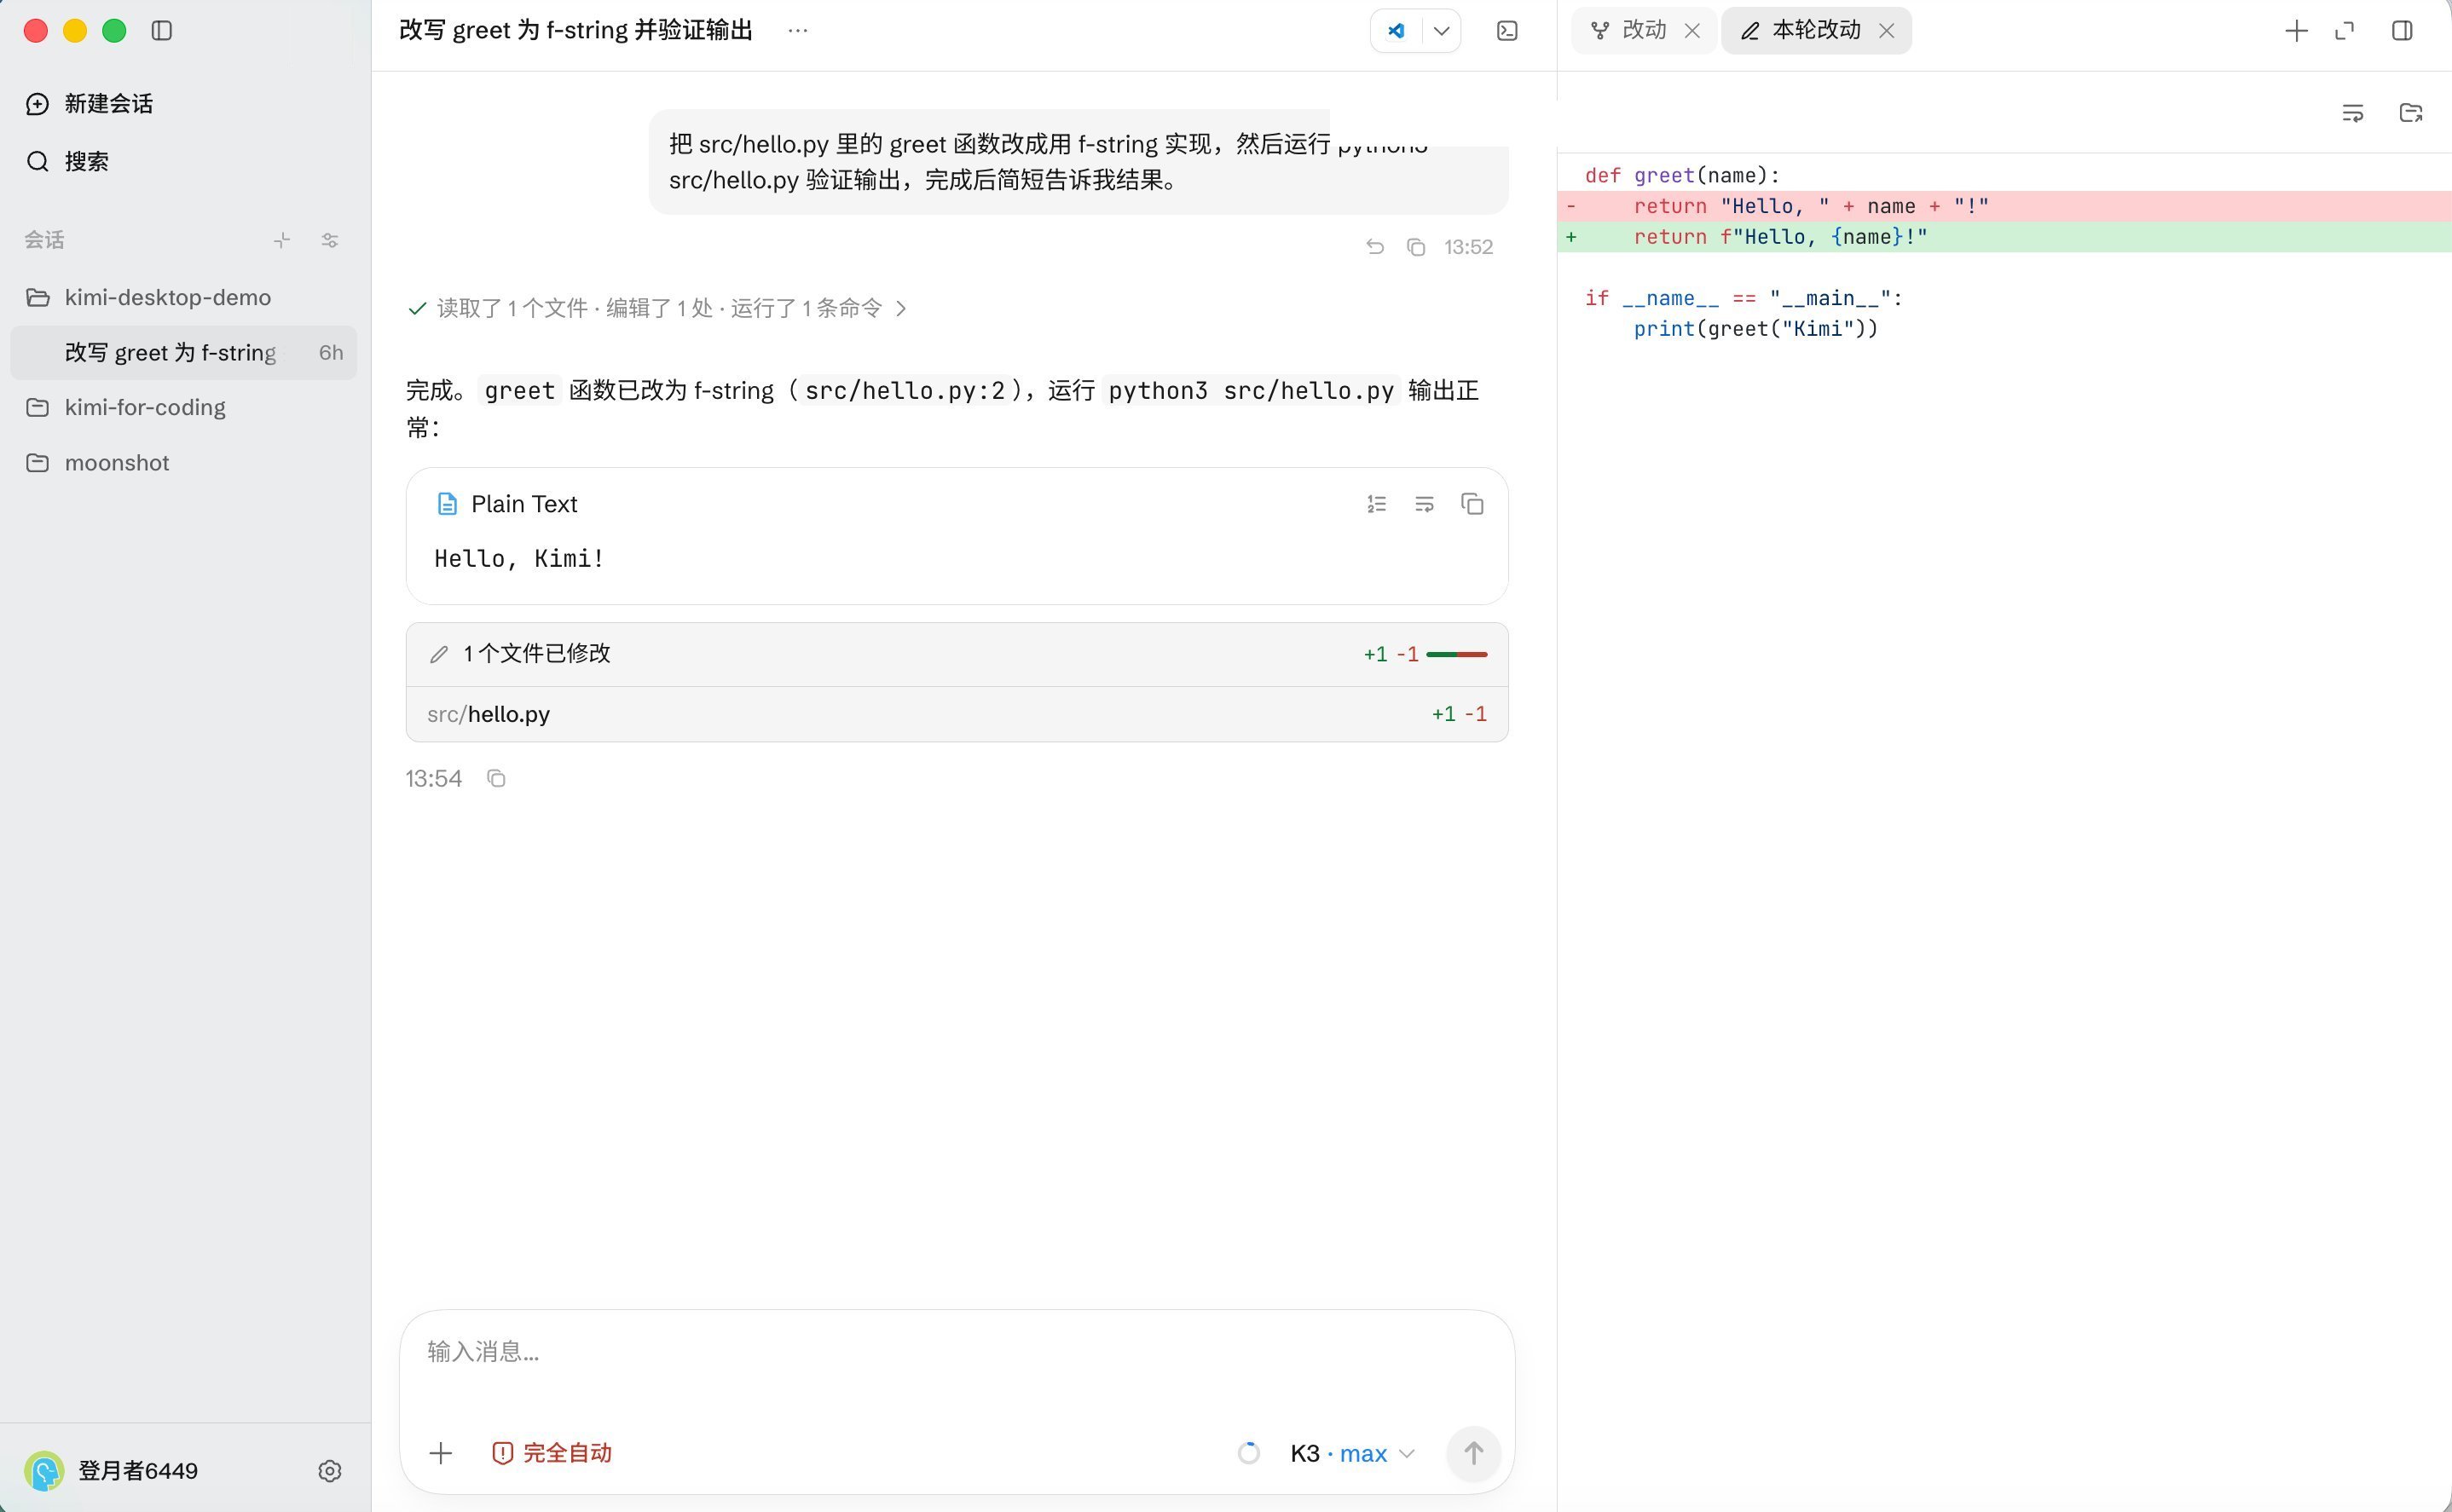
After a change, open Changes on the right. Start with the file list or tree view, then inspect the specific file and the changes from an individual turn. When you need more context, use File Preview for Markdown, JSON, HTML, PDF, CSV, images, and code or text files. You can copy, download, reveal in the system, or open in an external app.
When the task requires checks, open the bottom terminal panel from the terminal button in the upper-right corner of the session. Confirm the command, current workspace, and output. Continue only after the results look correct. If something is unexpected, explain it in the session or use /undo to revert the most recent change.
Continue exploring
After your first task, you can continue with:
- Goal for long-running objectives.
- Swarm for independent investigation or modification work.
- The top menu to open the project in an external editor, file manager, or system terminal.
- Creating, archiving, restoring, forking, or exporting sessions.
- Adjusting models, permissions, shortcuts, and plugins in Settings.
Common commands
The Composer accepts tasks directly and also supports built-in commands through /. Common commands include:
| Command | Purpose |
|---|---|
/new | Start a new session |
/login | Open the sign-in flow |
/plan | Enter plan mode |
/goal | Set an ongoing objective |
/swarm | Use multiple subagents for a task |
/compact | Compact the current context |
/undo | Revert the most recent change |
/fork | Fork the current session |
/export | Export the session |
/status | View the current session status |
Desktop and the CLI on the same machine
Desktop and the CLI can be installed on the same machine and share some local configuration, such as account, model, provider, and plugin-related settings. Desktop focuses on projects, sessions, changes, and terminal verification in a graphical interface; the CLI is better suited to terminal-first and scripted workflows. Refer to each product's settings and configuration files for the exact shared scope.
Next steps
- Using the Desktop App: learn task modes, context, session management, terminal use, and settings.
- Kimi Code CLI Quick Start: learn terminal commands, sessions, and scripted workflows.
- Model Configuration: view available models and configuration options.
- Membership Benefits: learn about account benefits, usage, and upgrades.