Kimi Claw Desktop overview

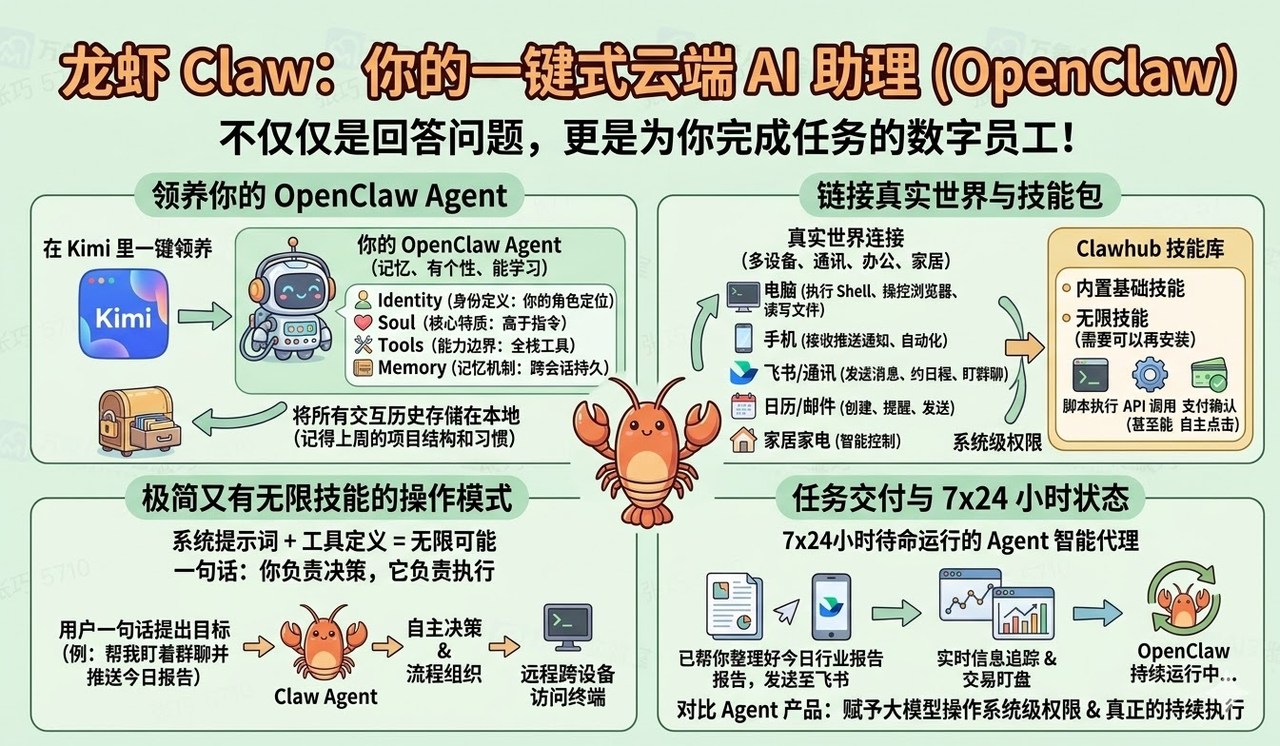
OpenClaw is an AI assistant with a unique personality and long-term memory. In the Kimi desktop app, you can deploy a local OpenClaw instance with a single click and start chatting with it right away.

If you don't have a local OpenClaw yet, go to the Kimi Claw page in the Kimi desktop app to create your own.

One-click deployment handles all of the following for you:

  • Automatic deployment — Kimi deploys OpenClaw on your machine automatically. If you already have another OpenClaw installed locally, Kimi can clone its persona, memory, and skills with your permission — making migration seamless.
  • Automatic model configuration — Kimi pre-configures the Kimi model, links your Kimi Code membership credits, and sets up Kimi Web Search for internet access. No API setup required.
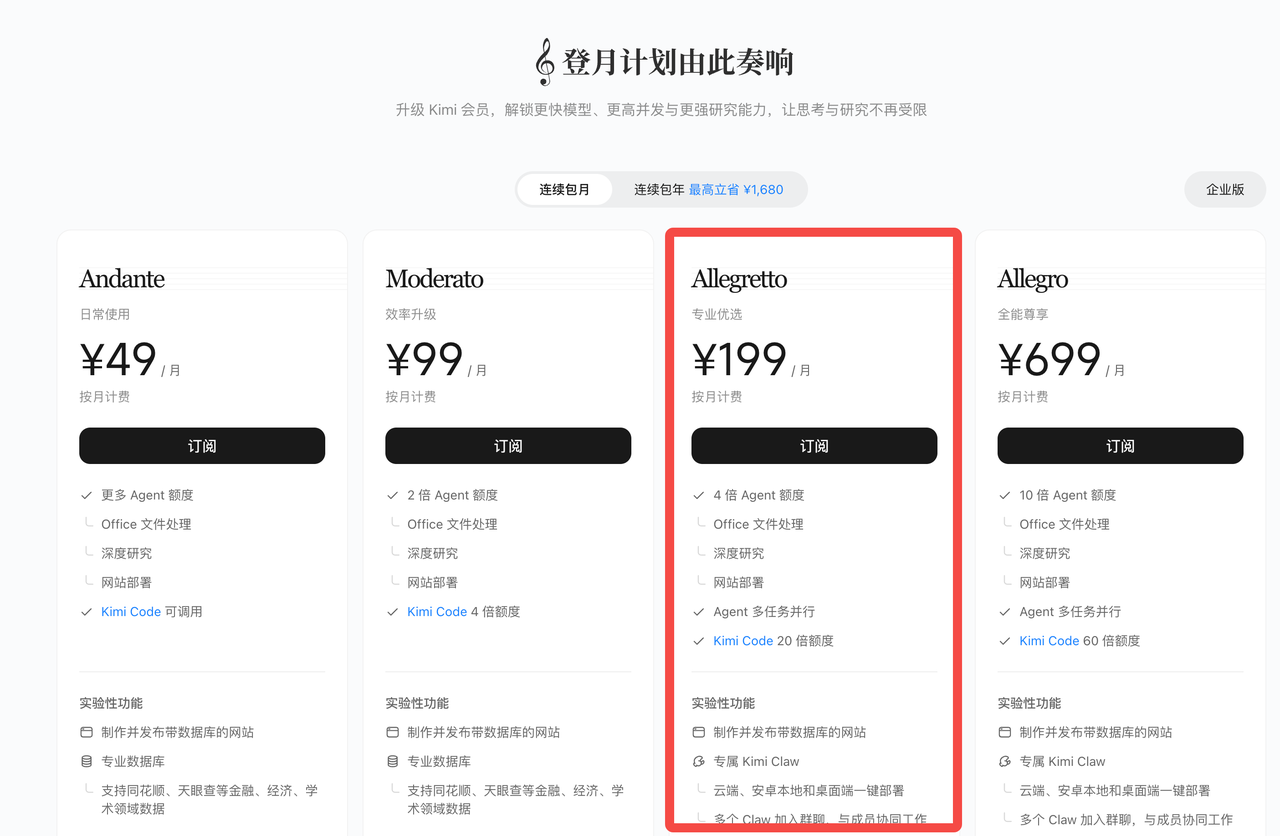
  • Membership requirement — One-click deployment requires an Allegretto plan or above.
  • Instance limit — Each account supports a maximum of 1 Kimi Claw Desktop at a time. If you switch machines and deploy on a new one, you will be prompted to unlink the previous instance first.

Step 1: Download the Kimi desktop app and upgrade your plan

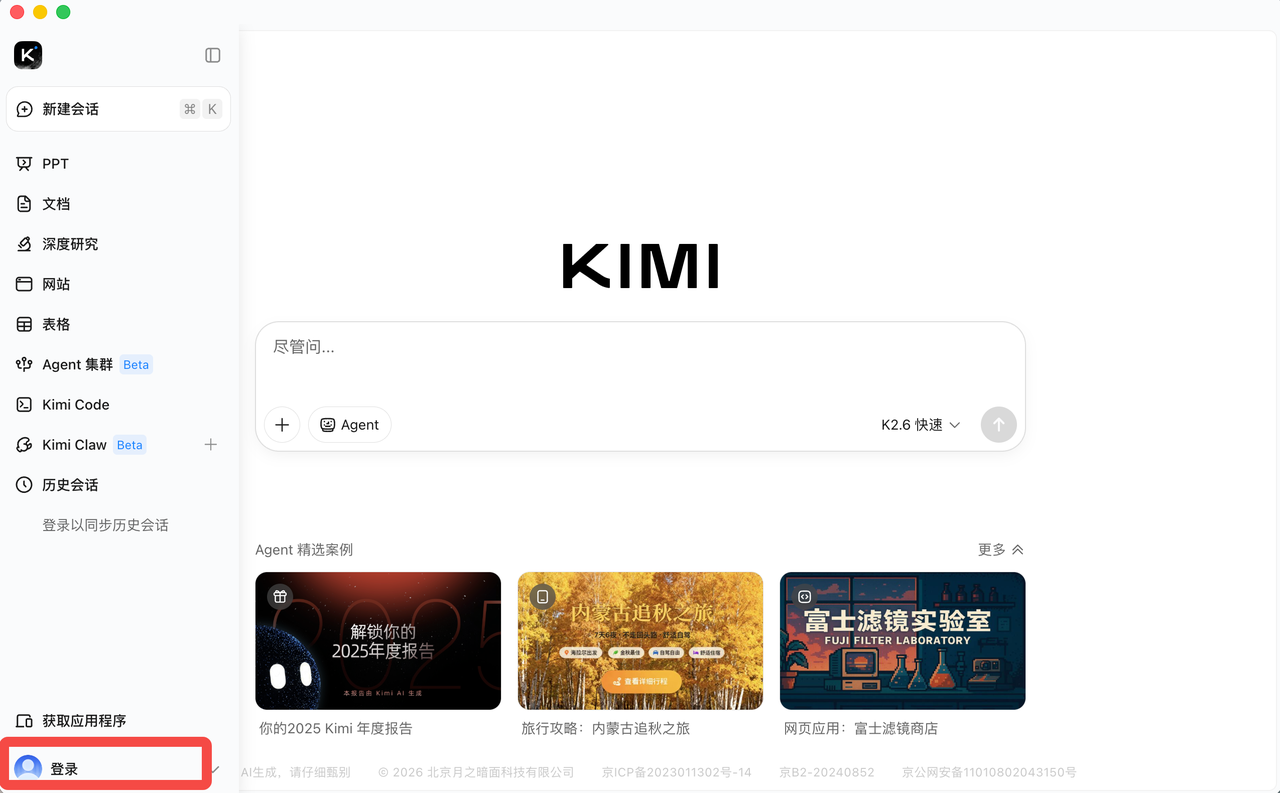
First, download the Kimi desktop app and sign in to your account.

System requirements

ItemRequirement
Operating systemmacOS or Windows
Membership tierAllegretto or above

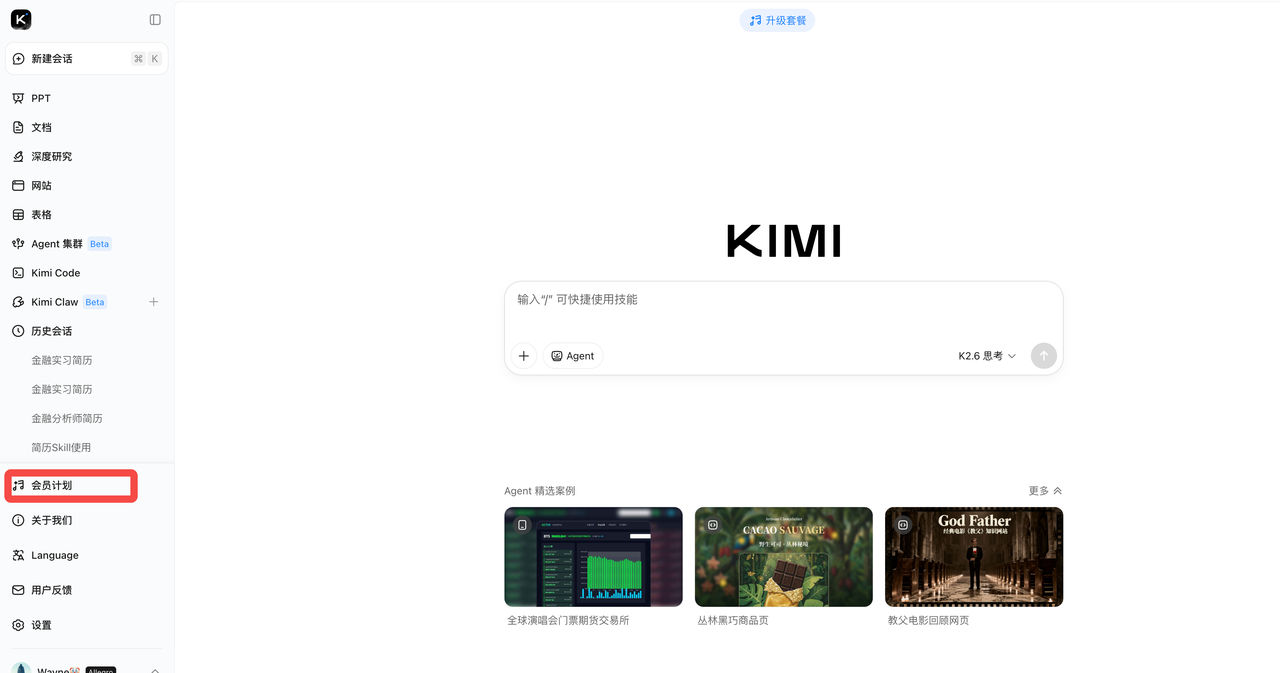
After downloading, sign in to your Kimi account and confirm your membership is at the Allegretto level or above. If not, upgrade your plan before proceeding.

Step 2: Deploy locally

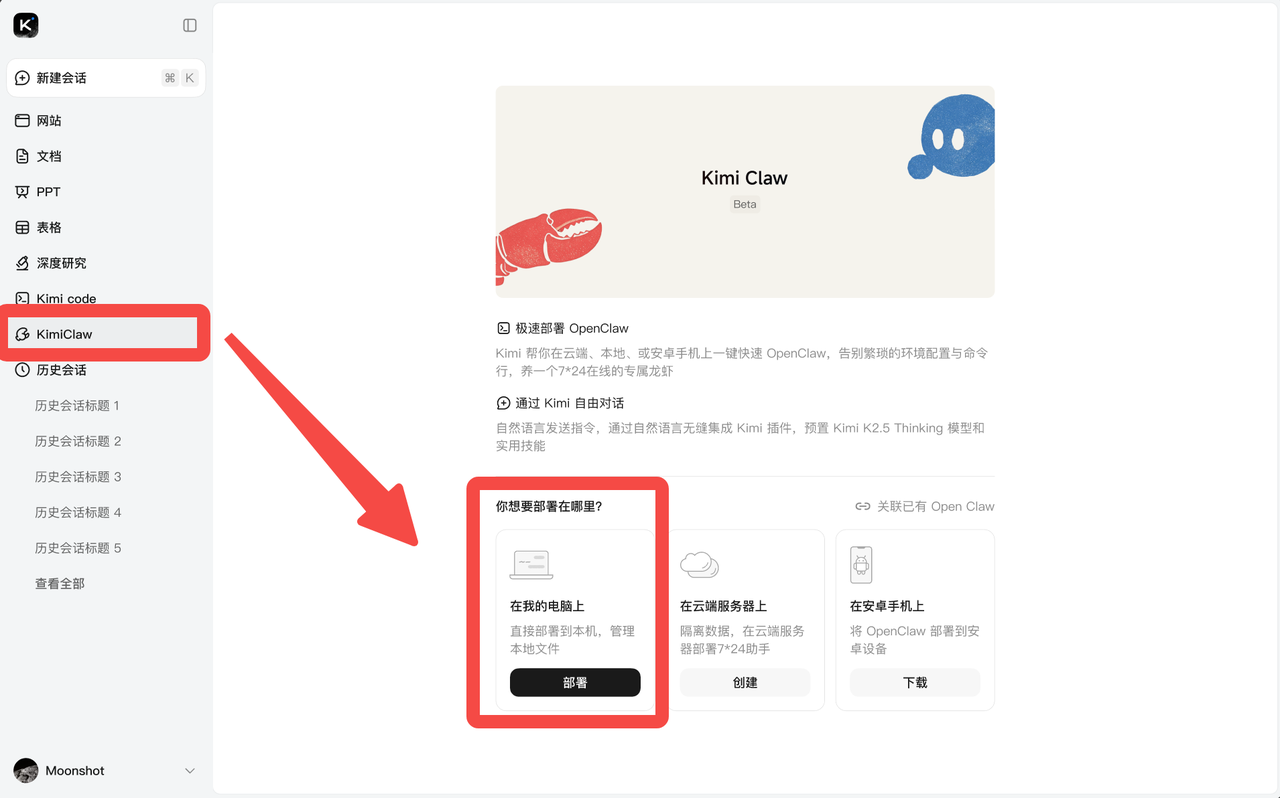
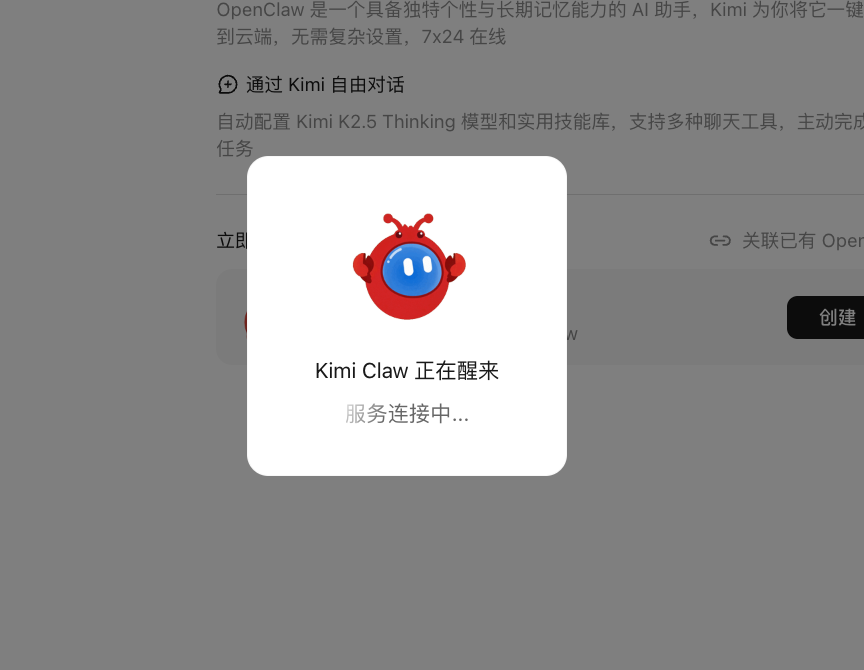
Go to the Kimi Claw page in the Kimi desktop app, click Deploy on my computer, and follow the on-screen steps to set up your Kimi Claw Desktop.

Kimi Claw deployment page

Each account supports a maximum of 1 Kimi Claw Desktop. If you previously deployed on another machine, you will be asked to confirm whether to disconnect that instance before continuing.

Migrate from an existing local OpenClaw

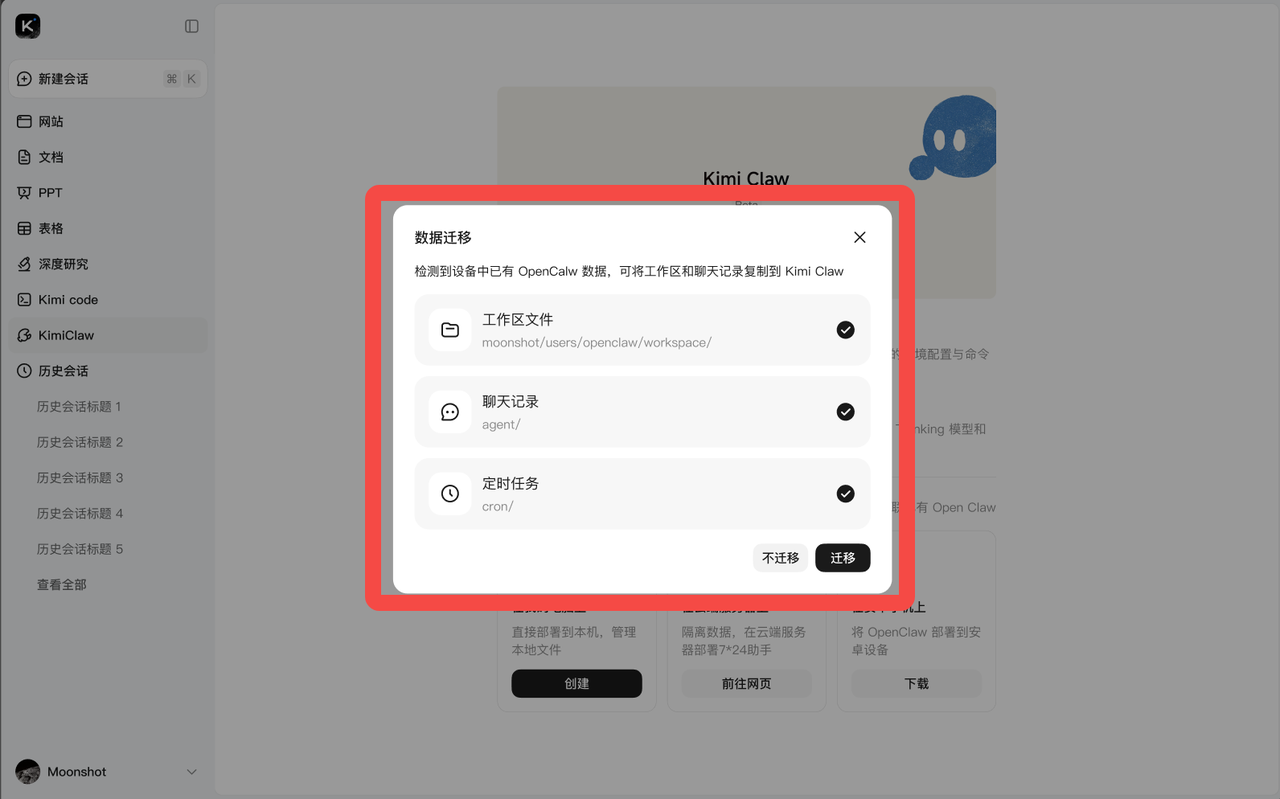
If you have another version of OpenClaw installed on the same machine, the system will ask whether you want to copy the following data:

  • Persona
  • Memory
  • Chat history
  • Workspace files You can choose which data to migrate based on your needs.

Step 3: Set a nickname

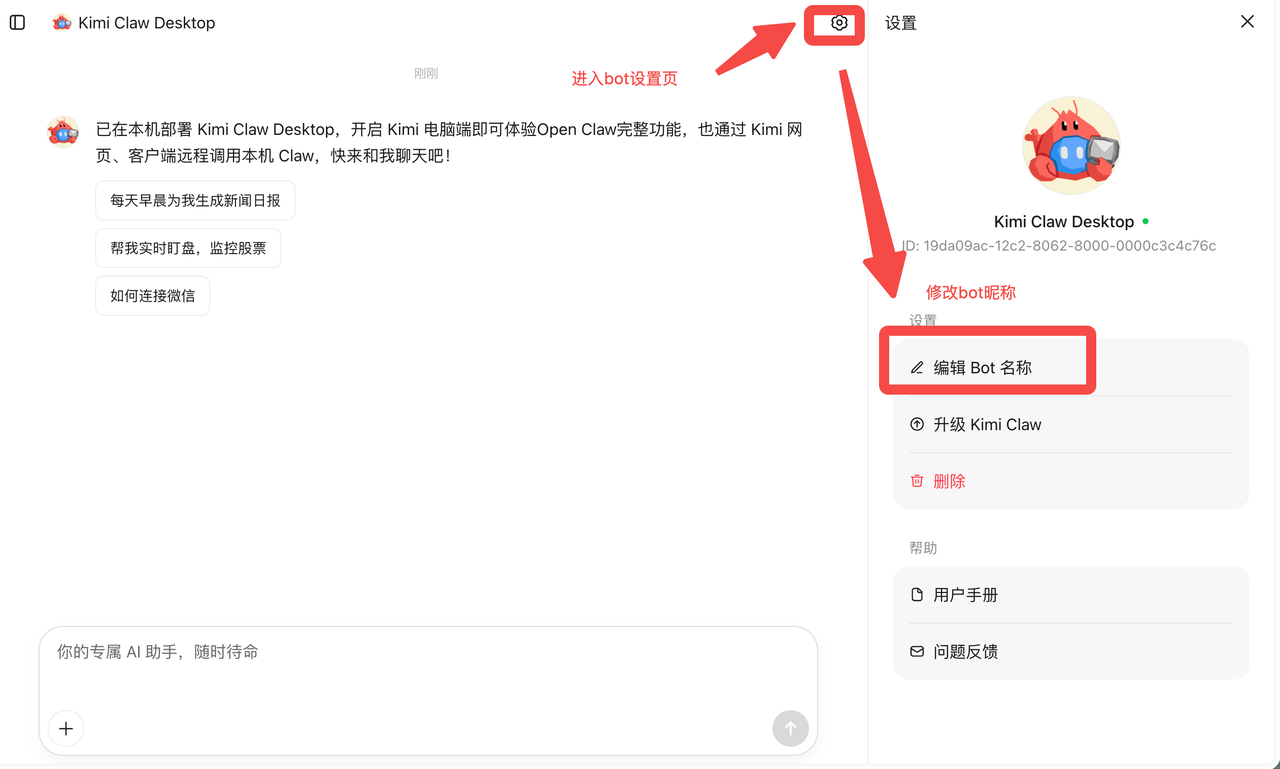
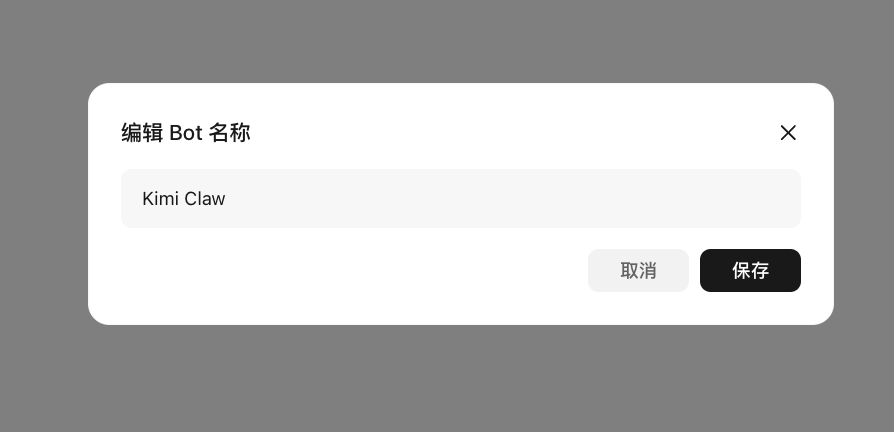
Once deployment is complete, give your Kimi Claw Desktop a nickname of your choice.

Kimi Claw Desktop settings page

Once you've set a nickname, your Kimi Claw Desktop is ready to go — start chatting with it anytime.

After deployment, you can further customize your Kimi Claw Desktop by configuring its persona, installing skills, and setting up scheduled tasks to build a more personalized AI assistant.

Kimi Claw Desktop overview - Kimi Help Center